


You don’t need a workshop or fancy parts to make eye catching wind art.
Using soda cans, plastic bottles, wire hangers, and a fishing swivel, you can build kinetic sculptures that spin in a light breeze.
In this post you’ll get step-by-step, beginner-friendly projects and clear tips for cutting blades, balancing the hub, choosing a pivot, and mounting a spinner so it rotates smoothly in a typical backyard.
You’ll spend little or nothing and learn to tune motion so it looks great on breezy days.
Building Your First DIY Kinetic Wind Sculpture With Simple Household Materials

Most kinetic wind sculptures start with stuff already sitting in your recycling bin or garage. Soda cans, plastic bottles, wire coat hangers, maybe a wooden dowel from an old curtain rod. A basic spinner needs 10 to 20 feet of 16 or 18 gauge wire, three to eight blades you cut from bottles or cans (each blade about 5 to 14 inches long), a quarter inch metal rod or dowel for the mast, and everyday tools like tin snips, pliers, and a hand drill with small bits. You don’t need a workshop or expensive bearings. A fishing swivel from a tackle box works perfectly as a low friction pivot, and if you don’t have one, an eye screw wrapped with two washers can still let your sculpture spin freely.
Blades should angle somewhere between 5 and 30 degrees to catch the wind. Shallow angles spin slowly, steeper angles spin faster. Most small spinners you build in an afternoon need wind speeds around 7 to 18 miles per hour to get going, which is a light to moderate breeze you’ll feel most days. You can finish a simple three blade bottle spinner in one to three hours, spending five to thirty dollars if you buy a few new fasteners or a can of spray paint, or nothing at all if you work entirely from recycling and scrap.
Here’s the basic sequence to build your first spinner:
- Cut three or four identical curved blades from a two liter plastic bottle or aluminum soda cans, each about 3 to 4 inches wide and 5 to 12 inches long, and file the edges smooth so nobody gets cut.
- Drill a quarter inch hole near the base of each blade, then drill matching holes in an 18 inch wooden dowel spaced three to four inches apart so blades sit symmetrically around the center.
- Thread a short piece of wire through each blade hole and around the dowel, twisting it tight with pliers to lock the blade in place, or use small bolts and nuts if you prefer cleaner joints.
- Find the balance point by hanging the assembly from a string wrapped around the middle, then slide small washers or pennies (5 to 50 grams total) onto the wire near heavy blades until the spinner hangs level without tipping.
- Install a quarter inch eye screw at the exact balance point, thread a fishing swivel onto the screw, and tighten a locknut so the dowel can spin freely but won’t slide off.
- Hang the spinner from a hook under an eave or mount it on a metal stake pushed into the garden, then give it a gentle spin by hand to make sure it rotates without wobbling or dragging.
Planning Your DIY Wind Sculpture Design and Motion Style

You can build several motion styles without changing your basic supply list. Each just rearranges how you connect blades and how many you add. Simple whirligigs use three to five flat or curved blades mounted radially on a single hub and spin on one axis. Balanced mobiles hang multiple arms from a central pivot, each arm carrying smaller sub spinners that rotate independently, creating layered movement. Helical rotors twist like propeller blades and generate lift, making them spin faster in steady wind. Wind pendulums swing back and forth instead of spinning, using flat panels or sails that catch gusts and oscillate on a hanging wire.
Diameter matters more than blade count for how much torque you need to overcome friction. Sculptures between 12 and 36 inches across work well in typical backyards without demanding gale force wind. Adding more blades (six or eight instead of three) increases the surface area catching wind, which sounds helpful until you realize it also adds weight and drag, raising the minimum breeze needed to start rotation. Symmetry is non negotiable. If you space four blades unevenly around the hub, the heavy side will sag and the spinner will wobble or refuse to turn. Measure angles with a protractor or fold a paper circle into equal wedges to mark drilling points before you commit holes to your dowel or hub plate.
Common design choices include:
Single axis spinner: three to five blades on one dowel, easiest build, spins in place.
Stacked rotor: two or three small spinners mounted on the same vertical rod at different heights, each rotating independently.
Counterbalanced mobile: arms radiating from a center point, each balanced separately, slow and elegant motion.
Propeller style sculpture: twisted metal or plastic blades angled to generate lift, faster rotation, needs a sealed bearing for smoothness.
Crafting Blades, Arms, and Frames From Recycled Household Materials

Aluminum soda cans cut into petal or vane shapes make durable blades that hold their curve without sagging. Rinse the cans, use tin snips to remove the top and bottom, then cut straight down one side to flatten the cylinder into a sheet. Plastic bottles (one or two liter) give you lightweight curved surfaces. Cut spirals or lengthwise strips, and the natural bottle curve becomes the blade’s airfoil. Both materials need their edges filed or sanded smooth with 120 grit sandpaper so you don’t slice your hand during assembly or leave sharp points that could snag clothing or skin if someone walks past the finished sculpture.
Wire coat hangers straighten into sturdy armature wire for shaping loops, hooks, and simple frames. Use pliers to unbend the hanger, then cut it into 12 to 24 inch lengths with wire cutters or a hacksaw. Galvanized craft wire in 16 or 18 gauge works well for binding blades to dowels or rods. It’s thick enough to hold shape but flexible enough to twist tight by hand. Wooden dowels salvaged from closets, old brooms, or yard sale finds (usually three quarters to one inch diameter) serve as masts or cross arms. If you need counterweights to balance uneven blades, old spoons, metal washers, fishing sinkers, or even a few pennies taped together do the job. Aim for small adjustments of 5 to 50 grams per arm.
Typical recycled components you’ll reach for:
Soda cans: cut into 3 by 6 inch petals, curl edges outward for safety and style.
Plastic bottles: slice into 2 by 8 inch strips, drill quarter inch mounting holes at one end.
Wire hangers or scrap wire: straighten and cut into arms, loops, or attachment points. Sand any rough ends.
DIY Pivot and Bearing Methods for Smooth Kinetic Movement
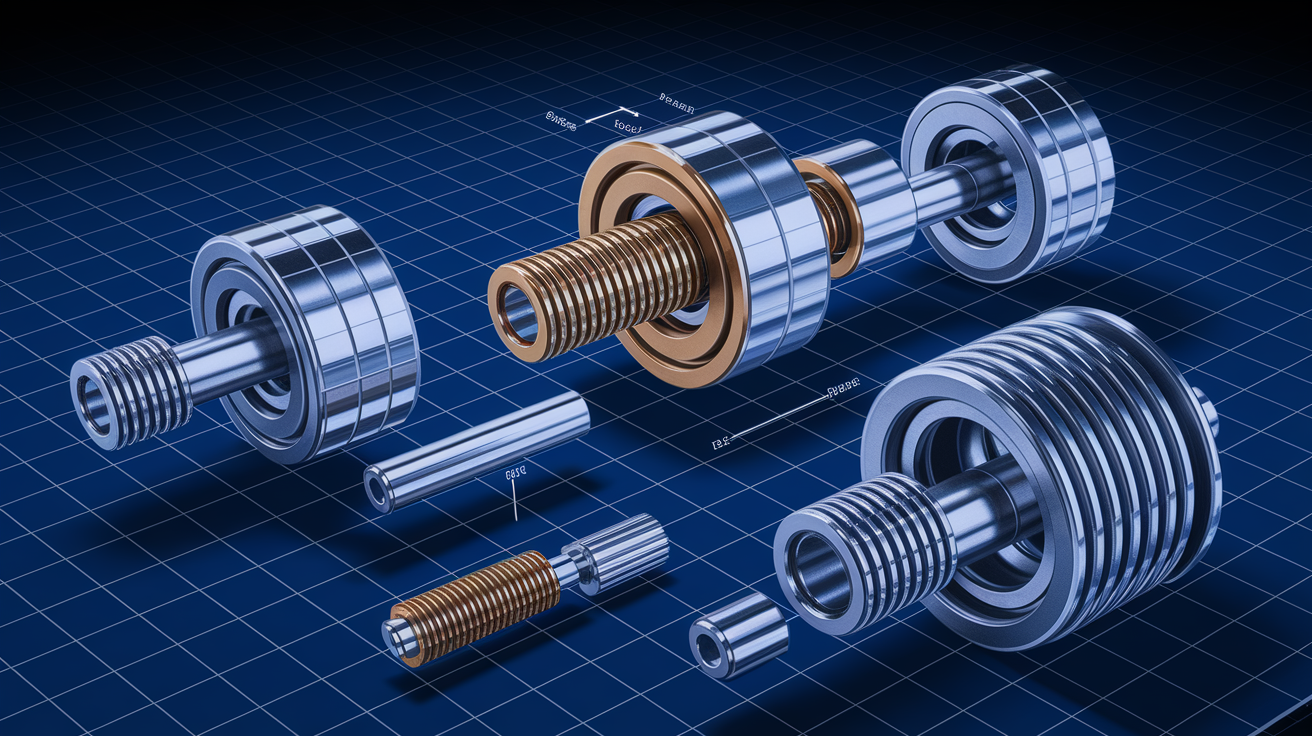
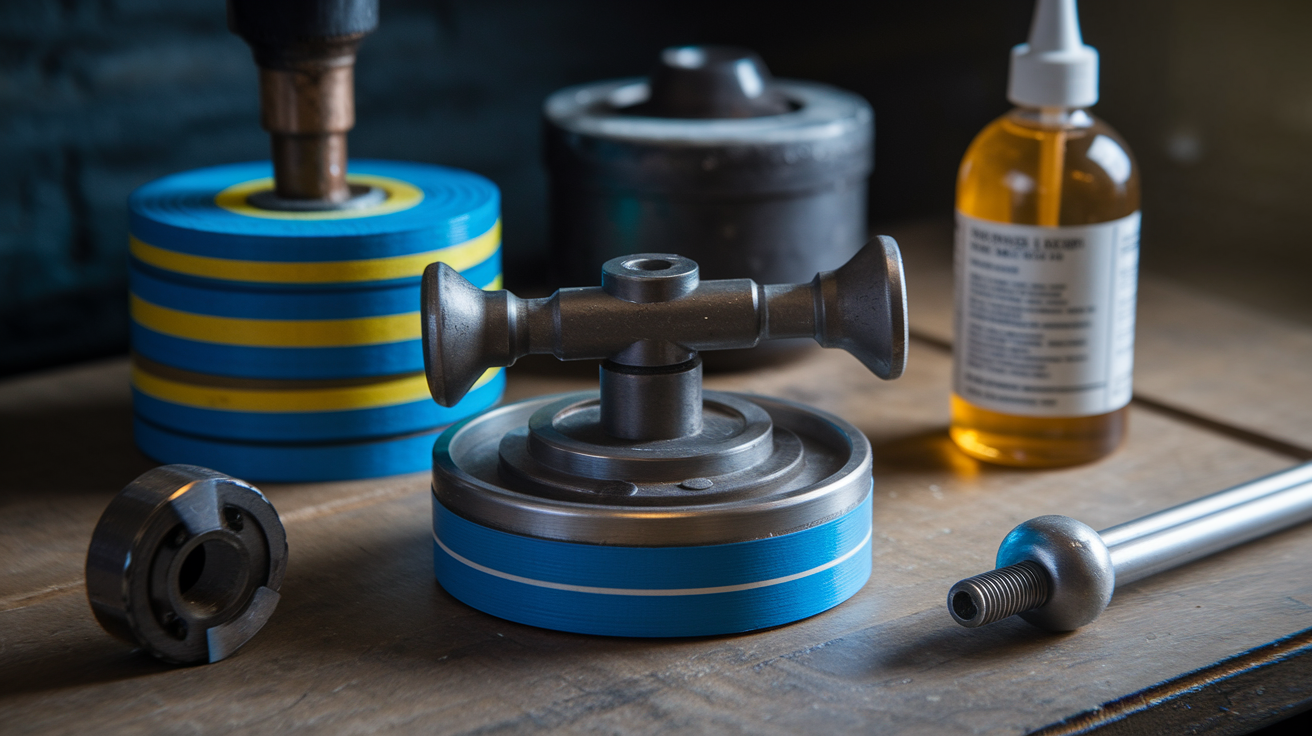
The pivot is where your sculpture either spins freely or sticks and wobbles, so match your choice to the size and weight of your project. A fishing swivel (the kind with a barrel and two rings that costs one to five dollars at any tackle shop) handles small spinners up to about two pounds beautifully. Thread a screw eye through one ring and hang the sculpture from the other, and the internal ball bearings let it rotate with almost no friction. For medium projects, a sealed ball bearing with a half inch inside diameter pressed onto a quarter inch threaded rod gives smooth motion and lasts years outdoors, though you’ll spend five to twenty five dollars depending on the bearing’s quality and whether you buy online or at a hardware store.
If you want the absolute lowest friction and don’t mind a little extra setup, a knife edge pivot (where a sharpened metal edge rests in a V notch or shallow cup) eliminates rolling resistance entirely, but it demands careful alignment so the edge stays centered and doesn’t walk sideways under load. For larger or heavier whirligigs, a pillow block bearing bolted to the top of a post costs ten to forty dollars but handles several pounds and years of weather without needing adjustment. Whatever pivot you choose, keep it clean. Wipe dust and pollen off every few months, add a drop of lightweight machine oil or silicone lubricant if rotation gets sluggish, and check that mounting screws stay tight after the first week of outdoor use.
| Pivot Type | Best Use |
|---|---|
| Fishing swivel | Small hanging mobiles under 2 lb; lowest cost, easy to install, works indoors or out. |
| Ball bearing on rod | Medium spinners 2–6 lb; smooth rotation, handles faster speeds, needs simple press fit or retaining clips. |
| Pillow block bearing | Heavy yard sculptures over 6 lb; bolts to post top, sealed against weather, longest lifespan. |
Balancing Techniques for Homemade Kinetic Wind Sculptures

Balance determines whether your sculpture spins smoothly or lurches and vibrates itself apart. You’re aiming to get the center of mass within about an eighth of an inch (three millimeters) of the pivot point. Start by hanging the assembled spinner from a piece of string looped around the dowel or rod at roughly the middle. If one side dips, that side is heavier and needs material removed or a counterweight added to the opposite side. You can drill small relief holes in heavy blades, trim a sliver off the edge with tin snips, or glue a washer or small fishing weight to the light side. Add weight in tiny steps, one to five grams at a time, because overshooting means you’ll be peeling washers back off and starting over.
Blade pitch (the angle each blade makes relative to the hub) affects how much torque the wind generates and how fast the spinner starts. Shallow angles from 5 to 15 degrees catch less wind and spin slowly, producing a calm, meditative motion that works well in light breezes. Steeper angles from 15 to 30 degrees grab more wind and spin faster, but they also demand stronger gusts to overcome inertia and get moving. If you’re working with a 0.01 square meter blade (about 15 square inches) in a 5 meter per second breeze (roughly 11 miles per hour), the wind pushes with a force around 0.15 newtons. Hang that blade on a 12 inch lever arm and you generate about 0.045 newton meters of torque, which is enough to overcome a well lubricated fishing swivel but might stall against a rusty eye bolt wrapped in two washers.
Here’s how to tune balance in five steps:
- Hang the sculpture horizontally from a single point of string or rest it on a narrow rod so it can tip freely in any direction.
- Mark the heavy side with a piece of tape or a dab of paint once it stops moving.
- Add a small washer, penny, or blob of epoxy (5 to 10 grams) to the opposite side, or drill a shallow relief hole in the heavy blade to remove material.
- Test again by hanging or spinning the sculpture by hand. If it still favors one side, repeat step 3 with smaller adjustments (1 to 5 grams).
- Lock in the final configuration by tightening all fasteners with locknuts or a drop of threadlocker adhesive, then give the spinner a full speed spin to check for vibration or wobble.
Adjusting Balance With Micro Weights
Once you’re close to balanced, switch to very small counterweights. Single washers, short sections of solder wire, or even bits of modeling clay pressed onto a blade edge work well. Test rotation by spinning the sculpture with your hand. A perfectly balanced spinner will coast for several seconds without slowing abruptly or wobbling side to side. If it still vibrates, move weights in one gram steps (about the weight of a paper clip) until the motion smooths out. Some builders wrap thin copper wire around a blade’s mounting bolt and trim or add wraps until the sculpture spins true, which lets you fine tune without drilling new holes or waiting for epoxy to cure.
Step by Step Assembly of a Multi Blade Recycled Wind Spinner

This intermediate project uses four aluminum can blades mounted radially on a wooden cross arm and spins on a ball bearing, giving you smoother motion than a simple fishing swivel hanger and a chance to practice symmetrical layout. Start by cutting a 12 inch piece of three quarter inch dowel for the cross arm and marking four drilling points at 0, 90, 180, and 270 degrees around the circumference, about one inch from each end and at the halfway points. Drill quarter inch holes straight through the dowel at those marks, then cut four 6 by 3 inch rectangles from flattened soda cans, file the edges, and curl one short edge around a pencil to create a slight airfoil curve. Drill a quarter inch hole in the flat (uncurled) end of each blade, then trial fit the blades into the dowel holes to check alignment. They should all point the same rotational direction and sit at roughly the same angle.
Thread a quarter inch bolt (one to two inches long) through each blade hole and through the matching dowel hole, slipping a washer on both sides to prevent the aluminum from tearing under load, and secure with a locknut tightened just enough to hold the blade firm but still let you twist it slightly for pitch adjustments. Drill a quarter inch center hole through the exact middle of the cross arm (measure carefully and use a center punch to keep the bit from wandering), then press or tap a half inch ball bearing into a short length of PVC pipe or a wooden collar that friction fits over the dowel. Epoxy the collar in place once you’ve confirmed the bearing spins freely. Mix a small batch of two part epoxy (about 10 milliliters) and apply a bead around each blade’s mounting bolt where it passes through the dowel, filling any gaps to lock the pitch angle and weatherproof the joint. Let the epoxy cure for at least four hours, then mount the cross arm on a threaded rod or bolt inserted through the center hole and secured above and below the bearing with washers and locknuts.
Complete assembly in seven steps:
- Mark and drill four evenly spaced quarter inch holes around the dowel, plus one center hole.
- Cut four identical blades from aluminum cans, file edges smooth, drill mounting holes.
- Insert bolts through blades and dowel holes, add washers on both sides, hand tighten locknuts.
- Adjust blade pitch to 10 to 20 degrees by twisting each blade on its bolt, checking that all four match.
- Install a half inch ball bearing in a collar or housing at the center hole, securing with epoxy.
- Thread a quarter inch rod through the bearing, lock it above and below with washers and nuts.
- Apply epoxy around each blade bolt and any gaps in the bearing housing, let cure overnight, then test spin by hand before mounting outdoors.
Weatherproofing and Finishing DIY Wind Sculptures for Outdoor Use

Bare aluminum and galvanized wire can survive a season or two, but primer and paint add years of life and let you choose colors that pop against your garden or patio backdrop. Start with a single coat of rust inhibiting primer (spray cans work best for intricate shapes with lots of joints), then apply one or two coats of exterior enamel in your chosen color, waiting at least an hour between coats so the paint dries fully. A final coat of clear UV sealer or marine varnish (polyurethane or spar varnish both work) protects the color from fading and adds a waterproof shell. Brush it on or use a spray can, aiming for a thin, even layer that won’t drip or pool in corners. One 12 ounce spray can of enamel typically costs six to twelve dollars and covers one or two small sculptures, while a pint of marine varnish runs ten to twenty dollars and handles several projects.
Run a thin bead of clear silicone caulk (about 3 to 5 grams per joint) around any threaded rod where it passes through wood or metal, and around the base of each blade bolt, to seal out rainwater that would otherwise wick into the grain or collect in bolt holes and rust fasteners from the inside. Use stainless steel or galvanized hardware wherever possible. Regular steel bolts and washers will streak orange rust down your blades within weeks. If you’re working with wood dowels, apply two coats of exterior deck stain or marine spar varnish to prevent cracking and rot, and check every spring for cracks or loose joints that need fresh caulk or a touch up coat of paint.
Quick weatherproofing checklist:
Prime bare metal: one coat rust inhibiting primer, especially on cut edges of aluminum cans or steel components.
Color coat: one to two coats exterior enamel, let each coat dry fully before handling.
UV top coat: one coat clear polyurethane or marine varnish to lock in color and repel water.
Seal joints: silicone caulk around bolt holes, bearing housings, and any wood to metal interfaces. Wipe away excess before it cures.
Mounting and Display Options for Small Yards, Patios, and Balconies

Small hanging mobiles fit perfectly under porch eaves or on shepherd’s hook stakes pushed into a flower bed. Screw a quarter inch eye screw into an eave rafter or beam, hang your sculpture from a short chain or wire loop, and you’re done in five minutes. For spinners mounted on a vertical stake, a three quarter inch metal pipe driven 12 to 18 inches into the ground gives a sturdy base. Slide the sculpture’s mast into the pipe, drill a cross hole near the top, and drop in a bolt to lock everything in place. Taller sculptures (anything over about four feet high) benefit from a four by four treated lumber post sunk 12 inches in concrete or a half inch threaded rod epoxied into a concrete footing at least 12 inches deep, because wind loads multiply with height and a wobbly base means your sculpture will vibrate or tip in the first strong gust.
Mount height between four and six feet works well in most yards. The sculpture catches steady breezes above low shrubs but stays low enough to admire without binoculars. Balcony and patio railings accept U bolt clamps sized for one to two inch rails. Wrap the U bolt around the rail, thread the sculpture’s mast through a hardware clamp or collar bolted to the flat side of the U bolt, and tighten locknuts to prevent the whole assembly from rotating. Avoid placing large spinners near walkways where blades might brush someone’s head or shoulder, and take down or lower any sculpture taller than six feet during storms or sustained winds above 20 miles per hour. Tall rotors can generate surprising pull forces that bend stakes or crack wooden posts.
Three common mounting options:
Shepherd’s hook or eave hanger: eye screw and chain for mobiles under 2 lb, easy install and removal.
Ground stake: three quarter inch metal pipe or rebar driven 12 to 18 inches deep, holds sculptures up to 5 ft tall.
Permanent post or rod: four by four timber post or half inch threaded rod in concrete footing, for sculptures over 5 ft or in high wind areas.
Troubleshooting Common Issues With DIY Kinetic Wind Sculptures
When your spinner wobbles instead of gliding smoothly, the center of mass is off. Hang it horizontally again and check which side dips, then add or remove a few grams of counterweight until it rests level. If the sculpture spins freely by hand but refuses to start in a breeze, either blade pitch is too shallow (increase angle toward 15 to 25 degrees), the pivot has too much friction (clean and lubricate or replace the swivel), or the blades are too small to generate enough torque (add blade area or increase the lever arm by moving blades farther from the hub). Sluggish rotation that starts then stalls usually points to a dirty or binding pivot. Pull the sculpture down, wipe the bearing or swivel with a rag, apply one or two drops of light machine oil, and test again.
Noisy clicks or squeaks come from metal on metal contact at the pivot or from loose hardware rattling in the wind. Add a rubber washer or felt pad between moving parts, tighten all nuts and bolts with a wrench (hand tight plus a quarter turn), and apply a drop of threadlocker adhesive to bolts that keep working loose. If the sculpture spins too fast and hums or rattles in moderate wind, reduce blade pitch to slow it down, or trim a half inch off each blade to lower surface area and wind load. High winds that bend or twist your sculpture usually mean the mounting stake or post is undersized. Either shorten the sculpture, move it to a more sheltered spot, or upgrade to a thicker stake or deeper footing.
Five quick fixes for common problems:
Wobble or uneven spin: rebalance by moving counterweights in 1 to 5 gram steps until center of mass aligns within 3 mm of pivot.
Stalls or won’t start: increase blade pitch toward 20 to 30 degrees, clean and lubricate pivot, or add blade area.
Noisy clicking: tighten all fasteners, add rubber washers at contact points, lubricate bearing.
Spins too fast: reduce blade pitch or trim blade length by 1 to 2 inches.
Bends in strong wind: shorten sculpture, upgrade to a deeper stake or thicker post, or take it down during storms.
Creative Variations and Artistic Enhancements for Recycled Wind Art
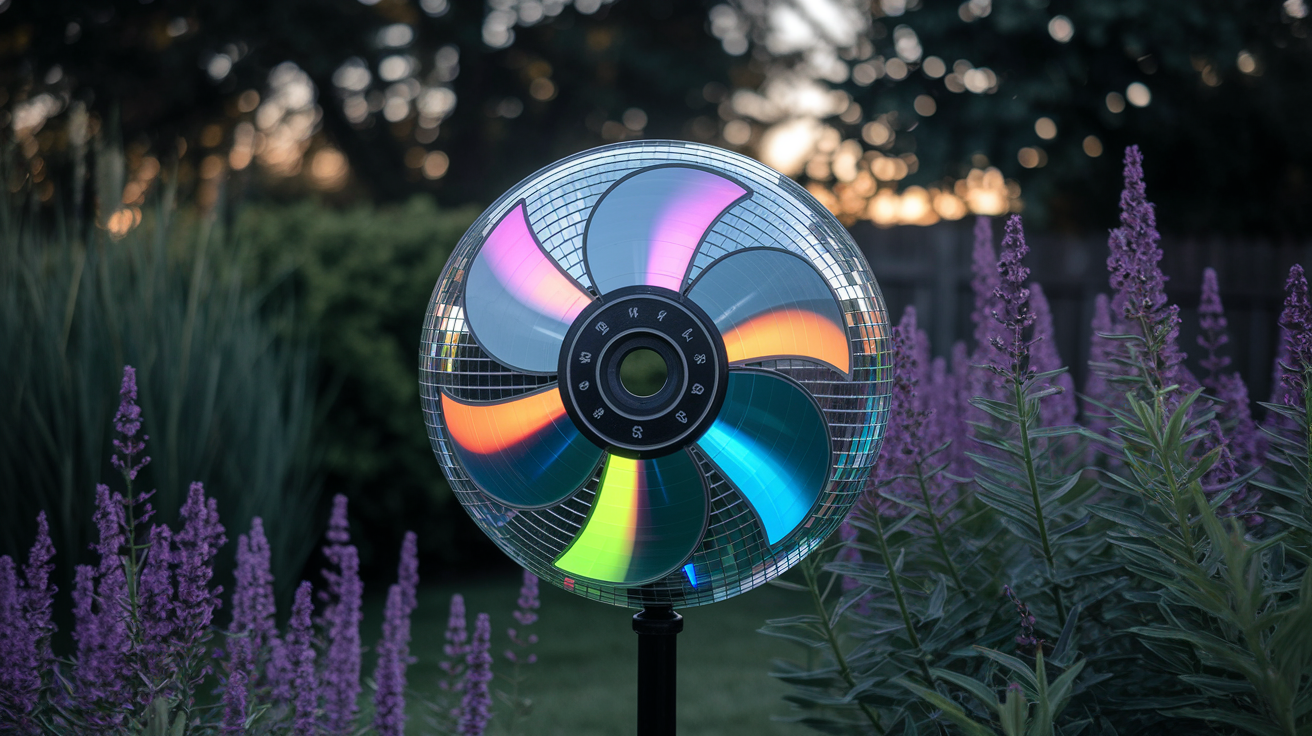
Old CDs or DVDs catch sunlight and throw rainbow spots across your patio. Drill a small hole near the edge, wire or bolt one to the center of each blade, and your spinner becomes a kinetic disco ball on breezy afternoons. Bottle caps strung on fishing line or thin wire make lightweight wind chimes that hang from the arms of a mobile or dangle below a rotor. Drill two tiny holes in each cap, thread them onto 12 to 18 inch strands, and space the strands around the sculpture so they clink together when the wind spins the assembly. Reflective tape (the kind used on bicycles or mailboxes) adds visibility at dusk and costs just a few dollars per roll. Cut small triangles or strips and stick them to blade tips or along the edges of metal petals.
Solar powered LED stakes (20 to 50 lumens, around five to fifteen dollars at garden centers) can be zip tied to the base of a sculpture or wired into a hub, turning your kinetic art into a glowing nighttime focal point that charges during the day and lights up automatically after sunset. Glow in the dark spray paint absorbs daylight and emits a soft green or blue glow for a few hours after dark. One or two light coats over your final clear sealer adds just enough luminescence to outline the sculpture’s shape without looking garish. Mix materials for contrast: pair shiny aluminum can blades with matte painted plastic bottle vanes, or combine copper wire arms with galvanized steel washers for a steampunk look that weathers into varied patinas over time.
Four ways to customize your spinner:
Add reflective elements: CDs, mirror tiles, or reflective tape for daytime sparkle and motion tracking.
Integrate lighting: solar LEDs or glow paint for evening visibility and ambient garden lighting.
Layer colors: paint each blade a different shade, or use color shifting automotive paint for dynamic effects as the sculpture rotates.
Modular arms: attach blades with quick release pins or wing nuts so you can swap seasonal colors or shapes in under two minutes.
Final Words
You cut blades, drilled a pivot, balanced the hub, and tested the spin — step-by-step and doable with common tools and recycled bits.
If something wobbles or feels stiff, fine-tune balance, grease the pivot, or change blade pitch. Weatherproof, mount where the breeze reaches, and expect a small spinner to take 1 to 3 hours and cost about $5 to $30.
Try building small first, then scale up. Make your own DIY kinetic wind sculptures using household materials. It’s simple, low-cost, and brings a bit of backyard joy.
FAQ
Q: What are David Roy’s kinetic sculptures made of and what materials are used in kinetic art?
A: David Roy’s kinetic sculptures are often made from metals like aluminum or steel, rods, bearings, and reclaimed bits; kinetic art more broadly uses metal, plastic, wood, wire, and weatherproof finishes for outdoor use.
Q: How to make a wind spiral?
A: Making a wind spiral involves cutting a spiral from thin sheet metal or plastic, mounting it on a central rod with a low-friction swivel, balancing it, and angling the blades so the breeze makes it spin smoothly.
Q: How to create sculptures at home?
A: Creating sculptures at home means using low-cost or recycled materials (cans, bottles, coat hangers), basic tools (snips, pliers, drill), shaping blades and arms, adding a pivot, balancing, then weatherproofing for outdoor display.