


Think automated irrigation is only for big lawns or gadget lovers?
It isn’t.
You can install a reliable automated drip system for your raised beds in about half a day, no plumbing license or fancy tools required.
This guide walks you step by step through what to buy, a simple layout to stop dry spots, and the easy hookups from spigot to emitters.
By the end you’ll have a timer-based system that waters at dawn, saves you hauling hoses, and keeps plants evenly moist.
Quick-Start Guide to Automated Drip Irrigation Setup in Raised Beds
You can install a complete automated drip irrigation system for your raised beds in about half a day. No plumbing license needed. No fancy tools either. The system connects to your outdoor spigot and uses a simple sequence of connectors, tubing, and a battery-powered timer to deliver water directly to plant roots every morning while you’re still asleep.
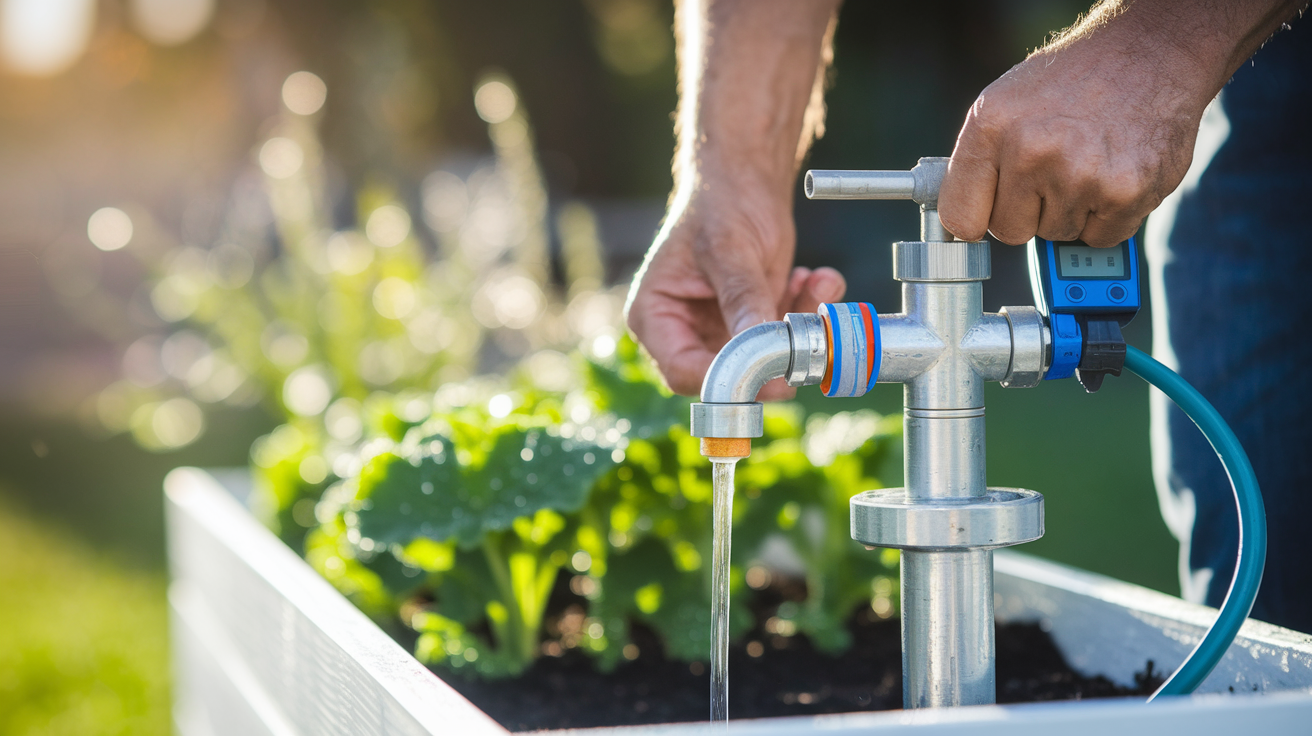
Start by attaching a T connector (some people call it a Y splitter) to your nearest outdoor faucet. Wrap plumber’s tape around the male threads before you screw it on so it doesn’t leak. Connect your automatic timer to one side of the T and leave the other side closed for now so you can still use the spigot for other tasks. Below the timer, add a pressure regulator if your timer doesn’t already have one built in. This protects the thin drip lines from bursting when water pressure spikes.
Run hose, PVC, or poly tubing from the spigot out to your raised beds. If you want the tubing hidden and protected from foot traffic or garden tools, bury it in a shallow trench about 4 to 6 inches deep. Use an elbow bracket to bring the tubing up into each raised bed, then transition to your drip line (the thin tubing with built-in emitters or holes) right at the soil surface. Straighten the drip line by laying it in the sun for a day or two. Then arrange it across your bed, connect one end to the elbow bracket, cap the far end with a goof plug, and pin the line in place with landscape stakes. Program your timer by setting the current time and the start time for watering. 4:00 to 5:00 a.m. is ideal because it gives foliage time to dry before evening, reducing disease risk.
Installation steps:
- Attach T connector to spigot using plumber’s tape on threads.
- Connect automatic timer to one side of the T connector.
- Add pressure regulator below the timer if needed.
- Run tubing from spigot to beds. Bury 4 to 6 inches if desired.
- Bring tubing into each bed with an elbow bracket and transition to drip line at soil surface.
- Straighten and arrange drip lines on soil. Connect one end and cap the other with a goof plug. Stake in place.
- Program timer with current time and early-morning start time. Test the system.
Once the timer is set, your raised beds get consistent, automatic watering every day or every few days depending on your schedule. You can adjust run times seasonally without hauling hoses or guessing whether you watered enough.
Essential Components for Automated Drip Irrigation in Raised Beds
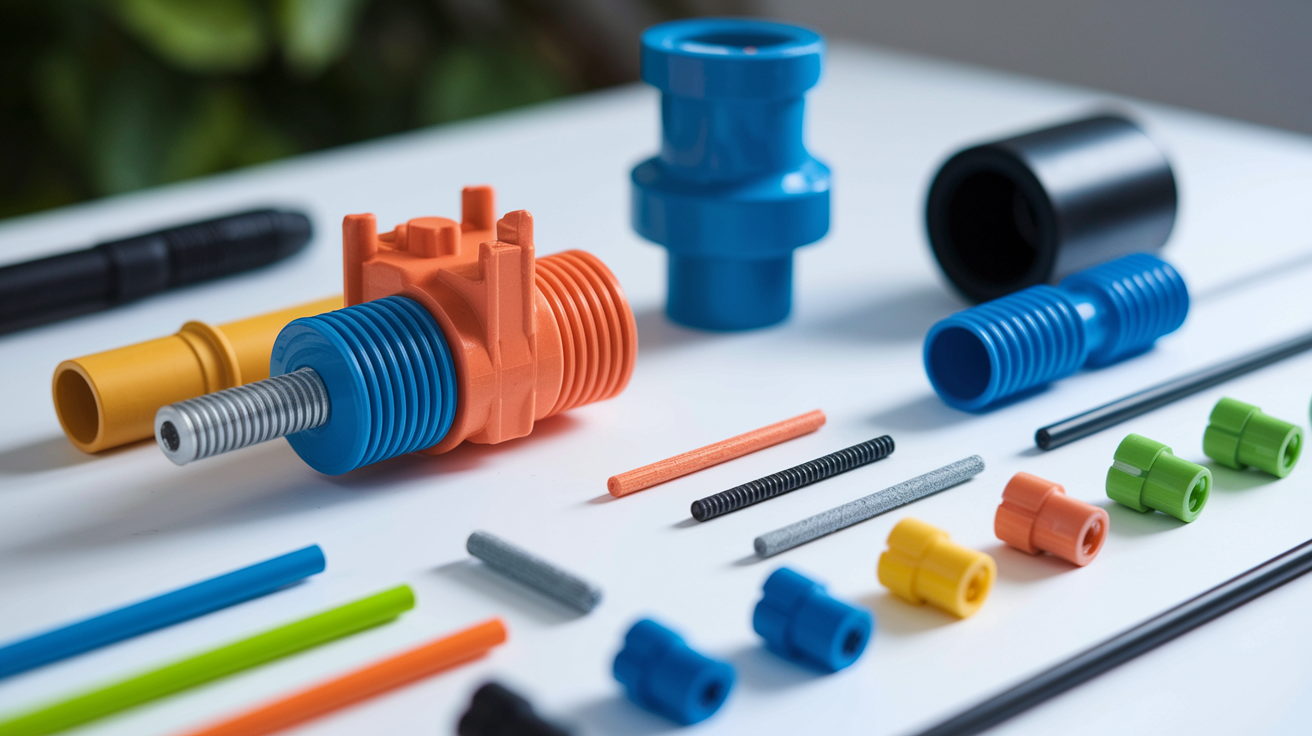
A complete automated drip system uses a few specialized parts that work together to deliver low, steady pressure and clean water to your plants. The water flows from your spigot through a sequence of safety devices, filters, regulators, and splitters before it reaches the tubing and emitters. Each piece has a job. The vacuum breaker prevents dirty garden water from siphoning back into your household supply. The flushable Y filter traps grit and debris that would otherwise clog tiny emitter holes. And the pressure regulator drops your household water pressure (usually 40 to 80 PSI) down to a safe level for drip lines, often 25 PSI or lower. Without that regulator, the thin 1/4-inch drip tubing can blow apart or pop off connectors mid-season.
Most all-in-one drip kits include the tubing, emitters, stakes, and connectors you need. But they rarely include the automatic timer, and some leave out landscape stakes or specialized adapters. You’ll almost always need to buy the timer separately. If you’re tapping into a pump or a non-standard spigot, you may also need a 1/2-inch poly-to-female-hose-thread adapter to make everything fit together.
Core parts list:
- Vacuum breaker (backflow preventer for safety)
- Flushable Y filter (removes sediment and prevents emitter clogs)
- Pressure regulator (example: one marked “25 PSI” for drip line protection)
- Y connector with shut-off valves (splits water to multiple beds or zones)
- Electronic automatic timer (example: Galcon 11000BT Bluetooth programmable timer)
- 1/2-inch polyethylene tubing (mainline or header that runs along all your beds)
- 1/4-inch drip line with emitters (the tubing with holes that goes inside each bed)
- Power-Loc tees or T-connectors (tap the mainline to branch into individual beds)
- Elbow fittings (turn tubing up into raised beds)
- Shut-off valves (one per bed for individual zone control)
- End caps and goof plugs (seal unused ends and close accidental holes)
- Landscape stakes (secure drip lines to soil, often sold separately)
Kits vary widely in what they include, so read the contents list carefully before you buy. Some bundles give you everything except the timer and stakes. Others leave out the pressure regulator or provide only short lengths of tubing.
Designing Your Irrigation Layout for Raised Beds

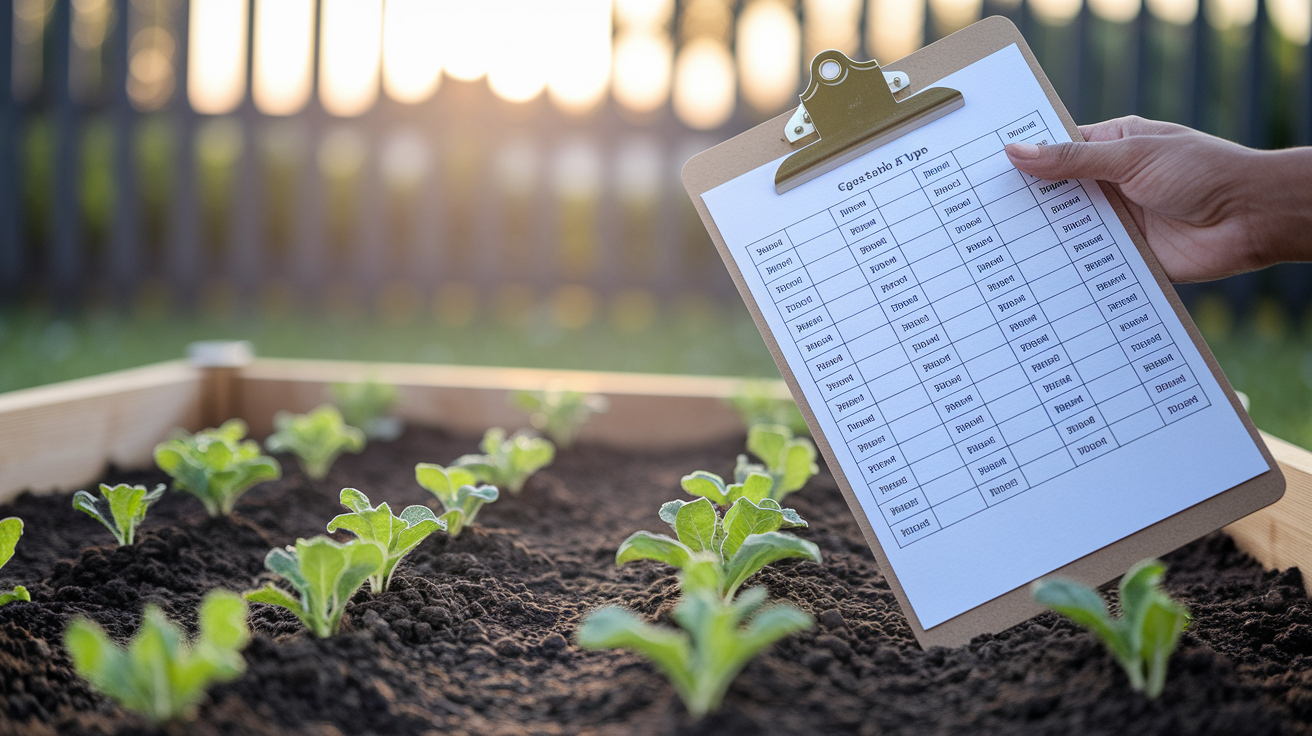
Before you start cutting tubing or punching holes, measure your beds and sketch a simple layout on paper or in your phone. Write down the length and width of each bed, the distance from your spigot to the first bed, and the spacing between beds if you have multiple rows. This quick map helps you buy the right amount of tubing and shows you where to place tees, elbows, and shut-off valves so every bed gets water without a tangle of extra line.
Plan to run one 1/2-inch poly mainline (also called a header line) along the length of your garden, close to the base of all your raised beds. Use Power-Loc tees or standard barbed tees to branch off the mainline into each bed. For beds that are about 2 feet wide, you’ll want at least two parallel runs of 1/4-inch drip line inside the bed. Three runs give even better coverage and keep the soil evenly moist without dry pockets in the center. If your beds are 3 or 4 feet wide, add more drip lines so no plant is farther than about 8 to 10 inches from an emitter.
If you’re watering more than one garden area (like a front bed and a backyard bed), consider using a Y connector with individual shut-off valves right at the spigot so you can run separate zones on different schedules. That way, your lettuce bed can get water every morning while your tomato bed only waters every other day. Keep the mainline layout simple and direct. Fewer bends and fewer joints mean fewer potential leaks and less friction loss in the line.
Installing Tubing and Connectors for Raised-Bed Drip Systems
Poly tubing comes off the roll stiff and coiled, which makes it hard to lay flat and even harder to thread through tight spots. Unroll it in the sun or weight it flat with boards or bricks for a day or two before you install it. This saves a lot of frustration when you’re trying to hold a connector and push tubing at the same time. If you’re burying the mainline to hide it or protect it from foot traffic, dig a trench about 4 to 6 inches deep along your planned route, lay the tubing in, and backfill lightly with soil. If you’re running tubing above ground, secure it to the edges of your raised beds with C-clamps or zip ties so it doesn’t shift when you bump it with a wheelbarrow.
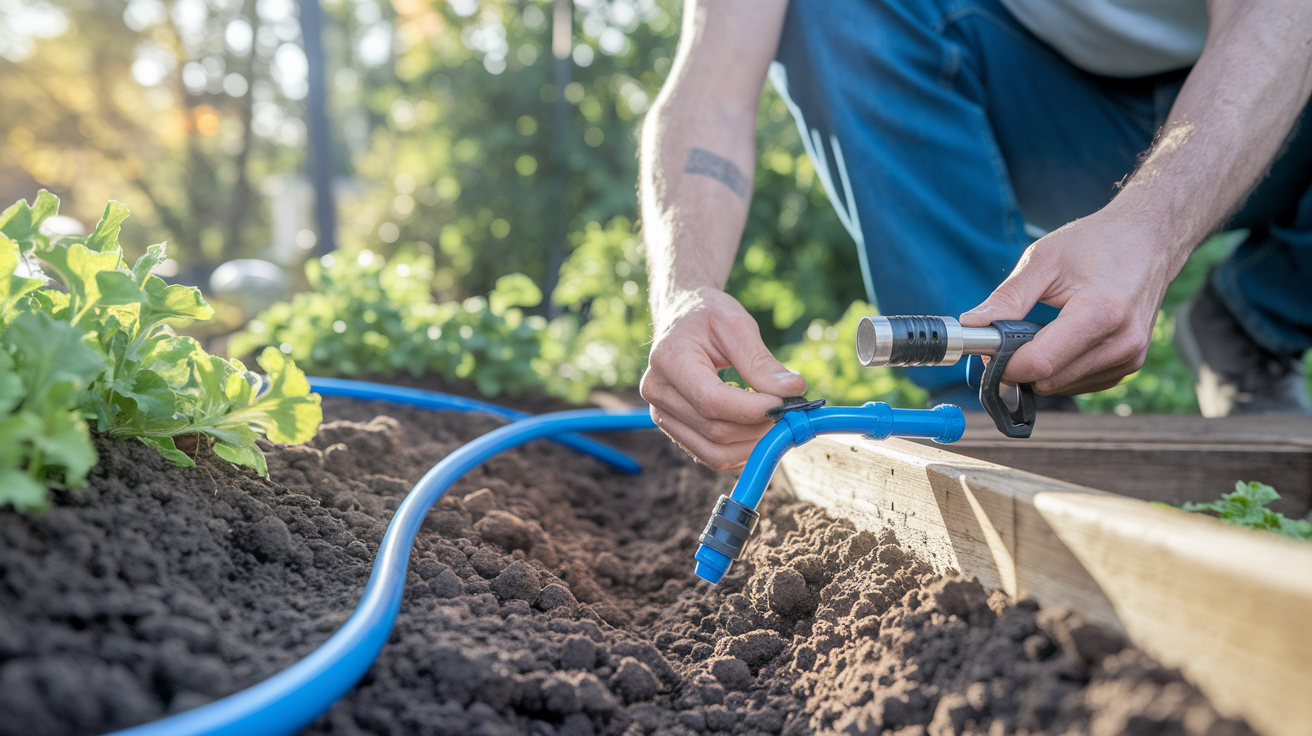
For each raised bed, you’ll install one T-connector on the mainline at the base of the bed, one elbow fitting to turn the tubing up and into the bed, one shut-off valve so you can control that bed independently, and one end cap on the section of mainline past the bed. Use three C-clamps per bed to hold everything steady: one below the elbow, one after the shut-off valve, and one before the end cap. Punch holes in the 1/2-inch tubing with a hole punch tool (a cheap plastic punch works fine), then press barbed drip-line connectors into the holes and attach your 1/4-inch drip lines. Each drip line runs across the bed parallel to the plants, staked down every foot or so with landscape pins, and ends with a goof plug to seal the line.
Installation steps for each bed:
- Mark the spot on your mainline where the bed starts and punch a hole with a hole punch.
- Insert a T-connector (or Power-Loc tee) into the hole.
- Attach an elbow fitting to turn the tubing up into the raised bed.
- Connect a short run of 1/2-inch tubing, then add a shut-off valve and another short piece of tubing before capping the end.
- Secure the assembly with C-clamps below the elbow, after the valve, and before the cap.
- Punch holes in the horizontal tubing inside the bed, insert drip-line connectors, attach 1/4-inch drip lines, stake them in place, and seal the ends with goof plugs.
Test the system as soon as you finish each bed. Turn on the water, watch for leaks, and check that every emitter is dripping. If a connection leaks, take it apart, wrap plumber’s tape on any threaded fittings, and reassemble. If tubing pops off a barbed connector, the barbs may be damaged or the tubing may be too stiff. Warm the tubing end in hot water for a few seconds to soften it, then push it back on.
Choosing and Positioning Emitters for Raised Bed Irrigation
Emitters come in several types: inline drippers (built into the drip line at fixed spacing, usually every 6 or 12 inches), adjustable drippers (individual nozzles you insert wherever you want), micro-sprayers (small spray heads that cover a circle or half-circle), mini-sprinklers (rotating heads for larger coverage), and soaker hoses (porous tubing that weeps water along its entire length). Inline drippers are the easiest to install because they’re already part of the drip line. You just lay the line along your plants and stake it down. Adjustable drippers let you fine-tune flow for each plant, which is helpful if you’re mixing tomatoes and lettuce in the same bed and they need different amounts of water.
Micro-sprayers and mini-sprinklers can cover more area than drippers, but they depend on adequate system pressure to reach their advertised spray diameters. A 180-degree sprayer may claim a 7-foot reach and a 360-degree sprayer an 11-foot reach, but you’ll only hit those distances if your system is running at the pressure the manufacturer tested. Many home setups don’t. If your pressure is low or your regulator is set to 25 PSI for drip-line protection, sprayers will wet a smaller circle than the package shows. Position any emitter type close to the root zone of each plant. Within 4 to 6 inches for shallow-rooted crops like lettuce and herbs, and within 8 to 10 inches for deeper-rooted crops like tomatoes and peppers.
Emitter selection tips:
- Use inline drippers (6- or 12-inch spacing) for row crops and densely planted beds.
- Use adjustable drippers for individual large plants or containers inside raised beds.
- Use micro-sprayers for small beds where a gentle spray won’t disturb seedlings.
- Use soaker hoses (like Mr. Soaker) for deep, even wetting along the entire bed length.
- Avoid mini-sprinklers in tight beds. They work better in open garden areas with higher pressure.
Stake drip lines and soaker hoses flat against the soil with landscape pins every 12 to 18 inches so they don’t curl up or shift when the timer turns on. If you notice dry spots after a few watering cycles, add another drip line or reposition emitters closer to the plants that aren’t getting enough coverage.
Setting Up the Automatic Garden Timer for Consistent Watering

Most battery-powered hose-end timers use two AA batteries and have a simple dial or button interface to set the current time, the start time, the watering duration, and the frequency (daily, every other day, twice a day, etc.). Start by installing fresh batteries, then set the clock to the current time of day. Next, set the start time for early morning. 4:00 to 5:00 a.m. is ideal because it gives plant leaves time to dry before the evening dew, which reduces the risk of fungal diseases like powdery mildew. Set the run duration based on your system’s flow rate: a typical starting point is 15 to 45 minutes per watering cycle, but you’ll adjust this up or down depending on how much water your plants actually receive and how fast your soil drains.
Some timers (like the Galcon 11000BT Bluetooth programmable model) let you program multiple start times per day and control the schedule from your phone. That’s handy during heat waves when you might need to water twice, once at 5:00 a.m. and again at 3:00 p.m. Simpler mechanical timers use a dial to set one start time and one duration, and they work just as reliably for most kitchen gardens. Check your timer’s battery level every six months and replace the batteries before they die. A dead battery means no watering, and you might not notice until your tomatoes wilt.
Seasonal adjustments are part of the routine. In spring and fall, you may only need to water every other day or even twice a week if it rains regularly. In midsummer, especially during hot, dry stretches, you may need to water every day or twice a day. Use a simple rain gauge in your garden to track rainfall, and turn the timer to “off” or skip a cycle if you’ve had a good soaking rain. Most timers have a manual override button so you can trigger an extra cycle without reprogramming the whole schedule. Useful if you’ve just transplanted seedlings and want to give them a drink right away.
Watering Schedules for Vegetables in Automated Drip Systems
Most kitchen-garden vegetables need about 1 inch of water per week, including rainfall. Because drip irrigation delivers water slowly, it can take several hours of total runtime to deliver that full inch. At a typical low flow rate, you might need 5 hours of watering spread across the week to hit the 1-inch target. The easiest approach is to break that into shorter, more frequent cycles: for example, run the system for 30 minutes every morning, six days a week, then check soil moisture and adjust. Sandy soils drain fast and need shorter, more frequent watering. Clay soils hold water longer and do better with longer, less frequent cycles.
Different crops have different root depths and water needs. Shallow-rooted crops like lettuce, spinach, and radishes dry out quickly and benefit from daily or every-other-day watering that keeps the top few inches of soil consistently moist. Deep-rooted crops like tomatoes, peppers, and cucumbers do better with less frequent but longer watering sessions that encourage roots to grow down. Watering every other day or every third day works well once plants are established. Herbs vary: basil likes steady moisture, while rosemary and thyme tolerate drier conditions and can go several days between waterings.
| Vegetable Type | Recommended Depth | Notes |
|---|---|---|
| Leafy greens (lettuce, spinach, kale) | Top 4–6 inches | Water daily or every other day; shallow roots dry out fast |
| Tomatoes, peppers, cucumbers | 8–12 inches | Water every 2–3 days once established; deeper watering encourages strong roots |
| Root crops (carrots, beets, radishes) | 6–8 inches | Keep soil evenly moist; inconsistent watering causes cracking or splitting |
| Herbs (basil, parsley, cilantro) | 4–6 inches | Basil needs steady moisture; Mediterranean herbs (rosemary, thyme) prefer drier soil |
Watch your plants for signs that your schedule needs tweaking. If leaves wilt in the morning before the sun is hot, you’re underwatering. If lower leaves turn yellow or you see mildew on foliage, you’re probably overwatering. Adjust run times and frequency in small steps. Add or subtract 5 minutes per cycle, or shift from daily to every other day, and observe for a week before making another change.
Preventing Clogs, Leaks, and Pressure Problems in Drip Irrigation
Clogged emitters are the most common drip irrigation headache. They happen when sediment, algae, or mineral deposits block the tiny holes in drip lines or spray nozzles. A flushable Y filter installed right after your spigot catches most debris before it enters the system. Flush the filter every month during the growing season by opening the small cap at the bottom and letting water rinse out any trapped grit. If you have hard water or well water with high mineral content, flush your drip lines at the end of each season by removing the end caps and goof plugs and running water through the system for a few minutes until it runs clear.
Leaks usually show up at threaded connections (spigot, timer, pressure regulator, Y connectors) or where barbed fittings join tubing. For threaded leaks, turn off the water, unscrew the leaky joint, wrap two or three turns of plumber’s tape around the male threads (wrap in the direction you’ll be screwing it on, so the tape doesn’t bunch up), and reconnect. For barbed fittings, pull the tubing off, inspect the barbs for damage, and push the tubing back on firmly. If it still leaks, the tubing may be too stiff or the barbs may be worn, so replace the fitting. Keep a few goof plugs on hand to seal accidental holes if you punch a hole in the wrong spot or decide to reroute a drip line.
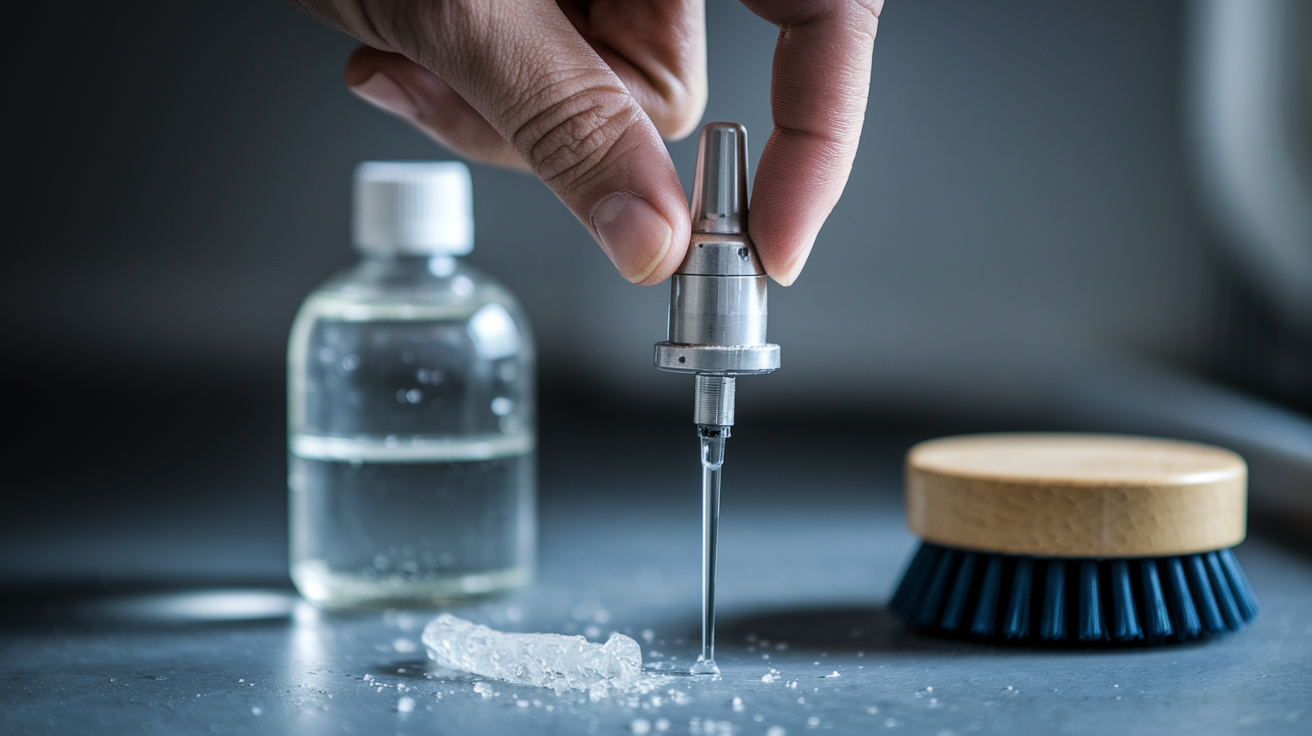
Pressure problems show up as weak spray from emitters, drip lines that barely trickle, or lines that burst and spray water everywhere. If emitters aren’t delivering enough water, check that your pressure regulator is installed and set correctly (most drip systems need 15 to 25 PSI), and make sure no shut-off valves are partially closed. If lines are bursting, your pressure is too high. Install or replace the pressure regulator, or turn down your household water pressure slightly at the main valve if you’re comfortable doing that. If only some emitters are clogged while others work fine, pull the clogged emitters and soak them in vinegar overnight to dissolve mineral buildup, then rinse and reinstall.
Quick troubleshooting checklist:
- No water at emitters: check that spigot is on, timer is programmed and has good batteries, and all shut-off valves are open.
- Weak flow: verify pressure regulator is installed and not clogged; flush filter; check for kinked tubing.
- Leaks at threads: apply plumber’s tape and retighten.
- Leaks at barbed fittings: push tubing firmly onto barbs; replace fitting if barbs are damaged.
- Bursting lines: install or replace pressure regulator; reduce system pressure.
- Plant symptoms: wilting + dry cracked soil = underwatered; yellowing leaves + mildew = overwatered.
Run a full watering cycle once a month and walk the system while it’s running. Look for leaks, listen for hissing air (a sign of a loose connection), and check that every emitter is dripping or spraying as expected. Catching small problems early keeps the system running all season without major repairs.
Seasonal Maintenance for Automated Drip Irrigation Systems
At the start of each growing season, flush all drip lines by removing end caps and goof plugs and running water through the system for a few minutes until debris washes out. Inspect tubing for cracks, sun damage, or rodent chews, and replace any damaged sections before you plant. Check that the pressure regulator hasn’t clogged or drifted out of spec. If flow seems weak, unscrew the regulator and rinse the internal screen under running water. Replace timer batteries at least once a year, or every six months if you’re running the system daily. Mark your calendar so you don’t forget.
During the growing season, observe one complete watering cycle about once a month to catch problems before they kill plants. Watch for dry spots (add emitters), wet spots (reduce runtime or move emitters), and any new leaks (tighten or re-tape connections). Adjust your watering schedule as the weather changes: increase frequency and duration during heat waves, and dial back or skip cycles after heavy rain. If you’re in a freeze-prone climate, winterize the system before the first hard frost by draining all tubing, disconnecting the timer, and storing it indoors, and blowing out or flushing lines to prevent ice damage.
Seasonal maintenance checklist:
- Spring: flush lines, inspect tubing for damage, replace worn fittings, install fresh timer batteries, test full system.
- Monthly during growing season: observe one full watering cycle, check filter, adjust schedule for weather, tighten any loose connections.
- Midsummer: increase watering frequency during heat waves, check soil moisture with your finger, watch plants for stress signals.
- Fall: reduce watering as temperatures drop and rainfall increases, clean filter one last time, note any repairs needed for next year.
- Winter (freeze climates): drain and blow out lines, disconnect and store timer indoors, cap spigot, inspect and replace any cracked tubing in spring.
A drip system that gets a little attention every few weeks will run reliably for years. And the time you spend on quick checks is a lot less than the time you’d spend dragging hoses around every morning.
Final Words
You attached the T connector, added the timer and pressure regulator, ran tubing into each bed, arranged drip lines, and set the timer. The 7-step flow usually takes about half a day and needs no plumbing skills.
You mapped headers and zones, chose emitters near root zones, and buried or staked tubing where helpful. Program early-morning run times and keep filters flushed and batteries fresh.
The result is automated, consistent watering for raised beds that saves time and helps plants thrive. If you’re setting up automated drip irrigation for raised beds, you’ll enjoy steadier moisture and fewer chores.
FAQ
Q: What is the 30/30 rule for drip irrigation?
A: The 30/30 rule for drip irrigation is running the system 30 minutes, pausing 30 minutes, then running another 30 to let water soak in and reduce runoff.
Q: What is the 200 rule for drip irrigation?
A: The 200 rule for drip irrigation means keeping main header runs shorter than about 200 feet to preserve pressure and ensure even emitter flow across beds.
Q: How many drip lines for 4×8 raised bed?
A: For a 4×8 raised bed, plan 3 to 4 drip lines spaced about 12–18 inches apart; 3 lines usually cover most vegetables, 4 helps dense plantings.
Q: How long to run drip irrigation on a raised bed?
A: The run time for drip irrigation on a raised bed is typically 15–45 minutes per cycle, adjusted for soil and plants; low-flow systems may need several short cycles to total about an inch per week.