


What if your next mural could grow and change with the seasons instead of needing toxic spray paint?
Moss graffiti mixes living moss with simple kitchen staples into a paste you paint on walls, fences, or wood.
It’s cheap, kid-friendly, and becomes a living, breathing art piece in your garden.
This post walks you through the recipe, best surfaces, watering and care, and how to fix common problems.
By the end you’ll be ready to plan, paint, and keep a moss mural that really takes root.
How to Make Eco‑Friendly Moss Graffiti (Step‑by‑Step)

Moss graffiti turns living moss into spreadable paint you can brush onto walls, fences, or garden structures. The process is simple: blend fresh moss with a few kitchen staples until you get a thick slurry, then paint it on. Unlike spray paint, this method creates artwork that actually grows. It spreads. It changes with the seasons.
The recipe uses ingredients you’ve probably got sitting around. Moss provides the living material, dairy (buttermilk or plain yogurt) helps it stick and re-root, and a little sugar feeds the process. You’re aiming for something that looks like thick pancake batter or hummus. Loose enough to spread, but thick enough that it won’t slide off the surface.
You don’t need special tools. A blender, a paintbrush, and the willingness to mist your mural every day for a few weeks will get you there. Finding enough moss is usually the hardest part.
Supplies you’ll need:
- 2 to 4 cups fresh moss (collected from your yard or bought as sheet moss)
- 1 cup buttermilk or plain yogurt
- 1/4 to 1/2 cup water
- 1 to 2 teaspoons sugar (or 1 tablespoon beer if you want)
- Blender (hand‑held or countertop)
- Spray bottle or mister
- Paintbrush, squeeze bottle, or pastry bag
- Stencils or painter’s tape (optional, for crisp edges)
Steps to mix and apply moss graffiti:
- Collect or buy fresh moss, keeping as much of the green growth as you can. If there’s soil or roots attached, shake off loose dirt but don’t rinse it completely. Some grit actually helps the mixture stick.
- Add moss, buttermilk (or yogurt), water, and sugar to a blender. Blend for 30 to 60 seconds until you’ve got a thick, grainy slurry. Too thick to spread? Add water one tablespoon at a time. Too runny? Toss in more moss.
- Clean your chosen surface with a brush and water. Get rid of loose paint, dust, whatever’s there. If the wall is really smooth, roughen it lightly with sandpaper or score it with a chisel so the moss has something to grip.
- Apply the slurry with a paintbrush, working it into the texture. For detailed designs, use a squeeze bottle or pastry bag. You want a layer about 1/8 to 1/4 inch thick. Go a bit thicker at edges if you want faster rooting.
- Mist the painted area right after you finish, then mist daily for the first two to three weeks. Keep it damp, not dripping.
- Continue misting two to three times per week for the next month or two. Adjust based on weather. Rain counts as watering, but if you’re in a dry spell, don’t skip.
The slurry will look brown or gray at first. It might darken even more as it dries. That’s normal. Visible green regrowth usually starts somewhere between two and eight weeks, depending on moisture, shade, and how much sun the wall gets. Full establishment takes six to twelve weeks in most climates.
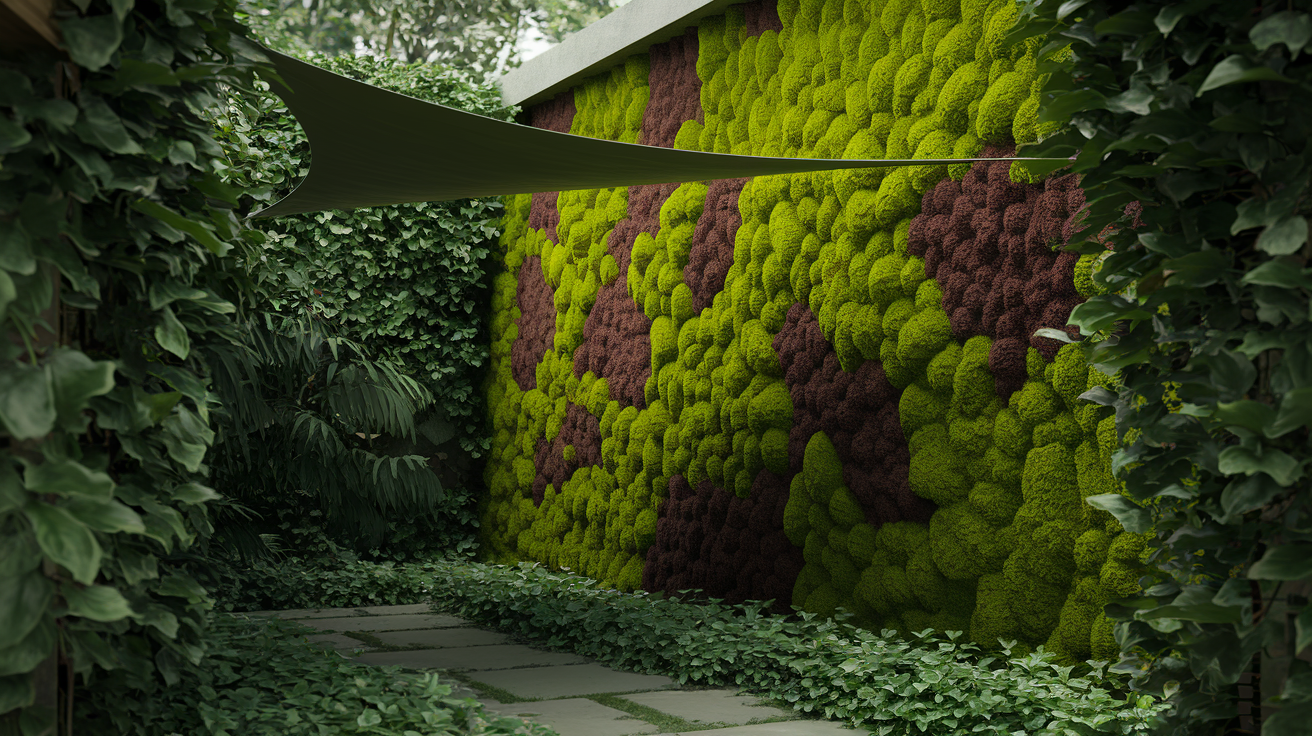
Choosing the Best Surfaces for Moss Murals

Moss needs a rough, porous surface to anchor and spread. Brick, stone, concrete, and untreated wood all work well because they hold moisture and give moss rootlets tiny crevices to grip. Smooth surfaces like glossy paint, sealed concrete, or metal don’t give the moss anywhere to attach. The slurry may dry out and flake off before it establishes.
If you’re working with a painted wall or really smooth concrete, roughen the area first. Light sanding, scoring with a chisel, or applying a thin layer of mortar or textured primer creates enough texture for the moss to take hold. Skip any surface treatments that include sealant or waterproofing. Those coatings repel moisture and prevent rooting.
Check the wall’s moisture behavior before you commit. Surfaces that stay damp after a rainstorm or morning dew are perfect. Walls that dry out within an hour or two in full sun will need constant misting and may never support a stable mural. If you’ve ever noticed moss growing naturally on a fence post or sidewalk crack nearby, that’s a good sign the surface and microclimate will work.
Optimal Growing Conditions for Long‑Lasting Moss Art
Moss thrives in shade or dappled light with consistent humidity. The best sites get less than 50 percent direct midday sun. Think north‑facing walls, spots under roof overhangs, or areas shaded by trees for most of the day. Too much sun dries out the moss faster than you can mist it, especially during summer heat.
Humidity matters as much as shade. Moss doesn’t have true roots, so it absorbs water directly through its leaves. In dry climates or during low‑humidity months, you’ll need to mist more often or add a shade cloth to slow evaporation. Coastal areas, foggy valleys, and regions with regular afternoon rain make moss graffiti way easier to maintain.
Cold isn’t usually a problem. Moss can handle frost and even light snow. But extreme heat will stall or kill new growth. If your summers regularly hit 95°F or higher for weeks at a time, start your mural in late fall or early spring so the moss can establish before the hottest months arrive. Established moss can tolerate brief dry spells better than fresh slurry.
Caring for and Maintaining Outdoor Moss Graffiti

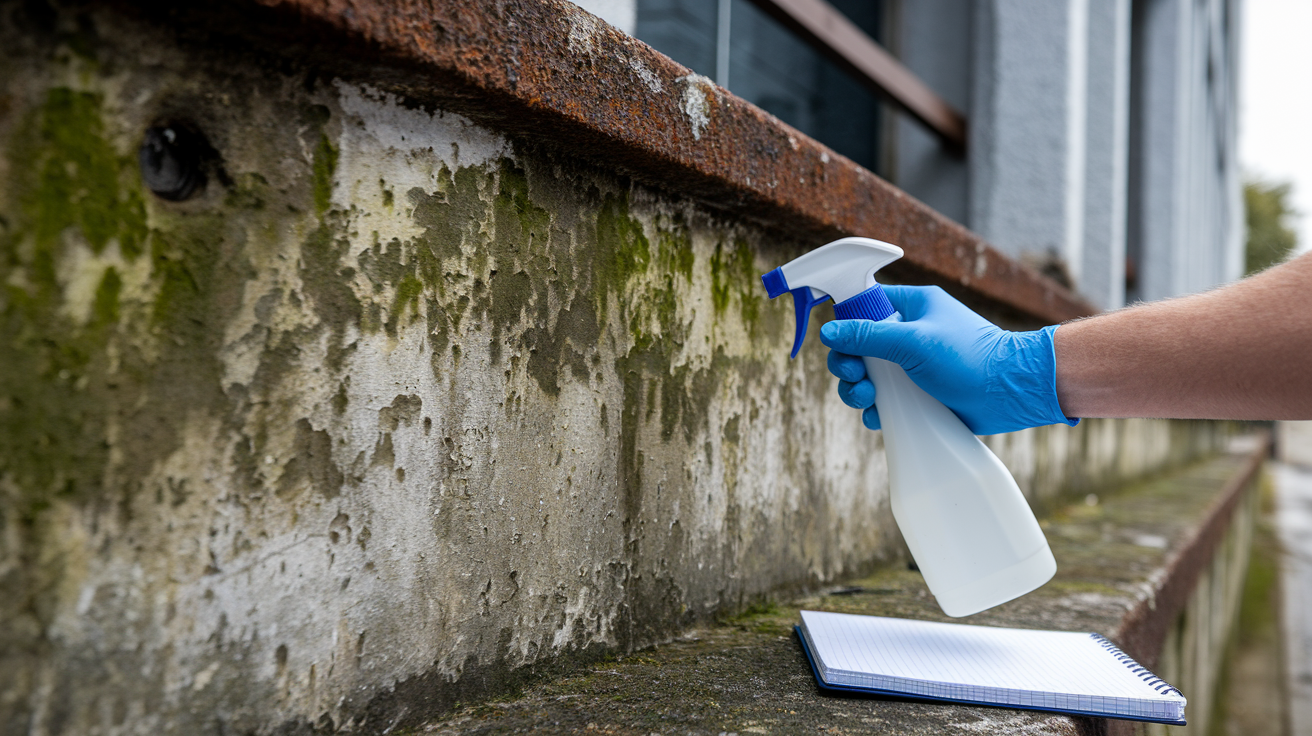
Daily misting for the first two to three weeks is the single most important task. Use a fine spray to dampen the moss without blasting it off the wall. Early morning or late afternoon misting works best. Midday watering in hot sun can scald the moss or evaporate before it soaks in.
After the initial establishment period, drop to two or three mistings per week for the next month or two. Watch the moss itself: if it looks bright green and plump, you’re watering enough. If it turns brown or crispy at the edges, increase frequency. During rainy weeks, you can skip supplemental watering entirely. But check the wall after the rain stops. Overhangs and sheltered spots may stay dry even in a downpour.
Seasonal adjustments keep the mural healthy long‑term. In winter, moss enters dormancy and needs little water unless you’re in a dry‑winter climate. Spring and fall are active growth seasons, so resume regular misting if natural rainfall drops off. Summer heat may require daily watering again, especially on walls that get any afternoon sun. After six months, most murals need only occasional maintenance misting during prolonged dry spells.
Troubleshooting Common Moss Graffiti Problems
Slow or absent growth usually comes down to too much sun, not enough water, or a surface that won’t hold moisture. If your mural hasn’t shown any green after eight weeks, check whether the wall dries out completely between mistings. Move to a shadier spot or increase watering frequency. Moss that turns brown soon after application is drying out faster than it can re‑root.
Poor adhesion happens when the slurry is too thin or the surface is too smooth. Thicken your next batch by adding more moss or reducing the water. If the moss paint slides off or peels away in sheets, roughen the wall and reapply a thicker layer, pressing it gently into the surface texture with a brush or your fingers. Wear gloves if you prefer.
Algae, mold, or filamentous green growth can appear if you’ve added too much sugar or if the wall stays wet in low‑airflow conditions. Reduce sugar to one teaspoon per batch and improve ventilation around the site if possible. You can gently scrub away algae with a soft brush and water, then touch up bare spots with fresh slurry. Persistent fungal issues mean the wall may be staying too wet. Let it dry out slightly between waterings.
Moss Species Suitable for Artistic Garden Murals

Sheet mosses (like those in the Hypnum family) are the easiest to blend and apply because they form flat, spreading mats with fine texture. These mosses tolerate blending without falling apart and re‑root quickly on rough surfaces. They’re common in shaded yards, along tree bases, and in moist garden beds, so you may already have them growing nearby.
Cushion mosses, including types like Bryum and Grimmia, create a bumpier, more three‑dimensional texture that can add visual interest to murals. They’re slightly harder to blend smoothly but work well if you want a textured, organic look rather than a flat painted appearance. Cushion mosses also tend to be more drought‑tolerant once established, which helps in climates with unpredictable rain.
Fern moss (Thuidium) has a delicate, feathery structure that photographs beautifully and adds fine detail to designs. It’s more fragile during blending, so mix gently and expect a chunkier slurry. Use locally native species whenever possible. They’re already adapted to your climate and won’t disrupt the local ecosystem. Avoid using preserved or dried decorative moss sold for crafts. It won’t regrow and will just rot on the wall.
Eco‑Friendly Practices for Sustainable Moss Artwork
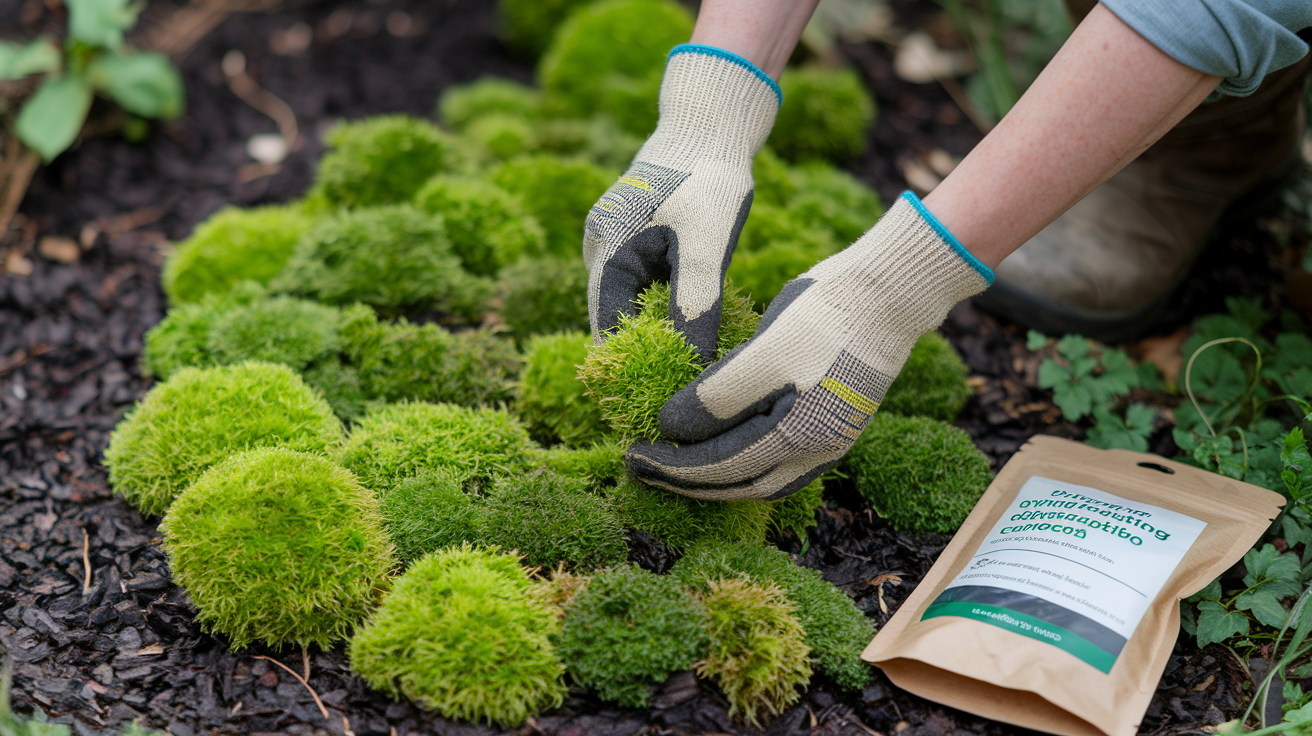
Harvest moss responsibly by taking small patches from areas where it’s abundant. Never strip an entire colony. Leave at least half of any moss patch intact so it can regenerate. If you’re buying moss, choose suppliers that cultivate it rather than wild‑harvesting, or buy from local garden centers that source sustainably. Collecting moss from public land or parks without permission is often illegal and can damage fragile ecosystems.
Use the simplest recipe that works for your conditions. Sugar and dairy are biodegradable and safe for the environment in the small quantities used for moss graffiti, but you don’t need to add extra fertilizers or chemical bonding agents. Some recipes suggest water‑retention gels, but plain buttermilk and water work just as well for most projects and break down naturally without leaving polymer residue.
Water conservation matters, especially in dry climates. Mist only the painted area rather than soaking the entire wall, and time your watering for early morning or evening to reduce evaporation. Once the moss is established, it’ll survive on rainfall and dew in most temperate regions, eliminating the need for ongoing irrigation. If your mural requires constant watering beyond the first few months, the site may not be suitable for moss. You’re better off trying a different location.
Creative Design Ideas for Natural Garden Murals

Simple shapes and bold lettering work best for beginners. Large letters, peace signs, hearts, or geometric patterns are easy to paint freehand and show up clearly as the moss fills in. You can sketch your design lightly with chalk first, then paint over the lines with moss slurry. Stencils cut from cardboard or thin plywood give you crisp edges. Tape the stencil to the wall, apply the slurry, then peel it away carefully.
Botanical and organic patterns fit naturally with the living medium. Try vine motifs, leaf outlines, tree silhouettes, or abstract swirls that mimic natural growth. Layering different moss species can create subtle color variation. Some mosses green up darker, others stay pale yellow‑green. The contrast adds depth without needing paint or dye.
For more complex designs, use a projector to trace an image onto the wall at night, then paint the outlines with slurry during the day. This method works especially well for portraits, wildlife, or intricate mandalas. You can also carve into existing moss growth with a butter knife or spoon, removing sections to create negative‑space designs. This technique is faster than painting slurry and works beautifully on old walls or tree trunks already covered in moss.
Final Words
Mix live moss with water and a bonding agent like yogurt or buttermilk, blend to a spreadable paste, and press it onto porous stone, brick, wood, or concrete. Keep the patch shaded and mist it often so it takes hold.
We covered the recipe, best surfaces, ideal shade and humidity, simple care, troubleshooting, suitable species, and eco-friendly tips so you know what to try next.
Use small tests and the moss graffiti techniques for natural garden murals we walked through. With steady misting and patience, your moss art will settle in and look great.
FAQ
Q: How do I make eco-friendly moss graffiti?
A: Making eco-friendly moss graffiti starts by blending live moss with water and a natural binder, painting the mix onto a porous surface, pressing it in gently, and misting until it roots.
Q: What supplies do I need for moss graffiti?
A: You’ll need live moss, water, a binder like buttermilk or yogurt, a blender, a container, a brush or squeeze bottle, a sponge for pressing, and gloves.
Q: Which surfaces work best for moss murals and what should I avoid?
A: Rough, porous surfaces—stone, brick, untreated wood, and concrete—work best; avoid smooth, sealed, or freshly painted walls that prevent adhesion and moisture retention.
Q: What growing conditions do moss murals need?
A: Moss murals need shade or dappled light, steady humidity or regular misting, cool-to-mild temperatures, and protection from prolonged direct sun and drying winds.
Q: How long will moss graffiti take to grow and what should I expect?
A: Moss graffiti usually shows initial growth in 2–8 weeks, starts patchy, and thickens over several months with regular misting and mild conditions.
Q: How do I care for and maintain outdoor moss graffiti?
A: Care for moss graffiti by misting daily at first, then a few times a week once established, keeping it out of direct sun, and pressing loose areas back into place.
Q: Why isn’t my moss graffiti growing and how can I fix it?
A: Moss may not grow because the surface is too smooth, it’s too sunny, the mix is wrong, or moisture is inconsistent; fix by roughening the surface, shading, tweaking the recipe, and steady watering.
Q: Which moss species are best for garden murals?
A: Sheet moss, cushion moss, and fern moss are good picks because they handle blending, stick to rough surfaces well, and offer different textures for design.
Q: Is moss graffiti eco-friendly and how do I do it sustainably?
A: Moss graffiti can be eco-friendly when you harvest moss sparingly, avoid chemical additives, use water-efficient care, and place murals where they won’t disturb native ecosystems.