


Think you need a green thumb or a huge yard to grow your own food?
You don’t.
Starting a vegetable garden can be simple, cheap, and surprisingly fast.
This post walks beginners through the exact first steps, picking a sunny spot, testing and fixing soil, choosing easy plants, and basic watering and tools.
No fancy gear, no perfect lawn.
Follow these practical choices and timelines, and you’ll have a small, productive garden that actually feeds your family this season.
Essential First Steps for Beginning a Vegetable Garden
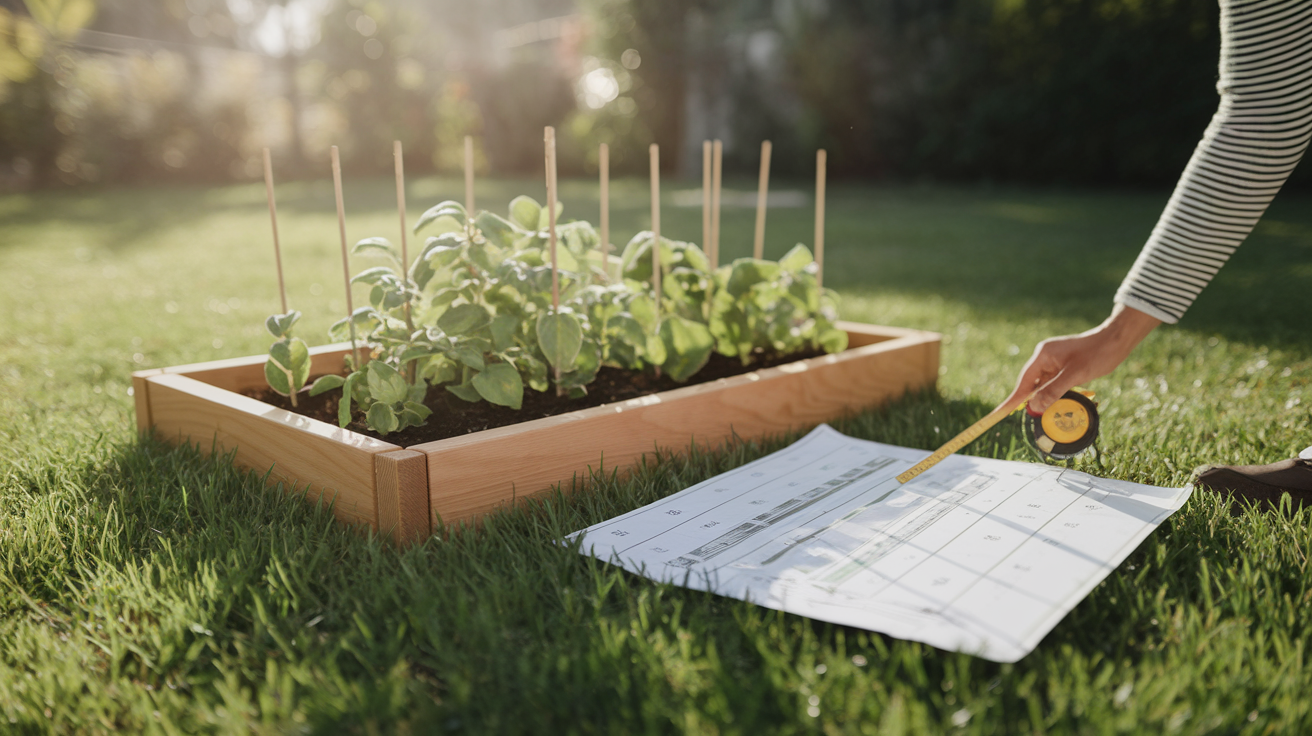
Starting a vegetable garden means finding a spot with at least 6 to 8 hours of direct sunlight. Most vegetables won’t produce without it. Once you’ve got your sunny area, figure out how big to go. A 4×4 or 4×8 foot raised bed works great for beginners. It’s manageable but still big enough to grow different things. Planting straight in the ground? A 10×10 plot does the job. Measure before you commit so you actually know what fits.
Soil quality matters more than you’d think. Vegetables need loose, well-drained soil that roots can push through without a fight. Heavy clay or packed dirt slows everything down. Make sure your spot doesn’t turn into a puddle after rain. You’ll also need water access, whether that’s a hose that reaches or a watering can you’re willing to haul. Trust me, dragging a hose across the yard every evening gets old.
Here’s how to get going:
- Walk your yard and find areas that get full sun from late morning through mid-afternoon.
- Measure with a tape or mark corners with stakes so you can see the bed size.
- Watch the sunlight for a few days to confirm it’s really 6 to 8 hours, not just 3 or 4.
- Dig a small hole about 6 inches deep and squeeze some soil. Sandy soil falls apart. Clay clumps like putty. Loam holds shape but crumbles when you poke it.
- Clear rocks, sticks, old roots, and weeds so you’re starting clean.
- Sketch a rough layout on paper. Put taller plants on the north side so they don’t shade the short ones.
These early steps prevent common headaches. You won’t buy plants that can’t thrive, you won’t stick something in a shady corner and wonder why it’s struggling, and you won’t realize halfway through summer that your hose doesn’t reach.
Preparing and Improving Your Garden Soil
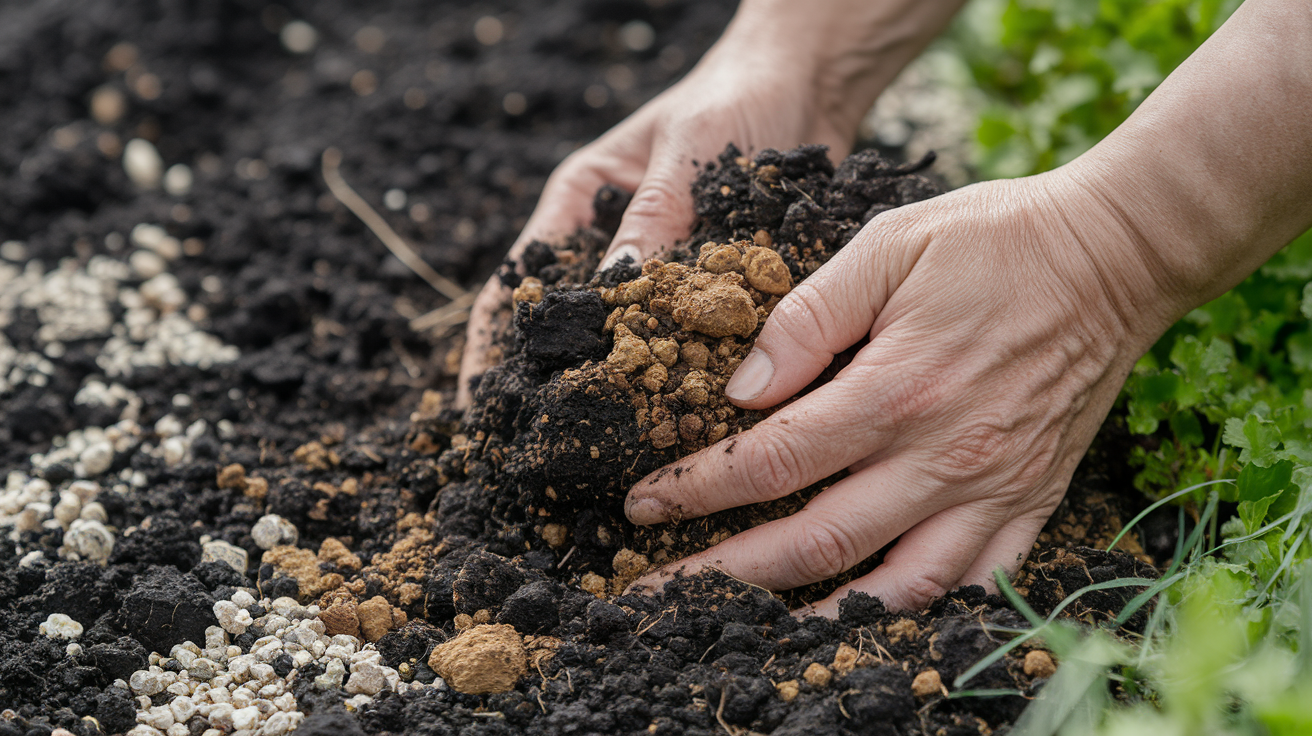
Good soil is loose enough for roots to spread, holds moisture without getting soggy, and has enough nutrients to feed plants all season. Loamy soil (a balanced mix of sand, silt, and clay) is easiest to work with. Check your texture by digging up a handful when it’s slightly moist. Squeeze it into a ball, then poke it. Crumbles? You’ve got loam. Stays in a tight ball? Clay. Won’t hold a ball at all? Sandy. Most vegetables prefer a pH between 6.0 and 7.0. You can test with an inexpensive kit from a garden center or get a free test through your local extension office.
If your soil’s too sandy, it drains fast but doesn’t hold nutrients. Mix in 2 to 3 inches of compost or aged manure to help it retain water and fertility. Heavy clay? It holds water too long and roots can’t spread. Add the same amount of compost plus some coarse sand or perlite to improve drainage. Work these amendments into the top 6 to 8 inches with a garden fork or spade. Compost adds organic matter, feeding beneficial microbes and improving structure over time. Aged manure works the same way but should never be fresh because it burns plants. Rabbit manure’s the exception and can go straight in.
Top-dressing your bed with 2 to 3 inches of organic mulch like straw or shredded bark after planting keeps moisture in and cuts down on weeds. Mulch also breaks down slowly, adding more organic matter each season. Starting with truly poor soil or a weedy lawn? Consider building a raised bed and filling it with a purchased mix instead of fighting what’s there.
Must-Have Tools for First-Time Gardeners

You don’t need a shed full of equipment. A small, focused set handles planting, watering, weeding, and harvesting without blowing your budget or taking over your closet. Lightweight tools are easier to use if you’re new to digging and hauling. They cause less fatigue during longer sessions. Buy decent quality so handles don’t snap and blades stay sharp, but you don’t need professional gear on day one.
Here are the seven tools every beginner should own:
- Hand trowel for digging small holes, transplanting seedlings, and scooping soil or compost.
- Garden gloves to protect hands from blisters, thorns, and dirt.
- Watering can or hose with a spray nozzle for consistent, controlled watering.
- Pruning shears (also called secateurs) for trimming plants, harvesting vegetables, and removing dead leaves.
- Garden fork or spade for turning soil, mixing in compost, and digging planting holes.
- Rake for smoothing soil, spreading mulch, and clearing debris.
- Kneeling pad or garden stool to save your knees during planting and weeding.
Working in a raised bed? The fork and spade become less critical because the soil’s already loose. Container gardening? The trowel and watering can are your most-used tools. A hoe helps with weeding larger in-ground plots but isn’t essential in a small starter bed. Store tools in a dry spot and clean mud off metal parts after each use so they last more than one season.
Choosing Vegetables That Are Easy for Beginners
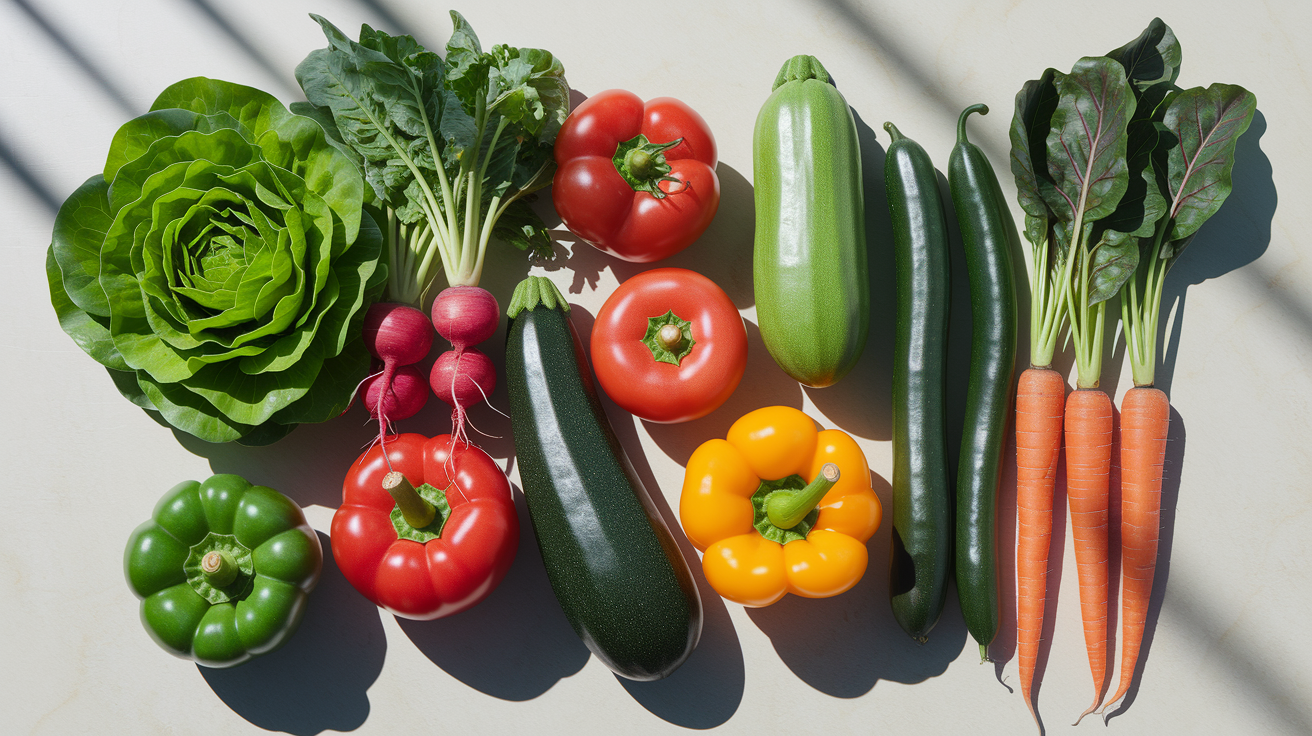
Some vegetables grow fast, tolerate mistakes, and produce reliably even if you forget to water one day or plant a week late. These crops build confidence and make gardening feel doable. Lettuce, radishes, and green beans grow quickly enough that you see progress within weeks. Tomatoes and peppers take longer but are forgiving and productive if you buy transplants instead of starting from seed. Zucchini grows so well the challenge is usually eating it all before it takes over the kitchen.
Climate and season affect what actually thrives. Cool-season vegetables like lettuce, spinach, kale, peas, and radishes prefer spring and fall temperatures and can handle light frosts. Warm-season vegetables (tomatoes, peppers, zucchini, cucumbers, beans) need warm soil and won’t grow until after your last spring frost date. Mixing a few fast growers with a few slow ones means you’ll harvest something early while waiting for main crops to mature. Radishes are ready in 25 to 30 days. Tomatoes take 60 to 85 days from transplant to first harvest.
Here are eight vegetables beginners succeed with:
- Lettuce – grows in 30 to 60 days, tolerates partial shade, and you can harvest outer leaves while the plant keeps going.
- Radishes – ready in 25 to 30 days, direct sow in spring or fall, and they don’t mind cool weather.
- Green beans (bush type) – produce heavily in 50 to 60 days, easy to direct sow, and don’t need staking.
- Zucchini – one or two plants provide more than most families can eat. Harvest when fruits are 6 to 8 inches long.
- Tomatoes (from transplants) – choose determinate varieties for easier care. Stake or cage them to keep fruit off the ground.
- Peppers (from transplants) – grow well in warm weather, need consistent watering, and produce for months.
- Carrots – direct sow and thin seedlings to 2 to 3 inches apart. Loose soil is key for straight roots.
- Chard – tolerates heat and light frost, harvest outer leaves as needed, and it keeps producing all season.
Planting Guide: When and How to Plant Your Vegetables
Cool-season vegetables can go into the ground as soon as the soil’s workable in early spring, often 2 to 4 weeks before your average last frost date. This group includes peas, spinach, kale, lettuce, and radishes. They germinate in cooler soil and actually prefer temperatures in the 50s and 60s°F. Warm-season vegetables (tomatoes, peppers, beans, zucchini, cucumbers) have to wait until after the last frost when soil temperatures reach at least 60°F. Planting warm-season crops too early means seeds rot in cold soil or transplants get hit by a late freeze.
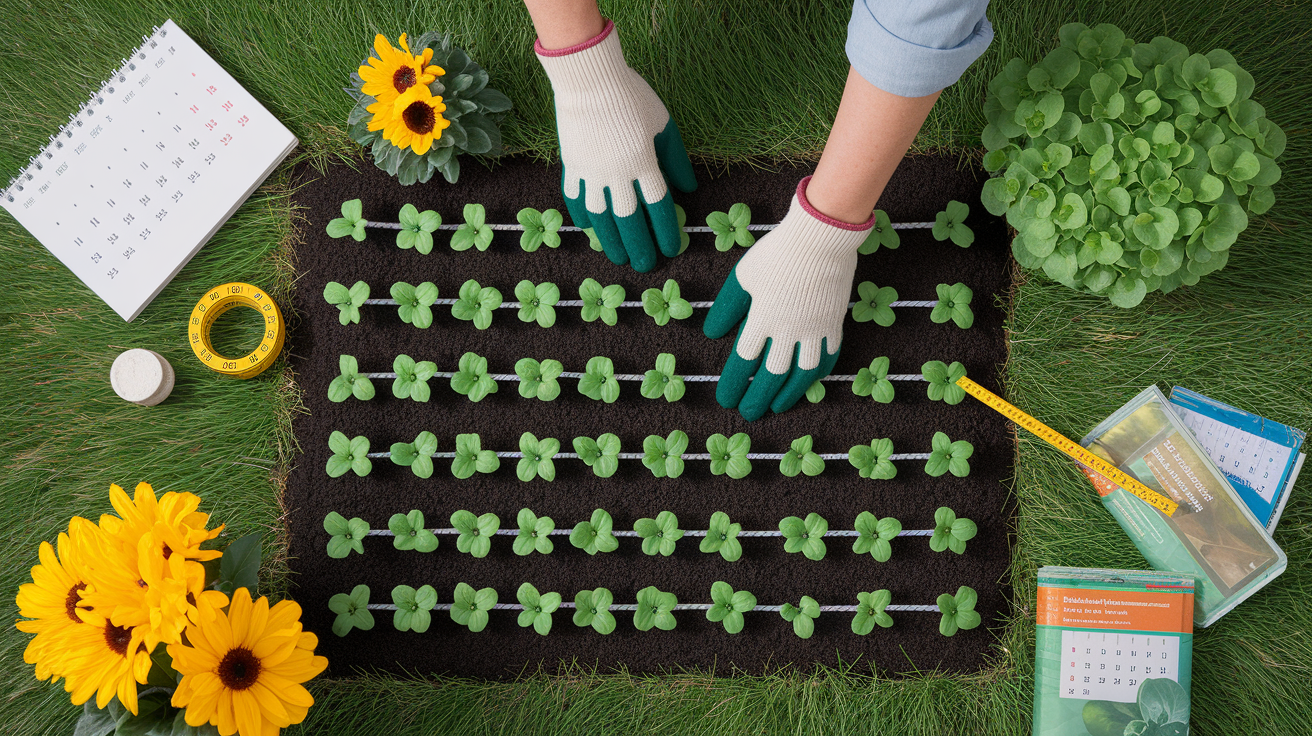
Some vegetables start indoors from seed 6 to 8 weeks before the last frost, then get transplanted outside as seedlings. Tomatoes and peppers fall into this category because they need a long growing season. Other crops like carrots, radishes, beans, and peas are direct sown. You plant seeds straight into the garden bed where they’ll grow. Direct sowing works well for vegetables that don’t transplant easily or that grow so fast there’s no advantage to starting them indoors. Spacing matters because crowded plants compete for light, water, and nutrients. That reduces yields and increases disease risk.
| Vegetable | Best Planting Season | Spacing Requirements |
|---|---|---|
| Tomatoes | After last frost (warm-season) | 18–24 inches for bush types; 24–36 inches for indeterminate |
| Lettuce | Early spring and fall (cool-season) | 6–12 inches apart, or succession sow every 2–3 weeks |
| Carrots | Early spring or late summer (cool-season) | Thin seedlings to 2–3 inches apart |
| Peppers | After last frost (warm-season) | 12–18 inches apart |
| Green beans (bush) | After last frost (warm-season) | 3–6 inches apart in rows 18–24 inches apart |
| Zucchini | After last frost (warm-season) | 24–36 inches apart (plants spread wide) |
| Radishes | Early spring and fall (cool-season) | 1–2 inches apart; thin after germination |
| Spinach | Early spring and fall (cool-season) | 3–6 inches apart |
Check your seed packets for planting depth. A general rule is to sow seeds about 2 to 3 times as deep as the seed is thick. Tiny seeds like lettuce go about 1/8 inch deep. Medium seeds like carrots go 1/4 inch deep. Large seeds like beans and peas go 1 to 2 inches deep. Pat soil gently over seeds and water lightly to settle them in without washing them away.
Watering and Caring for Your Vegetable Garden
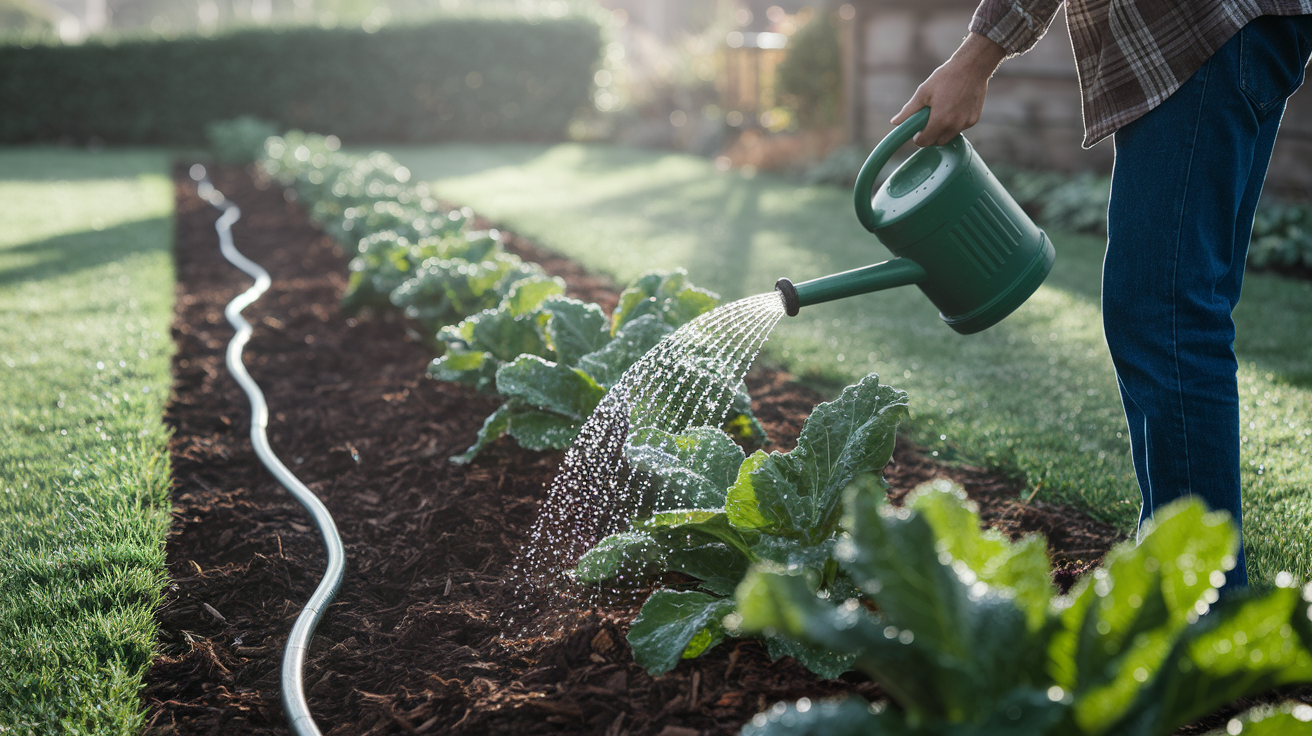
Most vegetables need about 1 inch of water per week, roughly 0.6 gallons per square foot. That jumps to closer to 1.5 inches during hot, dry spells. It’s better to water deeply once or twice a week than to sprinkle lightly every day. Deep watering pushes roots down into the soil where moisture stays more consistent. Shallow watering keeps roots near the surface where they dry out fast and become more vulnerable to heat stress.
Water in the early morning when possible. Morning watering gives leaves time to dry before evening, cutting the risk of fungal diseases that thrive in damp, cool conditions overnight. Water in the heat of the afternoon? More evaporates before it soaks in. A soaker hose laid along the base of plants delivers water directly to the root zone and keeps foliage dry. Overhead sprinklers work for larger beds but wet the leaves, so use them in the morning. For small beds or containers, hand watering with a hose nozzle or watering can gives you control and lets you check each plant as you go.
Mulch is one of the simplest ways to cut down on watering work. Spread 2 to 3 inches of organic mulch (straw, shredded bark, or grass clippings) around your plants after they’re a few inches tall. Mulch keeps soil cooler, slows evaporation, and blocks weed seeds from germinating. Watch your plants for early signs of stress like wilting in afternoon heat, yellowing leaves (which can mean too much or too little water), or slow growth. Adjust your watering based on what you see and what the weather’s doing, not a strict calendar.
Common Beginner Mistakes and How to Avoid Them

One of the most common mistakes is overwatering. Beginners think more water equals healthier plants, but soggy soil drowns roots and invites rot. Stick your finger into the soil about 2 inches down. Feels moist? Wait another day or two. Dry? Water deeply. The flip side is watering too lightly and too often, keeping roots shallow and weak. Deep watering once or twice a week builds stronger plants than daily sprinkling.
Planting vegetables too close together is another frequent error. Seed packets list spacing for a reason. Crowded plants compete for light, water, and nutrients. That leads to smaller harvests and more disease because air can’t circulate. Thinning seedlings feels wasteful, but the plants you leave behind will grow larger and produce more. Ignoring soil quality and skipping compost or a soil test means you’re fighting poor nutrition from day one. Plants show it with slow growth and pale leaves. Planting everything at the same time instead of staggering means everything ripens at once and you can’t keep up with harvesting.
Here are six mistakes to avoid:
- Overwatering or watering too shallowly – causes root rot or weak roots. Water deeply and check soil moisture first.
- Planting too close – creates poor yields, weak plants, and disease. Follow spacing guidelines on seed packets.
- Skipping the soil test – leads to nutrient imbalances and pH problems. Test before planting and amend as needed.
- Starting with too many crops or too much space – creates overwhelm and waste. Begin with a 4×4 or 4×8 bed and 3 to 5 vegetable types.
- Planting at the wrong time – cold-sensitive plants die in late frosts. Heat-hating crops bolt in summer. Use local frost dates to time plantings.
- Not harvesting regularly – overripe vegetables signal plants to stop producing. Pick beans, zucchini, and lettuce often to keep plants going.
Final Words
Get your sunny spot, sketch a small bed, loosen the soil, grab a few basic tools, pick easy vegetables, and plant at the right time. Those were the hands-on steps we covered: location and size, soil prep, must-have tools, planting timing, watering, and common mistakes.
Start small—one weekend and one bed—and learn as you go. Adjust with compost, simple fixes, and regular water checks.
Follow this clear plan for how to start a vegetable garden for beginners, and you’ll be harvesting sooner than you think, with more fun than stress.
FAQ
Q: What are the easiest vegetables to grow for a beginner?
A: The easiest vegetables to grow for a beginner are lettuce, radishes, green beans, zucchini, cherry tomatoes, peppers, and carrots because they grow fast, tolerate mistakes, and need little space or special care.
Q: What is the 70/30 rule in gardening?
A: The 70/30 rule in gardening means allotting about 70% of your garden to reliable, frequently eaten crops and 30% to new varieties or experiments so you build success while trying things you might not love.
Q: Which vegetables should not be planted together?
A: Vegetables that should not be planted together include beans with onions or garlic, tomatoes with potatoes, brassicas (cabbage family) near strawberries, and almost anything near fennel, which stunts nearby plants.
Q: What is the most common mistake of first time gardeners?
A: The most common mistake of first-time gardeners is overwatering, which drowns roots and spreads disease; check soil moisture, water deeply but less often, and mulch to keep moisture steady.