


Do you bring home travel trinkets and then hide them because your shelves end up looking messy?
You’re not alone. Souvenirs mean a lot, but they can quickly look like clutter.
This post shows simple, real-life rules to display favorites so each piece tells a story instead of getting lost.
You’ll learn quick edits (pick fewer pieces), grouping tricks (by trip or color), and spacing tips (leave room to breathe).
Do this and your mementos will look intentional, not like a yard sale.
How to Display Travel Souvenirs Without Clutter: The Essential Principles
You bring home souvenirs because they mean something. Then they sit in drawers or get shoved behind books because you can’t figure out where they actually belong. The stuff doesn’t match your couch, and suddenly your shelf looks like a yard sale.
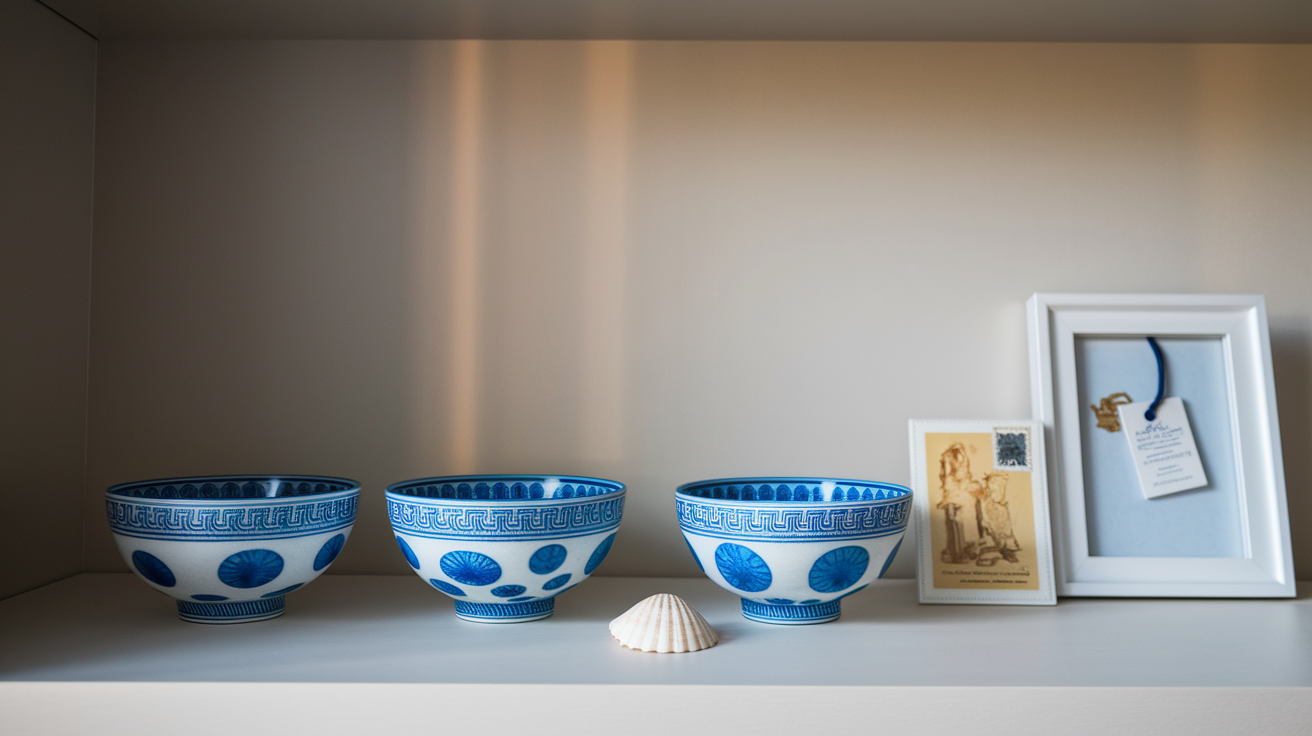
Start by editing. You don’t need every keychain and ticket stub on display. Pick the pieces that tell a real story, the ones you actually remember, and put everything else in a labeled box. When you show less, each piece gets room to matter. Group things by theme or color so it looks like you meant it. Three blue bowls from Greece on one shelf feels intentional. A pile of random trinkets from six countries feels like clutter.
Spacing is just as important as the objects. Use the same frame color, matching jars, or similar shelf depths to tie everything together. Leave empty space around each grouping. If you’re working with small items, stick to three to seven pieces per shelf and vary the heights so it doesn’t all flatten out.
Five rules that actually work:
- Limit what goes in each spot. Three to seven items per area. More than that and you’ve lost the plot.
- Group by something they share. Same trip, same color, same material. Just give the eye a reason to see them together.
- Repeat one thing across displays. Same frame style, same jar shape, same way you mount them.
- Build in blank space. Leave margins. Empty wall or empty shelf around your groups makes each piece stand out.
- Pick one spot per room. One shelf, one wall, one surface for travel stuff. Don’t scatter it everywhere.
Curated Shelving Techniques for Travel Mementos

Floating shelves turn into instant galleries when you treat each one like a small composition. Mix up the heights. Put something tall at one end, a medium piece next to it, then finish with something low and flat. This keeps your eye moving instead of landing on a boring row of identical objects.
Negative space does the work. If your shelf holds six things, leave at least a third of it empty. Push your grouped items to one side or cluster them in the middle, then let the rest breathe. That blank space is what makes it look curated instead of crowded.
Six steps to build a shelf arrangement that doesn’t feel cluttered:
- Clear everything off. Start blank so you’re designing from scratch, not just moving clutter around.
- Pick your anchor. Choose the tallest or most interesting thing—a carved piece, a framed map, a plate—and put it at one end or slightly off center.
- Add something medium. Put a second piece near the anchor with a few inches between them.
- Layer in smaller stuff. Tuck flat items in front of tall ones. A stack of postcards, a small dish, an open journal.
- Throw in something that’s not a souvenir. A plant, a candle, something neutral that stops the shelf from feeling like a tchotchke collection.
- Step back and pull something off. If it feels busy, remove one or two things. Adjust spacing so nothing touches.
Gallery Wall Strategies for Photos, Postcards, and Flat Memorabilia
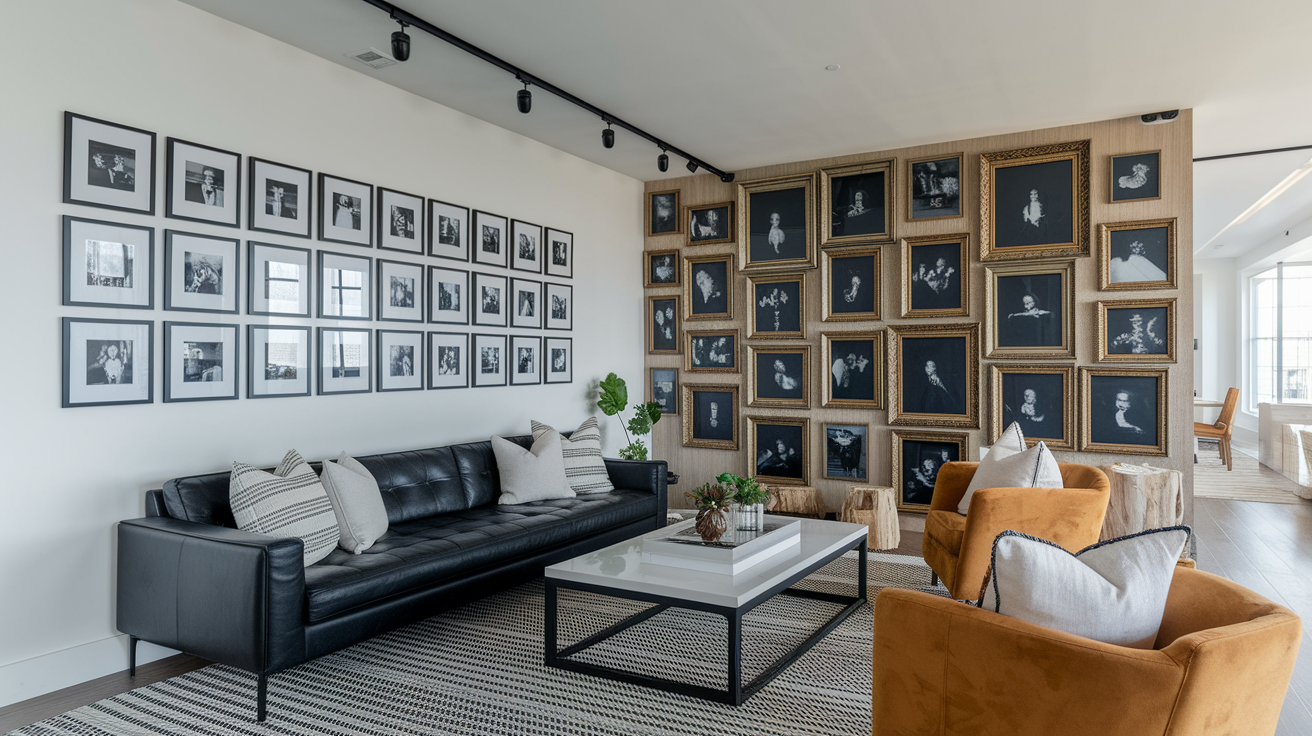
Gallery walls work when you commit to one layout and one frame color before you start. Consistent framing ties everything together. Even if you’re mixing a postcard from Paris with a poster from Thailand, matching black or white frames make the wall look planned.
Grid Layout for Uniform Pieces
Grids work when most of your stuff is the same size or can be matted to match. Hang frames in straight rows with equal spacing. Two to four inches between each frame. This suits collections of postcards, same-size photos, or small maps. The repetition creates calm. If you’ve got mixed sizes, mat them all into the same frame dimension so the grid stays tight.
Salon-Style Arrangement for Mixed Sizes
Salon walls embrace variety. Mix 4×6, 8×10, and 11×14 frames. Arrange them asymmetrically. Put your largest frame at eye level in the center or slightly off, then build outward. Keep two to three inches between frames. The outer edges should form a loose rectangle or organic shape, not a perfect grid. This works beautifully for combining photos, shadow-boxed tickets, and small framed postcards, as long as your frame colors stay consistent.
Shadow Box Ideas for Small or Delicate Souvenirs

Shadow boxes solve the problem of things that won’t lie flat. Coins, ticket stubs, pressed flowers, small shells, matchbooks. The depth lets you layer objects. Pin a postcard to the back, then mount a few coins or a trinket in front for a miniature scene.
Pick a box sized to your collection. An 8×10 works for a handful of items from one trip. A 16×20 holds more. Use the backing as design space. Glue a map onto the mat or choose colored paper that matches what’s inside. Mount heavy items with museum putty or small dots of hot glue. Use pins or foam squares for paper.
Four shadow box ideas worth trying:
- One trip per box. Include a small photo, local currency, a transit card, and a note about the trip. Capsule memory.
- Same theme across trips. Group similar objects from different places. Coins from every country, hotel keys, vintage stamps.
- Map backgrounds. Cut a destination map to fit the backing, then layer tickets, flowers, or postcards on top.
- Tiny vignettes. Arrange small trinkets like you’re staging a miniature room. Use the depth to create foreground and background.
Textile Display Solutions for Scarves, Fabrics, and Wall Hangings
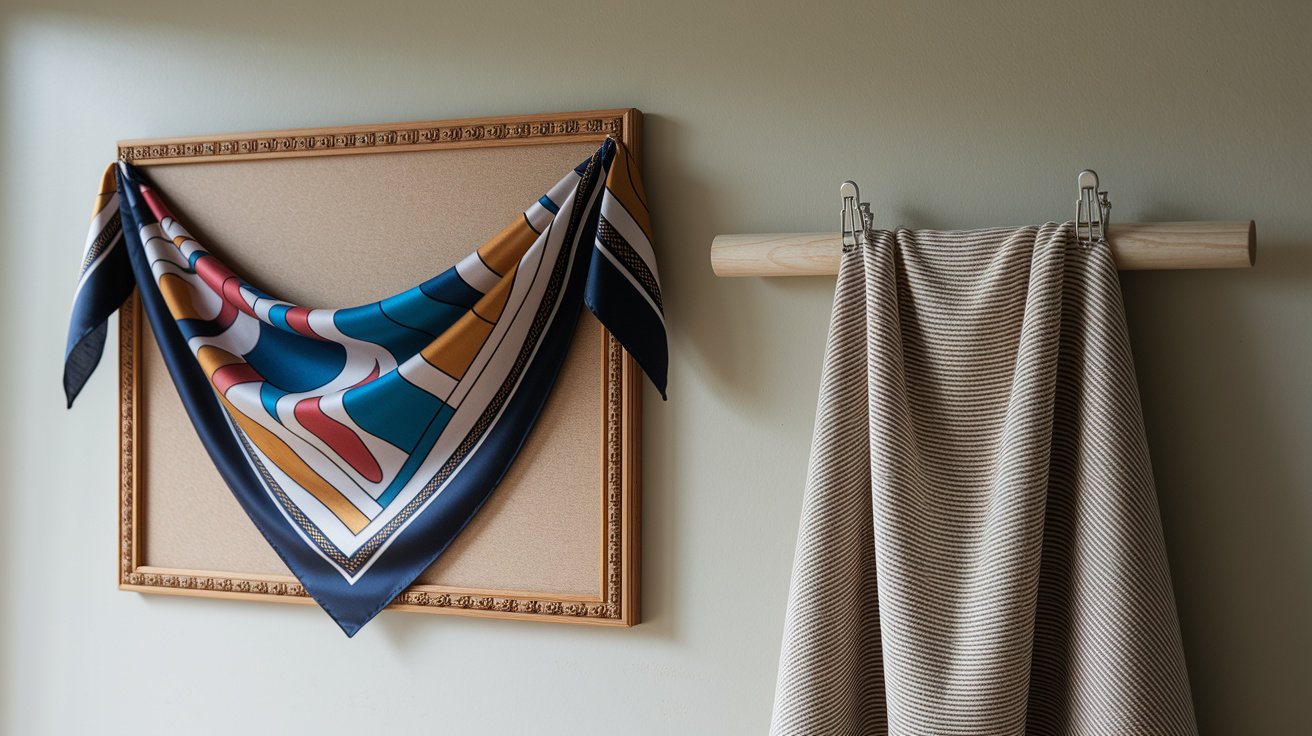
Travel textiles bring color and texture, but draping them over furniture usually looks messy. The cleanest approach is treating them like art.
Lightweight scarves and small fabrics fit inside deep frames. Stretch the fabric over foam board or a canvas stretcher, then frame it. This works well for patterned scarves or delicate embroidery you want to preserve.
For larger pieces like blankets or tapestries, use a wooden dowel or curtain rod mounted on the wall. Fold the top edge over the rod and secure it with clips or stitch a simple sleeve along the back. Make sure your wall anchors can handle the weight.
Folded displays work too. Drape a throw over a quilt ladder, fold a table runner lengthwise and put it on a console under a lamp, or stack folded blankets on open shelving with the most colorful edge facing out. Fold edges crisply, align the fabric parallel to shelf edges, and leave space around it so it reads as intentional décor.
Displaying Small Trinkets, Magnets, and Miniatures Without Clutter

Small souvenirs multiply fast. Magnets, tiny figurines, keychains. They’ll overtake your fridge and shelves if you don’t give them structured homes. Use uniform containers, risers, and boards to impose order.
Magnetic boards keep fridge magnets contained. Mount a framed magnetic sheet or spray-paint a cookie sheet to match your wall, then arrange magnets in a tight grid or grouped by trip. The defined border stops magnet creep.
For non-magnetic trinkets, acrylic risers and tiered stands create layers so everything’s visible without crowding. Put small figurines on a three-tier riser on a bookshelf. Line up miniatures on a shallow tray with compartments. Uniform containers help too. Glass jars, matching dishes, segmented wooden boxes. Drop coins or charms into each jar, label the lid with the location, and line them up on a shelf.
| Item Type | Best Display Method | Why It Works |
|---|---|---|
| Fridge magnets | Framed magnetic board on wall | Contains magnets in a defined area; prevents appliance clutter |
| Miniature figurines | Acrylic tiered riser or shallow tray | Layers objects for visibility; keeps small items from scattering |
| Coins and small charms | Labeled glass jars or segmented box | Groups items by trip; jars add uniformity and easy labeling |
| Keychains | Shadow box or pegboard hooks | Displays keychains vertically; shadow box protects from dust |
| Tiny sculptures or models | Floating shelf with museum putty | Secures delicate items; shelf height prevents handling and breakage |
Strategies for Grouping and Editing Souvenir Collections
Curating means choosing what to show and what to store. Most people keep every souvenir out of guilt or fear they’ll forget a trip. But displaying everything waters down the impact of the pieces that actually matter.
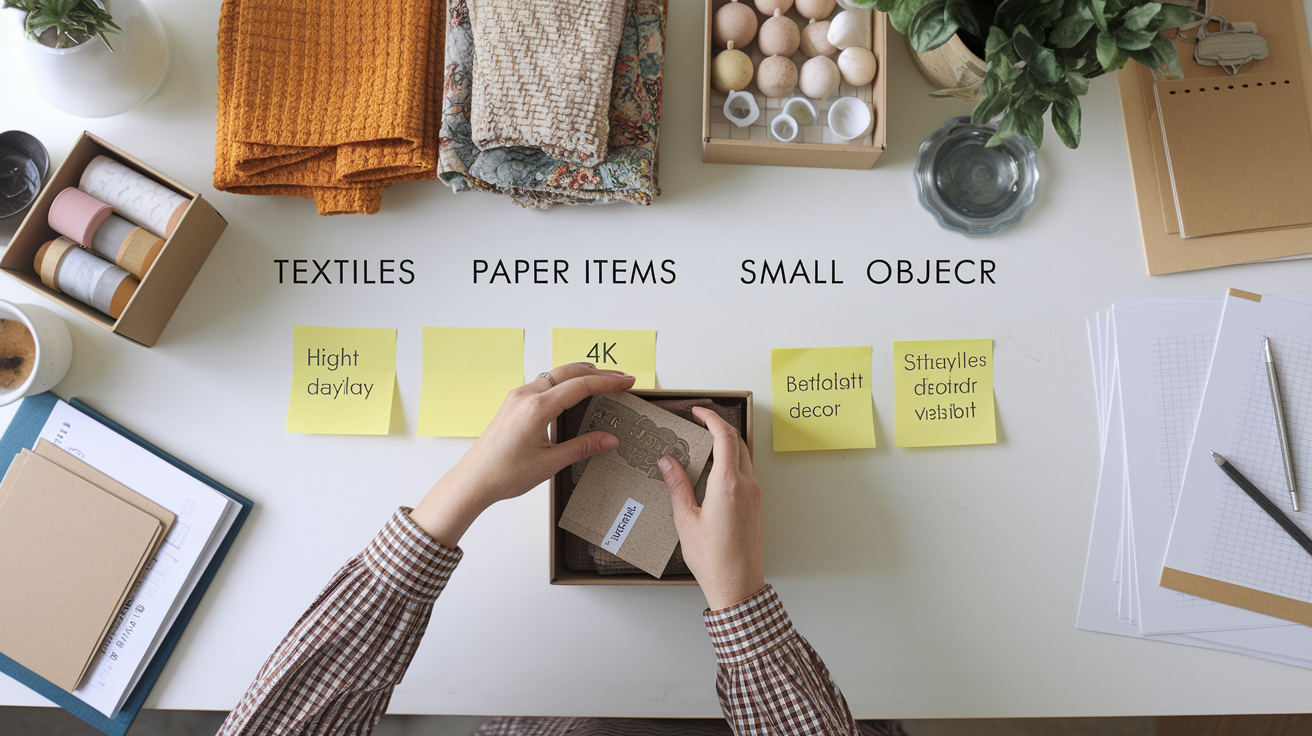
Sort your souvenirs by category first. Textiles, paper items, small objects, large décor. Then by trip or theme. Lay everything out in one category and ask which pieces spark the strongest memories or look the best. Keep those. Box up the rest with a label noting the trip and year. Rotate displays seasonally. Swap stored items in every few months so nothing sits in a drawer forever but your space stays clean.
Five criteria to decide what earns display space:
- Does it look good? Interesting color, texture, or form that works with your décor? Or generic and mass produced?
- Do you remember a specific moment? Can you recall an experience tied to it, or is it just proof you visited?
- Does it fit your current style? Does it complement your furniture and colors, or does it clash?
- Is it unique or handmade? One of a kind find or local craft? Or identical to fifty others sold at the same stall?
- Is it in good shape? Sturdy enough to display long term, or fragile, faded, broken?
Integrating Travel Souvenirs Into a Cohesive Room Design
Souvenirs feel like clutter when they fight with the rest of the room. Treat travel pieces as part of your overall décor plan, not random add-ons. Pick souvenirs that echo colors already in your space. If your living room uses navy, cream, and natural wood, display ceramics in similar blues, woven baskets, or linen textiles. Not neon pink trinkets.
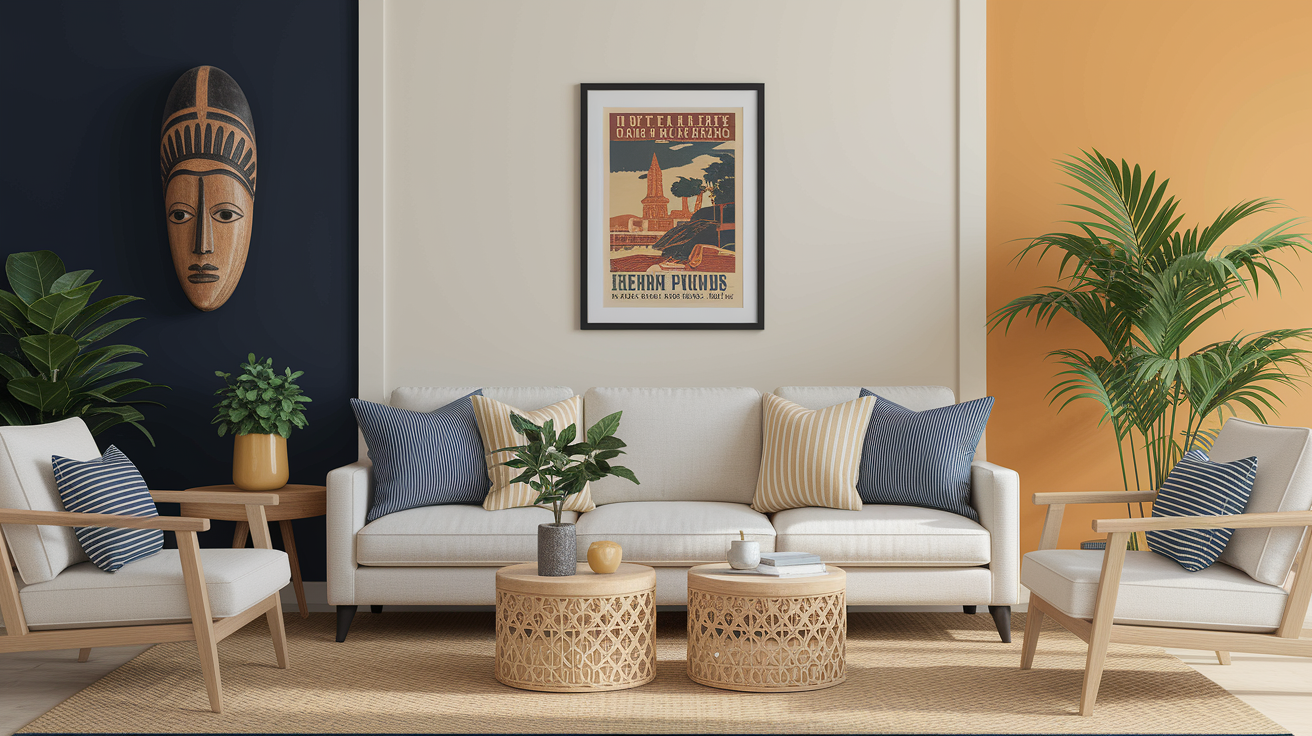
Scale and proportion matter. A single large statement piece can anchor a room without needing a crowd of smaller items. A carved wooden mask, a framed vintage poster, a handwoven rug. Balance bold pieces with neutral surroundings so the souvenir becomes the focal point. If you love a bright Moroccan rug, pair it with simple furniture and plain walls.
Mix souvenirs with everyday décor to avoid the trophy shelf effect. Put a small ceramic bowl from Portugal on your coffee table to hold remotes. Use a Turkish towel as a throw blanket. Prop a framed postcard next to a houseplant on a side table. When travel pieces serve a function or blend into styled vignettes with books, candles, and plants, they feel intentional. Don’t dedicate entire walls to souvenirs unless you’re deliberately creating a gallery space. Scatter pieces throughout the home in small, purposeful doses.
DIY Display Projects for Creative Souvenir Presentation

Building your own display solutions lets you customize fit, size, and style to your exact collection. Simple projects that don’t require many tools.
Five approachable DIY ideas:
- Map-backed photo frame. Cut a map of your destination to fit an 8×10 or 11×14 frame. Mount it as the background, then glue ticket stubs, small photos, or pressed flowers on top before sealing the glass. Creates layered context for flat mementos.
- Custom magnetic board. Spray paint a large metal cookie sheet or oil drip pan in a color that matches your wall. Mount it with picture hanging strips, then arrange magnets in a grid for a sleek, contained display.
- Tiered tray from picture frames. Stack three shallow picture frames (remove glass) on a lazy Susan or cake stand. Use the frames as compartments for coins, small trinkets, or postcards. Adds height and organization to tabletop displays.
- Fabric-covered corkboard. Wrap a large corkboard in neutral linen or burlap, then pin postcards, photos, maps, and tickets directly to the board for an easy-change gallery that doesn’t require frames.
- Clear fillable ornaments as jar displays. Use large clear plastic or glass fillable ornaments to hold sand, small shells, or foreign coins. Display on a shelf or hang from a decorative hook for a three-dimensional keepsake that doubles as décor.
Before-and-After Display Transformation Examples

Small changes create big improvements. A cluttered souvenir display usually suffers from too many items, inconsistent framing, poor spacing, or no focal points.
Picture a bookshelf crammed with mismatched souvenirs. Ceramic animals, unframed postcards, loose coins, random trinkets scattered everywhere. The after version edits down to five key pieces: a framed postcard collage, a shadow box of coins, a single ceramic figurine on an acrylic riser, a small potted plant for balance, and a labeled jar of sand. The shelf now has breathing room, uniform framing, and a clear visual hierarchy. Removed items go into a labeled storage box for future rotation.
Four specific transformations that show common fixes:
- Before: Fifty fridge magnets covering the entire refrigerator door. After: A 16×20 framed magnetic board on the adjacent wall holds twenty curated magnets in a grid, leaving the fridge surface clean.
- Before: A pile of unframed travel photos stacked in a drawer. After: Twelve photos matted into matching 8×10 white frames, arranged in a three-by-four grid on a hallway wall for a cohesive gallery.
- Before: Loose ticket stubs, boarding passes, and receipts stuffed in a shoebox. After: A single 11×14 shadow box with tickets arranged over a destination map, hung above a desk as a focal piece.
- Before: Random scarves draped over chair backs and doorknobs. After: Two scarves stretched and framed as textile art, one folded neatly on a quilt ladder, and the rest stored in a labeled bin for seasonal swaps.
Final Words
You learned the key moves: edit keepsakes, pick a focal point, use consistent colors and spacing, and style shelves, gallery walls, shadow boxes, textiles, small-trinket displays, grouping methods, plus a few DIY ideas.
Start small: edit down, choose one spot, and try a shelf or framed wall using the step-by-step tips. A quick weekend change makes a big difference.
This guide shows how to display travel souvenirs tastefully while keeping your home calm and personal. Little swaps, real results.
FAQ
Q: How do I display travel souvenirs without making my home look cluttered?
A: Displaying travel souvenirs without clutter means choosing cohesion, editing down, and giving each item space; use consistent frames or shallow shelves, a single focal point, and repeat materials to keep it calm.
Q: What are simple rules for creating a tasteful souvenir display?
A: Simple rules for tasteful displays are edit to favorites, stick to a limited color palette, use matching frames or containers, repeat materials or shapes, and leave breathing room between pieces.
Q: How do I style curated shelves with mixed-height items?
A: To style curated shelves with mixed-height items, start with a large anchor piece, stagger heights, layer smaller objects in front, repeat a material or color, and keep negative space to avoid crowding.
Q: What’s the best way to create a gallery wall for postcards and photos?
A: The best way to create a gallery wall for postcards and photos is to pick a layout—grid for uniform pieces, salon for mixed sizes—use consistent frame color, and plan spacing before hanging.
Q: How can shadow boxes protect and display small delicate souvenirs?
A: Shadow boxes protect and display small delicate souvenirs by keeping dust and UV away, using layered backgrounds like maps or tickets, securing items with pins or adhesive, and placing them out of direct sun.
Q: How do I display textiles like scarves and tapestries without damaging them?
A: To display textiles like scarves and tapestries without damage, frame lightweight pieces, hang larger textiles on rods or clips, avoid direct sun, and use breathable backing or gentle mounting to prevent creases.
Q: How do I show lots of small trinkets and magnets without visual chaos?
A: Showing lots of small trinkets and magnets without chaos means using magnetic boards, acrylic risers, tiered stands, uniform containers, and grouping by type or color to reduce visual noise.
Q: How do I decide which souvenirs to keep on display and which to store?
A: Deciding which souvenirs to display comes down to meaning, condition, size, how often you think of the place, and whether the piece repeats a material or color in your room.
Q: How can I make souvenirs feel like part of my room’s design?
A: To make souvenirs feel part of room design, tie their colors to your palette, echo room textures, balance bold pieces with simple surroundings, and scale items to nearby furniture.
Q: What easy DIY projects can personalize my souvenir displays?
A: Easy DIY projects to personalize displays include map-backed frames, custom magnet boards, shadow boxes with ticket-stub backgrounds, simple wooden risers, and a clipped textile display for scarves.