


Think you need a yard to grow fresh herbs and veggies? You don’t.
Container gardening removes the biggest newbie roadblocks like bad soil, hungry critters, and tight space.
It works on a balcony, a sunny step, or a narrow patio.
This guide gives simple, budget-friendly steps, like picking the right pots, using a loose potting mix, matching plants to your light, and watering smart.
No fancy gear and no big up-front cost.
Follow these tips and you’ll be clipping herbs in weeks and harvesting a little by season’s end.
Getting Started: Essential Container Gardening Basics for Beginners
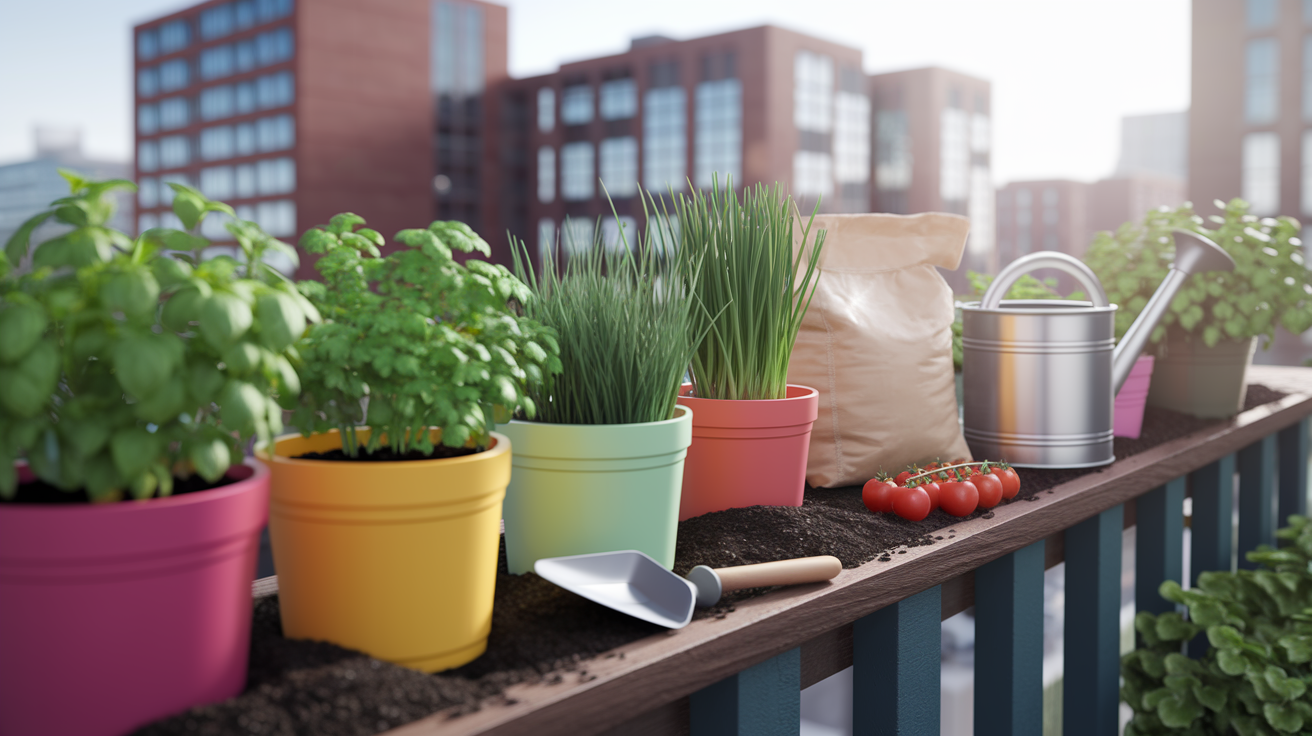
Container gardening cuts out most of the headaches that stop beginners cold when they try in-ground beds. No yard? No problem. Bad soil and hungry critters? Avoided. Need to chase the sun or duck out of a storm? Just move the pot. A balcony corner, a strip of patio, or a sunny front step gives you enough room.
The setup’s pretty simple. Containers with drainage holes, decent potting mix, plants that fit your light situation, and a watering and feeding rhythm you can stick to. You can get a beginner rig running for thirty to a hundred bucks total, and some herbs or greens will be ready to clip in a few weeks. Pots dry faster than garden beds, so you’ll water more. But that also means you’re in control of moisture, and you’ll spot trouble early.
Before you buy anything, figure out what you want to grow and how much sun you’ve actually got. Tomatoes and peppers want six to eight hours of direct sun daily. Leafy greens and certain herbs can work with three to six. Once you know that, picking the right pots and plants gets easier.
Here’s a basic starter list:
- One or two 5-gallon pots for tomatoes or peppers (ten to twenty-five bucks each, roughly)
- Two to four smaller pots, 6 to 8 inches, for basil or parsley (five to fifteen each)
- Bags of potting mix. One 8-quart bag fills a 6 to 8-inch pot. Grab two or three to start.
- A small bag of compost to blend in, about ten to twenty percent of your total soil
- A 4 to 8-quart bag of perlite or vermiculite for drainage
- One container of slow-release fertilizer or a bottle of liquid plant food
Choosing the Right Containers for Beginner-Friendly Gardening Success
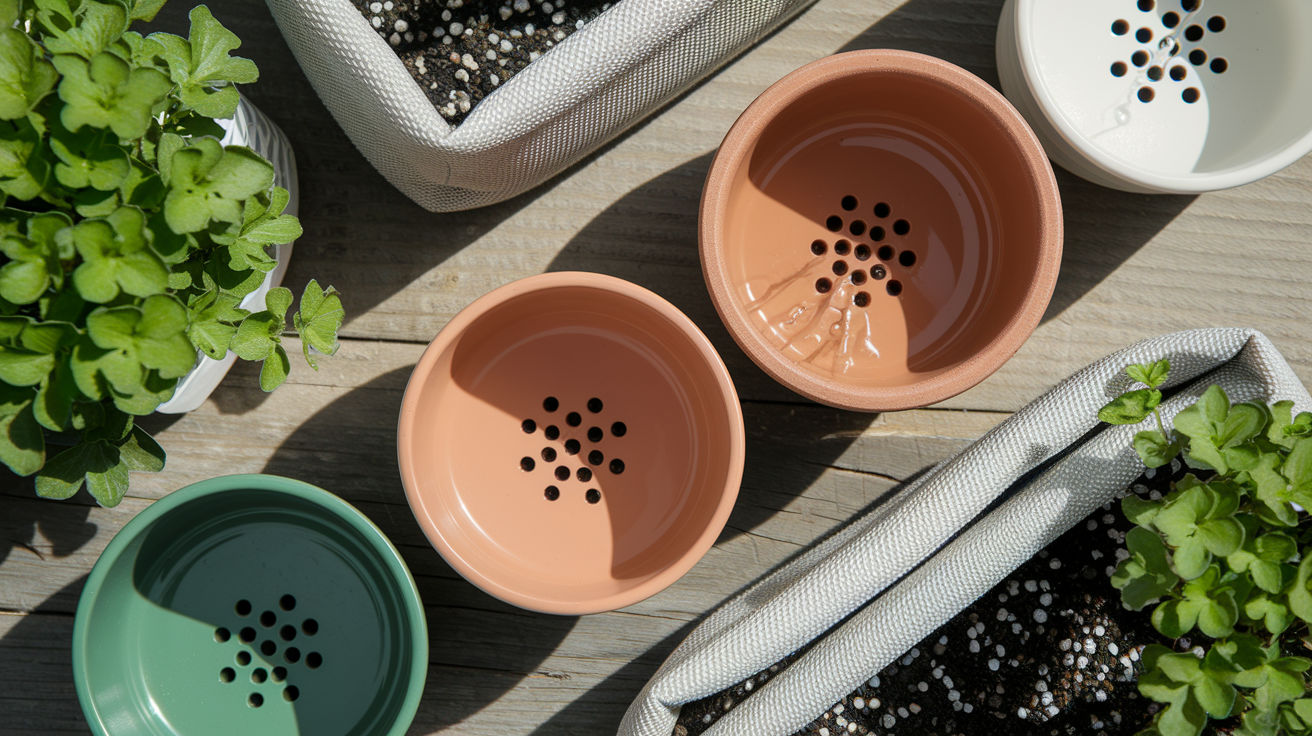
The big rule? Drainage. Every pot needs holes at the bottom so water escapes. Without them, roots sit in wet soil, rot kicks in, and plants die. If you fall for a pretty pot with no holes, use it as a sleeve and drop a plastic nursery pot with drainage inside.
Size matters more than most people think. Too small and the pot dries in hours on a hot day, cramping roots so plants stay stunted. Small herbs like chives or a single basil do fine in a 4 to 6-inch pot, but you’ll water daily in summer. Tomatoes, peppers, eggplants? They need at least 5 gallons (about 12 inches across) or they’ll never set fruit. Bigger’s usually safer when you’re new because larger pots hold moisture longer and forgive a missed watering.
Material doesn’t matter as much as drainage and size, but each has tradeoffs. Plastic pots are light, cheap, hold moisture well. Good if you’re on a budget or moving pots around. Terracotta and clay look nice, let roots breathe, but dry faster and crack in freezes. Fabric grow bags work great for tomatoes because roots don’t circle, but they dry even faster than clay. Recycled buckets, old tins, wooden crates? All fine as long as you drill drainage and they’re big enough.
| Container Size | Best Plant Types | Notes |
|---|---|---|
| 4–6 inches (small) | Single small herbs (basil, chives, thyme) | Water daily in heat; refill quickly |
| 8–12 inches (medium) | Lettuce, greens, 2–3 herbs, dwarf peppers | Water every 2–3 days; good starter size |
| 15–20 inches or 5-gallon (large) | One tomato, pepper, eggplant, or small shrub | Water every 3–7 days; needs support stakes |
| 15–20 gallon (extra large) | Indeterminate tomatoes, cucumbers on trellis | Heavy when wet; check balcony weight limits |
Building the Perfect Potting Mix for Healthy Beginner Container Plants
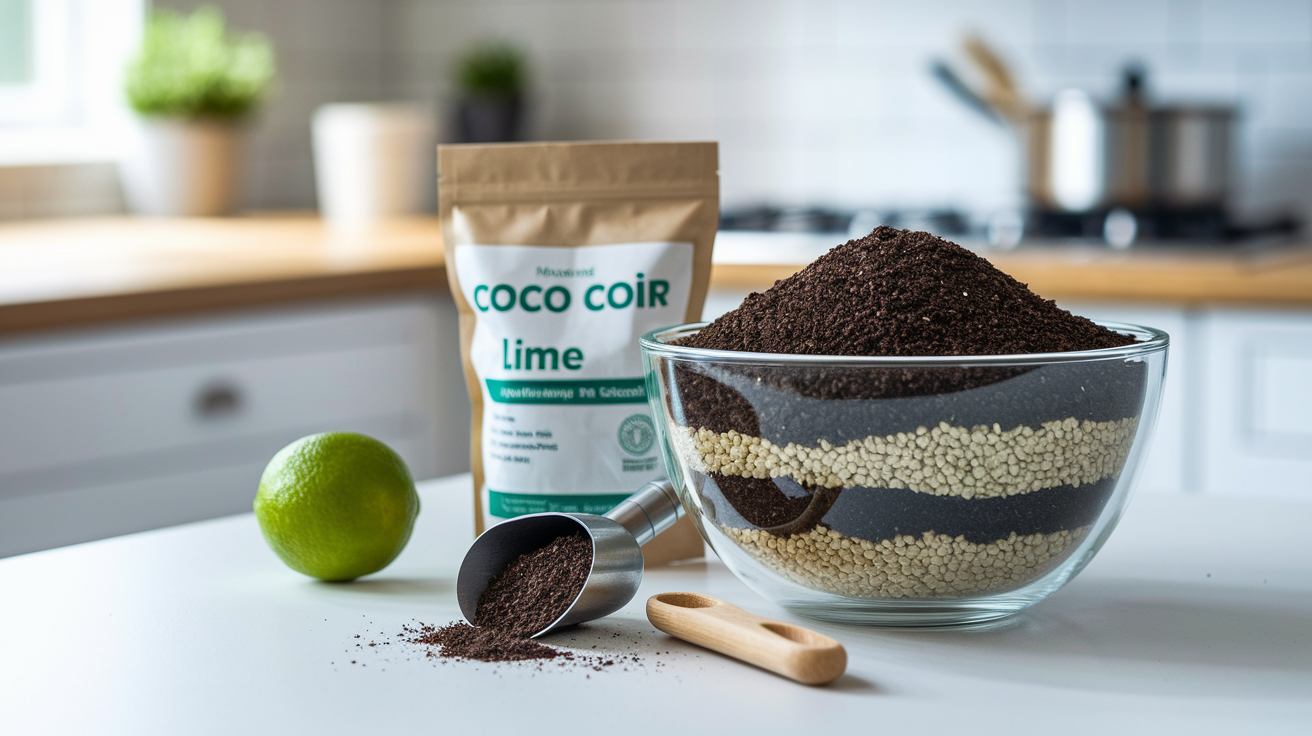
Don’t use yard dirt. Garden soil gets hard and dense in pots, squeezes out air, often carries weed seeds or diseases. Commercial potting mix is fluffy, lightweight, drains well while holding just enough moisture. You can also grab coco coir or peat-based mixes. They work the same way. Loose structure, good drainage, room for roots.
A basic beginner recipe by volume: fifty to sixty percent potting mix, twenty to thirty percent perlite or coarse sand for extra drainage, ten to twenty percent compost for nutrients. If you’re using peat-based mix, toss in one to two tablespoons of garden lime per cubic foot to balance pH. At planting time, blend in slow-release fertilizer at the package rate, usually one to two tablespoons per gallon of soil. That feeds plants steadily for three to six months without weekly reminders.
One 8-quart bag of potting mix fills a 6 to 8-inch pot. A 12-inch pot takes about two to three bags. Don’t pack the mix down hard. Scoop it in loosely, plant your seedling, water thoroughly to settle naturally. The soil level will drop a bit after the first watering. Normal. Top off with a little more mix if needed, leaving about an inch of rim space so water doesn’t spill when you’re watering.
Selecting Easy, Beginner-Friendly Plants for Container Gardens

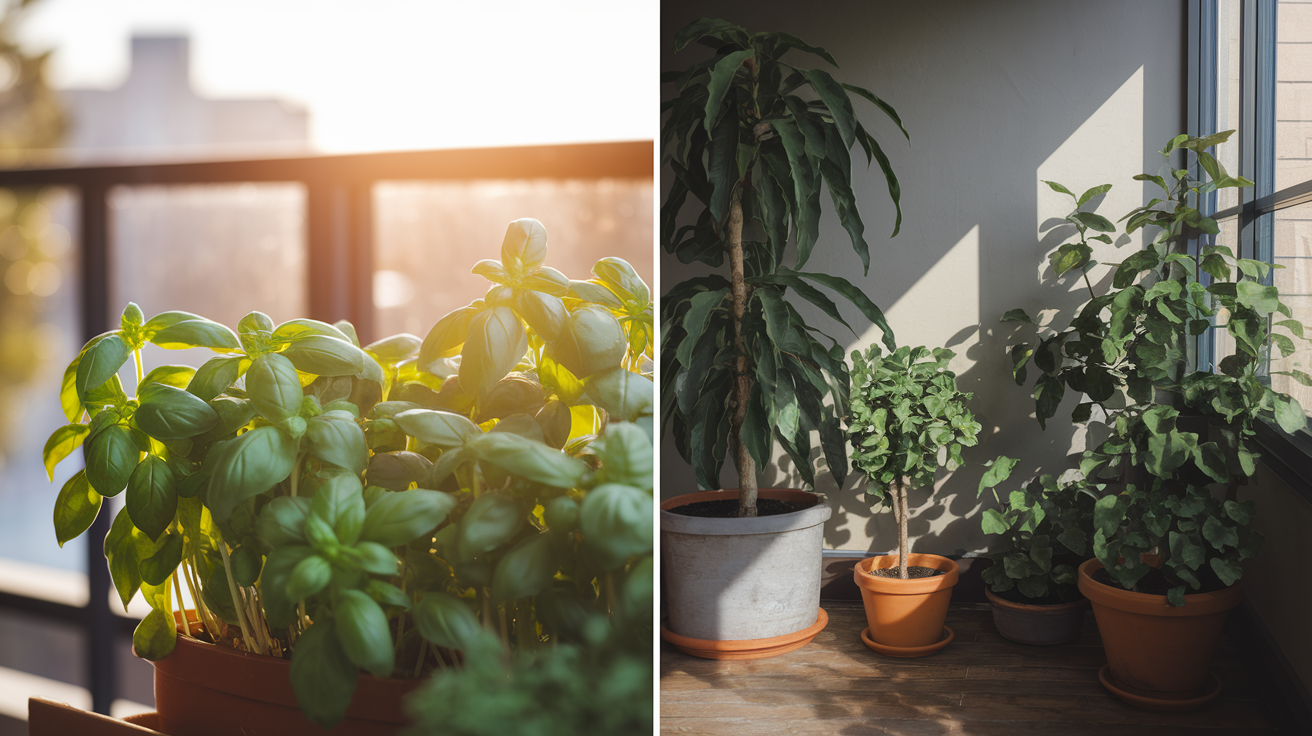
Start with plants that forgive mistakes and grow fast. Herbs are the easiest entry point. Most tolerate a missed watering, don’t need much feeding, you can harvest within weeks. Basil, parsley, chives, cilantro all do well in pots. Mint grows like crazy, but keep it in its own container or it’ll crowd everything else.
Leafy greens are nearly as simple. Lettuce, spinach, arugula, radishes grow quickly in medium pots and don’t mind cooler weather. You can start snipping baby greens in three to six weeks. Cherry tomatoes (the bushy, determinate kinds) and dwarf pepper varieties are good next steps once you’ve kept herbs alive for a season. They need bigger pots, at least 5 gallons, more attention to watering and feeding. Still beginner-friendly if you can give them six to eight hours of sun.
Full-size indeterminate tomatoes, cucumbers on a trellis, eggplants? Doable, but they need 15 to 20-gallon containers, consistent feeding, stakes or cages for support. Save those for your second or third season unless you’re ready for daily check-ins.
Some plant and spacing combos that work for beginners:
- Basil: one to three plants in a 6 to 8-inch pot
- Lettuce or mixed greens: four to six plants in a 12-inch pot, or eight to twelve in a long trough
- Cherry tomato (determinate): one plant per 5-gallon pot
- Cilantro or parsley: three to four plants per 8 to 10-inch pot
- Dwarf bell pepper: one plant per 10 to 12-inch pot
- Radishes: sprinkle seeds in any 6-inch or larger pot, thin to 1 inch apart
- Chives: one clump per 6-inch pot
- Spinach: four to six plants in a 10-inch pot
Understanding Light Requirements for Beginner Container Gardens
Most vegetables and herbs need real sun, not just bright shade. Six to eight hours of direct sunlight per day is the baseline for tomatoes, peppers, beans, cucumbers, basil. If your spot gets less, those plants grow slowly, stay small, produce little to nothing.
Leafy greens, lettuce, spinach, arugula, some herbs like parsley and cilantro can handle partial sun. Three to six hours a day. They’ll still grow, just slower than in full sun. Anything labeled shade-tolerant usually means ornamental plants or a few greens, and even those need at least a couple hours of indirect bright light. True deep shade (under three hours)? Doesn’t work for edibles.
Growing indoors or in a dim apartment? Regular windowsill light usually isn’t enough unless the window faces south and stays unobstructed all day. For indoor setups, plan on a grow light running twelve to sixteen hours per day to mimic outdoor conditions.
Watch your space through the day before you commit. A spot that’s sunny at eight in the morning might be shaded by noon if a building or tree blocks it. Move a chair out there and check at two-hour intervals. Or use a sun calculator app if you want to skip the waiting.
Watering Techniques and Drainage Solutions for Beginner Container Gardeners

The top inch of soil is your daily guide. Stick your finger in. If it’s dry down to your first knuckle in a small pot, or dry two inches down in a larger pot, water. Don’t follow a strict calendar. Temperature, wind, pot size, plant type all change how fast soil dries.
Small pots (4 to 6 inches) dry fast, sometimes within hours on a hot day. You’ll probably water every day in summer, maybe twice if it’s scorching and windy. Medium pots (8 to 12 inches) usually need water every two to three days in warm weather. Large 5-gallon containers might go three to seven days between waterings depending on season and what’s planted. When you water, go slow and thorough. Add water until it runs out the drainage holes, then stop. That gets the whole root zone moist, not just the top layer.
If water pools on the surface and won’t soak in, your soil might be too compacted or bone-dry and hydrophobic. Break up the crust gently with a fork, or set the whole pot in a tray of water for ten minutes so it can wick moisture up from the bottom. Always elevate pots slightly with pot feet, bricks, or blocks so they don’t sit in standing water. If a saucer or tray collects more than half an inch of water, dump it within an hour.
| Pot Size | Watering Frequency | Water Volume |
|---|---|---|
| Small (4–6 inches) | Daily in summer; every 2–3 days in cool weather | 0.5–1 pint (250–500 mL) |
| Medium (8–12 inches) | Every 2–3 days in warm weather | 1–2 quarts (1–2 L) |
| Large (5-gallon / 15–20 inches) | Every 3–7 days depending on heat and plant | 1–2 gallons (4–8 L) until runoff |
Feeding and Fertilizing Basics for First-Time Container Gardeners
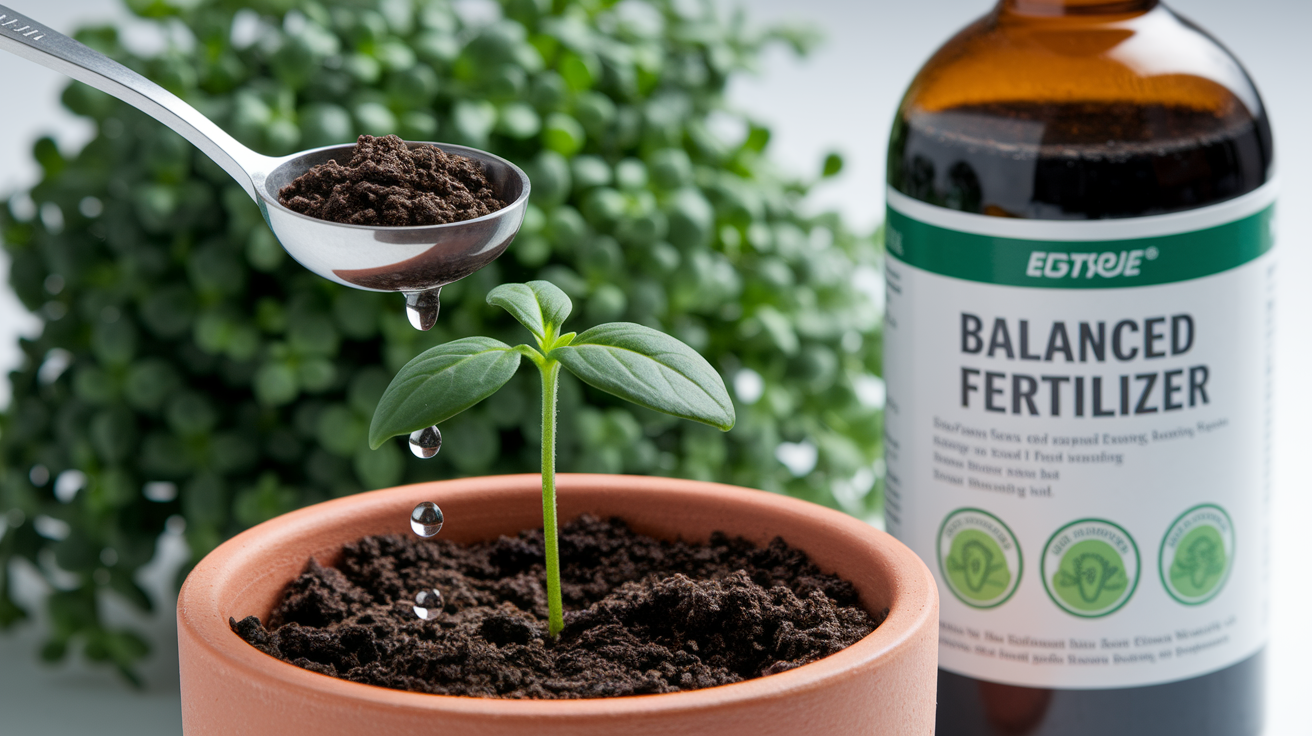
Container plants burn through nutrients faster than the same plant in the ground. Less soil to draw from, and every watering flushes a bit of food out the drainage holes. If you mixed slow-release fertilizer into your potting mix at planting, you’re covered for three to six months depending on the product. After that, or if you didn’t add any at the start, you’ll need to feed regularly.
Liquid fertilizer’s the easiest for beginners. Dilute in your watering can according to the label, usually a capful or tablespoon per gallon of water, apply every two to four weeks during the growing season. A balanced formula like 10-10-10 works for most plants. Growing tomatoes, peppers, or flowering plants? Switch to a higher-phosphorus mix like 5-10-10 once they start setting buds or fruit. Phosphorus supports blooms and fruiting. Nitrogen promotes leafy growth.
Using granular fertilizer instead of slow-release? Sprinkle on the soil surface and water it in every four to six weeks. After a few months of regular feeding, salts can build up in the potting mix and burn roots. Flush your containers by running two to three times the pot’s volume of plain water through the soil every month or so. That rinses excess salts and resets things.
Simple feeding routine:
- At planting: mix slow-release fertilizer into soil at package rate (commonly 1–2 tablespoons per gallon of mix)
- Weeks 1–4: no extra feeding needed if you used slow-release
- After week 4: start liquid feeding every 2–4 weeks with balanced fertilizer
- Mid-season for heavy feeders: switch to a bloom or fruiting formula
- Every 4–6 weeks: flush pots with plain water to prevent salt buildup
Potting, Repotting, and Root Care Essentials for Beginner Container Gardeners
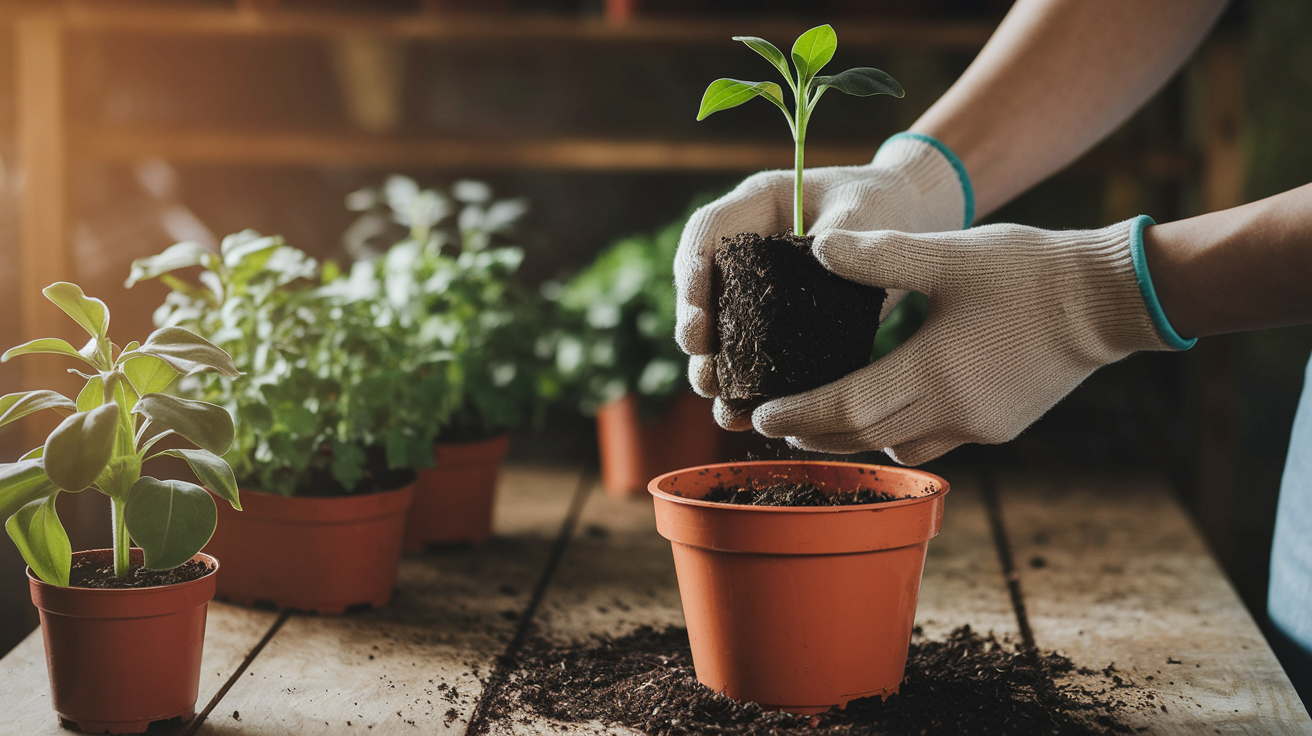
When you first plant a seedling or transplant, pick a pot that gives roots a couple inches of space on all sides. Don’t jump straight to a huge container. Roots like to grow into fresh soil gradually, and an oversized pot holds too much moisture for a small root ball. Can lead to rot.
After twelve to eighteen months, most container plants need repotting. Roots circle the inside edges, potting mix breaks down and compacts, growth slows. You’ll know it’s time when you see roots poking out drainage holes, water runs straight through without soaking in, or the plant wilts daily even though soil looks moist. Gently tip the plant out of its pot. If roots are wound in tight circles or matted at the bottom, it’s root-bound.
When and How to Repot
Repot in early spring before active growth kicks in, or any time you spot serious root crowding. Choose a new container two sizes larger (about 2 to 4 inches wider in diameter). Loosen the root ball with your fingers or a knife to break up the circling pattern, trim off any mushy or dead roots, set the plant in fresh potting mix at the same depth it was growing before.
Don’t want to move up in pot size? You can root-prune instead:
- Remove the plant and shake off loose soil.
- Trim away the outer inch of roots all around the root ball with clean shears.
- Cut off the bottom quarter-inch of matted roots.
- Replant in the same pot with fresh potting mix.
For perennials or long-term container plants you’re not repotting fully, scrape off the top two to three inches of old soil each spring and replace with fresh compost-enriched mix. That refreshes nutrients without the hassle of a full repot.
Preventing and Managing Common Container Gardening Problems for Beginners
Yellow lower leaves usually mean overwatering or nitrogen deficiency. Check soil moisture first. If it’s soggy, let it dry out before watering again and make sure your drainage holes aren’t blocked. Soil’s dry and the plant still looks pale? Feed with balanced liquid fertilizer. Crispy brown edges on leaves point to underwatering, salt buildup, or heat stress. Increase watering frequency, flush the soil with extra water to wash out salts, or move the pot to a shadier spot during the hottest part of the day.
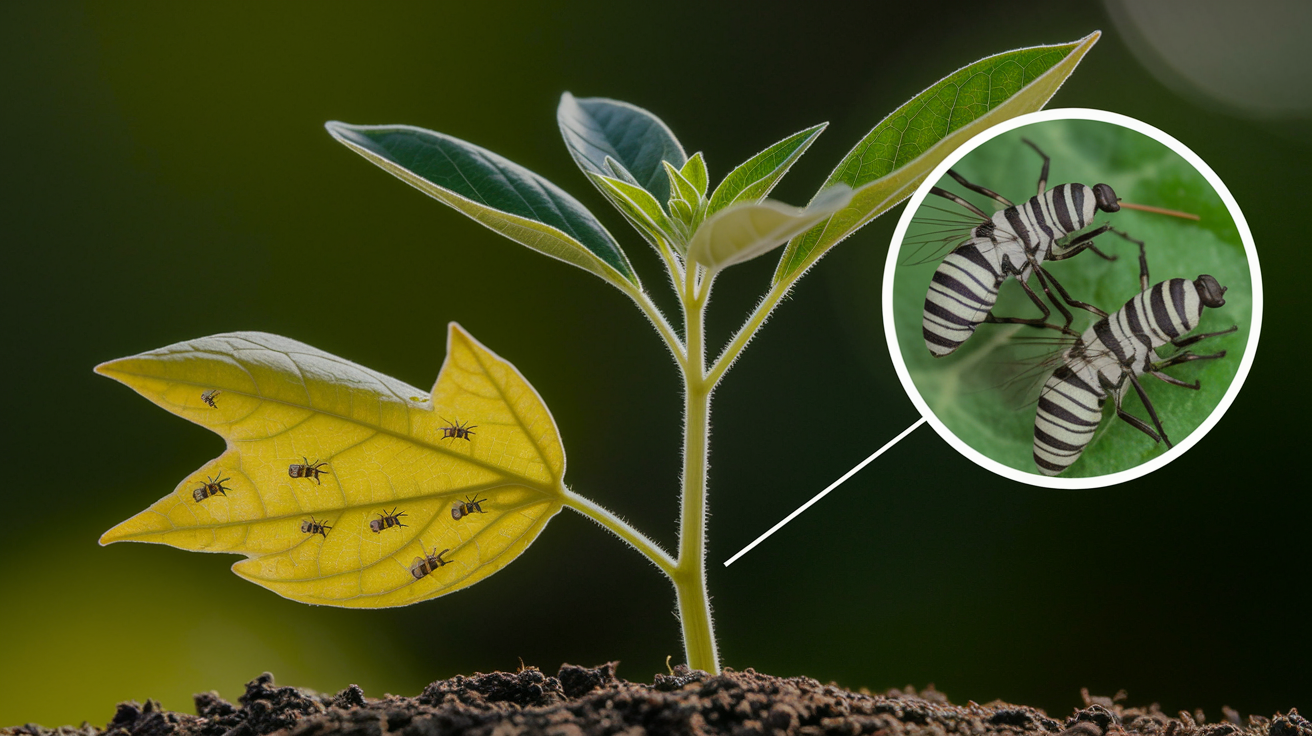
Pests show up even on balconies. Aphids cluster on new growth, whiteflies cloud up when you brush a plant, spider mites leave fine webbing on leaf undersides. Catch them early by checking plants weekly. Spray infested leaves with insecticidal soap or diluted neem oil, remove heavily damaged leaves. Sticky traps hung near pots work well for whiteflies. Most pest problems stay manageable if you act fast and don’t let populations explode.
Root rot happens when soil stays waterlogged. Roots turn brown and mushy, the plant wilts even when wet, there’s often a sour smell from the pot. Prevention’s easier than cure. Always use containers with drainage holes, don’t let pots sit in standing water, let the top layer of soil dry between waterings. If rot’s started, repot into fresh mix, trim off dead roots, water less often going forward.
Six quick troubleshooting checks for common issues:
- Yellow leaves and slow growth: feed with balanced fertilizer and check watering habits
- Wilting by midday but recovery overnight: increase water or add temporary shade in peak heat
- Crispy leaf tips: flush soil to remove salts and water more consistently
- Pests visible on leaves: spray with insecticidal soap or neem oil; remove damaged foliage
- Roots circling pot edges: repot into a container two sizes larger or prune roots and refresh soil
- Water pooling on soil surface: break up compacted soil or soak pot from below to rehydrate
Seasonal Care Tips for Beginner Container Gardeners

Start seeds indoors six to eight weeks before your area’s last expected frost date if you want a head start. Transplant seedlings outside only after frost danger’s passed. Check a local planting calendar or ask at a garden center if you’re not sure. Tender plants like tomatoes, peppers, basil will sulk or die if moved out too early.
Summer’s when containers need the most attention. Water daily or even twice a day for small pots during heat waves. If leaves wilt by midday but perk up overnight, that’s normal stress. You can help by moving pots into partial shade during the hottest afternoon hours or rigging up a shade cloth. Keep up with feeding every two to four weeks. Plants are growing fast and using nutrients quickly.
In fall, refresh the top layer of soil in any perennial containers and reduce watering as temperatures drop and growth slows. For annuals that are finishing up, pull them out, dump the old mix onto a compost pile, scrub pots clean before storing. Before the first freeze, move any frost-sensitive plants indoors or into a sheltered spot like a garage. Hardy perennials in large pots can often stay outside through winter, but wrap the pots in burlap or move them against a house wall to insulate roots from freeze-thaw cycles.
Quick seasonal task list:
- Late winter/early spring: start seeds indoors; refresh top soil in perennial pots
- Spring after last frost: transplant seedlings outdoors; begin regular watering and feeding schedule
- Summer: water daily in heat; feed every 2–4 weeks; provide shade during extreme heat
- Fall: reduce watering; pull spent annuals; move tender plants indoors before frost
- Winter: insulate or shelter hardy perennials; store empty pots; plan next season’s setup
Final Words
You’ve set up pots, mixed a light potting mix, and planted easy herbs and veggies. You measured light, placed containers, and learned watering and drainage rules.
Keep a simple routine: check the top inch, water by pot size, feed on schedule, and move or protect plants with the seasons. Spot pests early and repot when roots crowd.
Use these container gardening tips for beginners to start small, learn one season at a time, and actually enjoy fresh picks from your porch.
FAQ
Q: What is the 70/30 rule in gardening?
A: The 70/30 rule in gardening means use about 70% quality potting mix and 30% compost or organic matter to boost nutrients, moisture retention, and structure for healthy container plants.
Q: What are common mistakes in container gardening?
A: Common mistakes in container gardening are using the wrong pot size, poor drainage, garden soil instead of potting mix, over- or under-watering, overcrowding plants, and skipping regular feeding.
Q: What should I put in the bottom of a planter box?
A: In the bottom of a planter box, put the same potting mix used above, a bit of coarse grit or broken clay to stop soil loss, and always have clear drainage holes and mesh if needed.
Q: What are the easiest plants for container gardens?
A: The easiest plants for container gardens are herbs (basil, mint, parsley), salad greens (lettuce, spinach), radishes, cherry tomatoes in 5-gallon pots, and dwarf peppers—easy to grow and forgiving.