


Think you need a sewing machine to fix clothes? You don’t.
If you’re renting, you can get a great fit with tape and clips, no needles, no holes, no landlord drama.
This post shows renter-safe, no-sew tricks to hem pants, close button gaps, shorten straps, and cinch waists in minutes.
Most fixes cost under $15, take 10 minutes or less, and peel off clean when you’re done.
Read on to learn simple, tested swaps that let you wear what fits today and return garments exactly as you found them.
Renter‑Safe No‑Sew Alterations That Deliver Instant, Reversible Fit Fixes
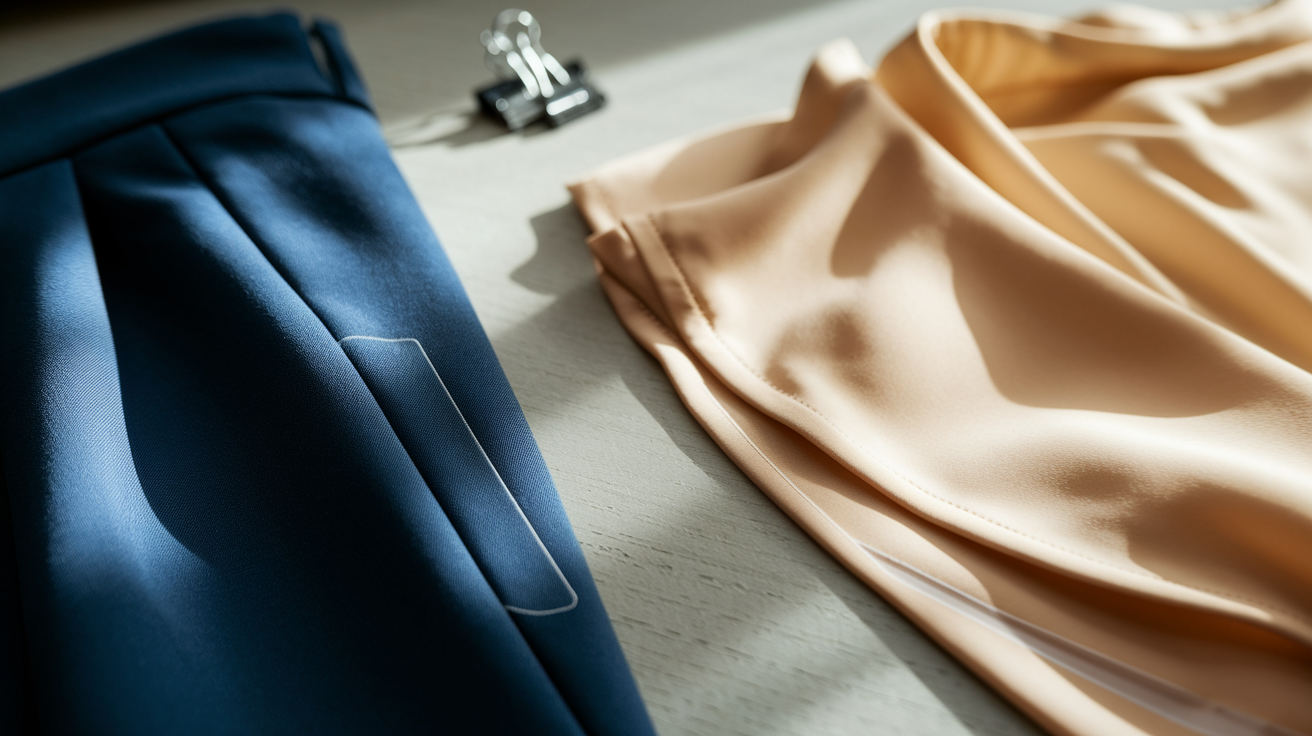
Renter‑safe alterations let you fix fit, length, and shape without leaving a trace. Nothing gets sewn, glued down permanently, or cut. When you return the piece or move out, there’s no sign you touched it.
The tools are simple. Double‑sided fabric tape, iron‑on hem strips, washable fabric glue, safety pins, binder clips, and a few snap‑on closures. Each one works fast, costs under $15, and removes cleanly when you’re done. Most fixes take 10 minutes or less. If you’ve ever bought pants that pooled at your ankles or borrowed a dress with gaping armholes, these methods let you wear them that same day.
Quick temporary fixes you can do right now:
Instant hems with folded fabric tape. No ironing, just press and go.
Emergency button‑gap closures using clear fashion tape between panels.
Strap holds with doubled‑over tape stuck to clean skin or garment lining.
Quick waist cinches using hidden binder clips inside seams or elastic extenders hooked to buttons.
Clip‑based tailoring that takes in excess fabric at side seams without puncturing the outer layer.
Tape‑based shaping to smooth wrinkles, close slits, or create temporary darts.
Always test adhesives on an inside seam or hem allowance first. Peel a corner after 10 minutes to check for residue or color change. If it lifts clean, you’re good. If it leaves a mark, switch to lighter‑hold tape or skip adhesive altogether and use clips. The goal is to walk out looking put‑together and walk back in with the garment exactly as you found it.
Damage‑Free No‑Sew Hemming Methods for Renters
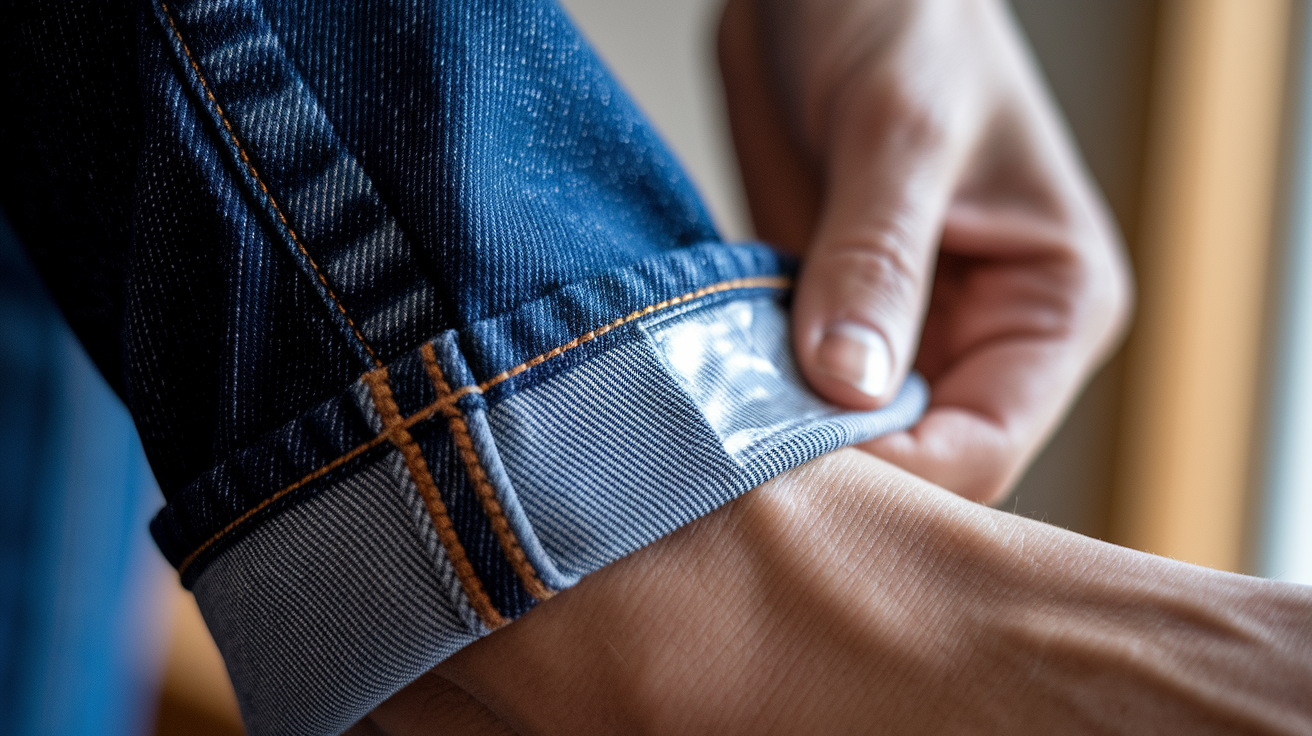
Double‑sided fabric tape gives you an instant hem with zero heat. Fold the pant leg or sleeve to the length you want, press the fold flat, then peel and stick a strip of tape along the inside edge. Smooth it down with your fingers. The hem holds through a full day of wear and peels off by hand when you’re done. This works best on medium‑weight cotton, denim, and blends. On slippery fabrics like satin, the tape may slide after a few hours.
Iron‑on hem tape bonds under heat. Place the tape inside the folded hem, cover with a thin cotton cloth, and press with a hot, dry iron for 10 to 15 seconds. Let it cool completely before you move the garment. The bond is stronger than double‑sided tape and survives gentle machine washing, but it’s still removable. Reheat the hem through the cloth, peel while warm, and any residue usually lifts with a second pass of the iron and a clean rag.
Washable fabric glue works when you need a hem that lasts through multiple wears and washes. Apply a thin, even line along the inside of the fold, press the layers together, and hold for 30 seconds. Let it cure flat for 24 hours before wearing. This method suits heavy denim, canvas, and upholstery‑weight fabrics. It’s more effort than tape, but the hold is reliable. To remove, soak the hem in warm water for 10 minutes, then gently pull the layers apart. Most formulas soften enough to peel clean.
If you’re not sure which method suits your fabric, start with the lightest hold and work up. Test each product on the inside hem allowance or an interior seam. Avoid heat‑based methods on synthetics that melt, and skip petroleum‑based glues on silk or wool, which can stain.
| Method | Best Fabrics | Key Notes |
|---|---|---|
| Double‑sided fabric tape | Cotton, denim, blends | Instant hold, peels by hand, may slip on slick fabrics |
| Iron‑on hem tape | Cotton, linen, canvas | Requires hot iron and cloth barrier, survives gentle wash |
| Washable fabric glue | Denim, canvas, heavy knits | 24‑hour cure time, soak to remove, strongest hold |
| Binder clips | Any fabric with lining | Hidden inside hem, zero adhesive, instant adjust and remove |
Renter‑Friendly No‑Sew Button, Closure, and Zipper Fixes
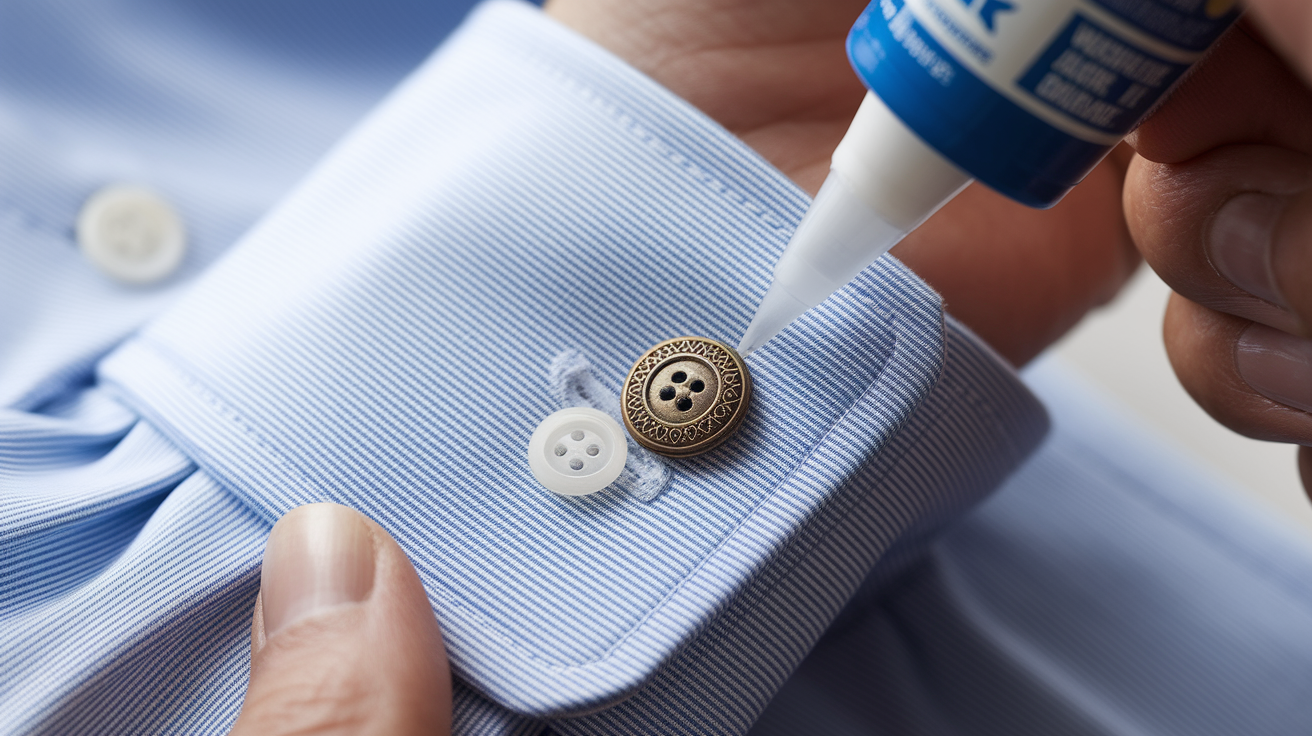
Fabric glue reattaches decorative buttons and low‑tension closures. Dab a small dot of washable glue onto the back of the button, press it into place, and let it sit undisturbed for 24 hours. This works for shirt cuffs, decorative jacket details, and lightweight cardigans. It won’t hold under stress, so don’t use it on coat closures or pants that button at the waist.
Snap‑on button kits clamp through the fabric without sewing. Each kit includes a base piece and a cap that lock together when you press them with pliers or a small hand tool. Position the base on the inside of the fabric, push the shank through, and snap the cap on the outside. Takes about two minutes per button. These hold well on medium‑weight fabrics and work for functional closures on shirts, skirts, and light jackets.
For true emergencies, loop a small safety pin through the buttonhole from the inside, catch the fabric where the button should sit, and close the pin so the clasp is hidden. Not elegant, but it keeps the garment closed.
Zippers jam, stick, or refuse to glide. Four quick fixes:
Rub a soft graphite pencil along both sides of the zipper teeth, then work the slider up and down a few times to distribute the graphite.
Glide a dry bar of soap along the teeth if you don’t have a pencil. Avoid colored or scented soap that might transfer.
Check the slider for bent teeth or fabric caught inside. If the slider is damaged, slide it off the bottom stop and replace it with a clip‑on slider from a zipper repair kit.
Dab a tiny amount of petroleum jelly or unscented lip balm onto a cotton swab and run it along the teeth, staying away from the fabric. Wipe off any excess to avoid staining.
Always test lubricants on an inside seam first. Some fabrics darken or stain when they contact oil‑based products.
No‑Sew Strap, Waist, and Silhouette Adjustments Renters Can Reverse

Straps slip, waists gap, and silhouettes hang wrong. You can fix all three without a needle.
For shaping that needs to last a full day or evening, use tools that grip fabric or create temporary structure. These methods stay hidden and leave no marks.
Shortening Straps Without Sewing
Fold the strap to the length you need, then secure the fold with a small strip of clear double‑sided tape. Press the tape onto the inside of the strap so it sticks to itself, not to your skin. If the strap keeps slipping off your shoulder, place a second piece of folded tape on your shoulder or upper back, peel the backing, and press the strap onto it. Make sure your skin is clean and dry, or the tape won’t hold. This works on tank tops, sundresses, and lightweight evening wear. When you’re done, peel the tape off gently. If it tugs, warm it with your hand for a few seconds first.
Adjustable Waist and Silhouette Fixes
Binder clips hidden inside a lining take in excess fabric at the side seams or back waist. Pinch the fabric to the fit you want, fold the excess toward the inside seam, and clip it flat. The clips sit between the lining and the outer layer, so they don’t show and they don’t puncture anything. This works on skirts, dresses, and unlined jackets if you clip carefully along an existing seam.
Elastic waistband extenders hook onto the existing button and add about an inch of room. Thread the elastic through the buttonhole, loop it over the button, and fasten the pant closure through the extender’s second hole. If you don’t have an extender, loop a hair tie through the buttonhole, stretch it over the button, and close the zipper or top button over the tie. Not as polished, but it buys you breathing room for a few hours.
For temporary darts or shaping, use small safety pins on the inside of the garment. Pinch the fabric where you want it to taper, fold the excess toward the seam, and pin it flat from the inside. Keep the pins parallel to the seam so they don’t catch on your clothing or skin. Check the outside in a mirror to make sure the pin heads don’t show through.
Heat‑Bonding and Adhesive Options for Renters Who Need Stronger No‑Sew Holds
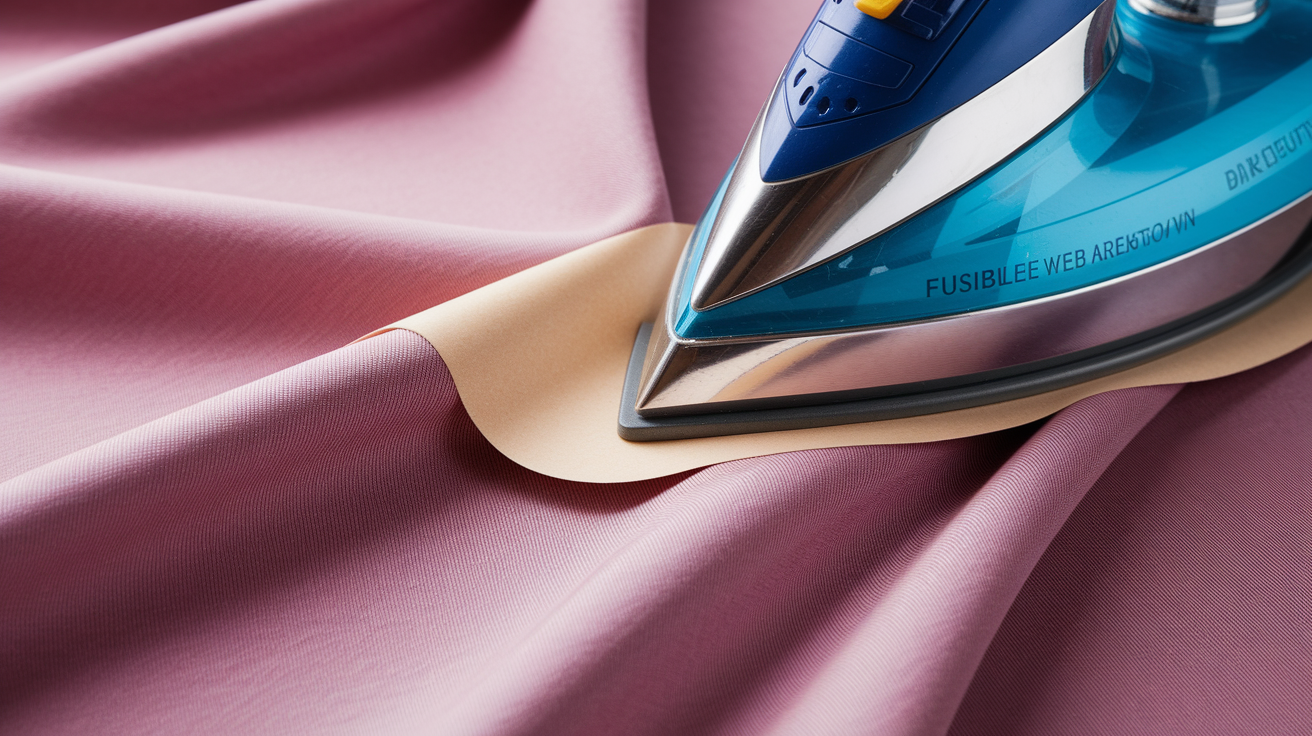
Heat‑activated adhesives bond fabric layers together when you press them with an iron. Fusible web and iron‑on hem tape both use this method. The bond is stronger than regular fabric tape but still reversible if you reheat it. Use a hot, dry iron set to the fabric’s maximum safe temperature and always place a clean cotton cloth between the iron and the garment. Press firmly for 10 to 15 seconds, lift the iron, reposition, and press again. Don’t slide the iron, or you’ll shift the adhesive and create wrinkles.
Fusible web comes in sheets or rolls. Cut a piece slightly smaller than the area you want to bond, sandwich it between the two fabric layers, and press. Let it cool completely before you handle the garment. This method works for hems, decorative patches, and temporary repairs on tears or seam splits. It holds through multiple washes if you used enough heat, but you can still remove it by reheating and peeling while warm.
Fabric glue that requires heat‑setting gives you a durable bond without sewing. Apply a thin layer, press the layers together, and then iron over a cloth barrier to activate the adhesive. Cure time is still 24 hours, but the heat step makes the bond more durable. This works well on canvas, denim, and upholstery fabrics. Too strong for delicate weaves and anything that can’t take high heat.
Check your fabric’s care label before you apply heat. Synthetics like polyester and nylon can melt or warp above 275°F. Wool and silk need lower temperatures and a press cloth. If you’re not sure, test on an inside seam with a scrap piece of the same adhesive. Press for 10 seconds, let it cool, and try to peel it. If the fabric puckers, darkens, or stiffens, skip the heat method and use double‑sided tape or clips instead.
To remove heat‑bonded adhesive, reheat the area through a cloth, peel gently while warm, and dab any residue with rubbing alcohol on a cotton ball.
Rental‑Safe Alterations for Delicate Fabrics (Silk, Sheers, Knits)

Delicate fabrics need lighter adhesives, lower heat, and smaller sections. Silk, chiffon, and fine knits can pucker, stain, or stretch out of shape if you use the wrong method.
For silk and sheer fabrics, use clear, lightweight double‑sided tape in short strips. Place the tape only along the inside hem or seam allowance, never across a visible surface. Press gently with your fingers instead of an iron. If you must use heat, set the iron to the lowest setting, place two layers of cotton cloth between the iron and the fabric, and press for no more than five seconds. Let it cool before you move it.
Knits stretch, so avoid anything that restricts the fabric’s natural give. Use fabric tape designed for knits, which has a bit of flex built in. When hemming knit pants or sleeves, fold the hem loosely and apply the tape in small sections rather than one continuous strip. This lets the fabric move without the hem pulling tight. For shaping knit tops or dresses, use small safety pins on the inside seam rather than adhesive. Pins won’t distort the weave.
Always test on a hidden area first. Fold a small corner of the hem or an inside seam, apply your adhesive or tape, press, wait 10 minutes, and peel. Check for color change, stiffness, or residue.
Fabric‑specific rules:
Silk and satin get no heat above 250°F, no oil‑based adhesives, peel tape slowly to avoid pulling threads.
Chiffon and sheer knits need fingertip pressure only, tape in sections under 2 inches, skip glue entirely.
Wool and cashmere get pressed through two layers of cloth, use steam if the care label allows, test for shrinkage before full application.
Leather and faux leather get no iron, no water‑based glue, use specialty leather tape or small clips hidden in lining.
Lace gets tape only along solid fabric edges, never across openwork, handle with clean hands to avoid oil transfer.
Reversible No‑Sew Alterations for Special Events, Office Outfits, and Travel

Evening dresses and formalwear often need quick length adjustments. Use iron‑on hem tape for floor‑length gowns if you have access to an iron and a flat surface. Fold the hem to the length you need, press the tape in place through a cloth, and let it cool. If you’re already dressed and realize the hem is dragging, fold it up from the inside and secure with small binder clips hidden in the lining. The clips hold through photos and dinner, then pop off in seconds.
Office blouses gap between buttons when you sit or lean forward. Place a small strip of clear fashion tape vertically between the two panels where they pull apart. Press both sides onto the tape so the fabric stays flat and aligned. The tape is body‑safe and won’t leave residue on skin if an edge touches you. For button‑front shirts that gap at the bust, add a second strip of tape higher up, and use a safety pin on the inside as backup if you’re moving around a lot during the day.
Travel‑Ready No‑Sew Toolkit Essentials
Pack these six items in a small zippered pouch:
Double‑sided hem tape in a travel‑size roll for instant length fixes.
Four to six small binder clips for hidden waist and hem adjustments.
A dozen assorted safety pins for emergency closures and strap fixes.
A 2‑ounce bottle of wrinkle‑release spray to smooth garments straight out of a suitcase.
A mini tube of washable fabric glue for small repairs on seams or hems.
A zipper repair kit with two clip‑on slider replacements and a graphite pencil for stuck zippers.
This kit fits in a quart‑size bag and covers the most common fit problems you’ll run into on the road. If you’re attending an event, add a small roll of clear fashion tape and a pack of adhesive bra‑strap holders. For costume events or themed parties, bring extra clips and a few snap‑on closures to adjust fit on vintage or borrowed pieces without altering the original garment.
Removing Temporary Fixes Without Leaving Evidence on Rental Garments
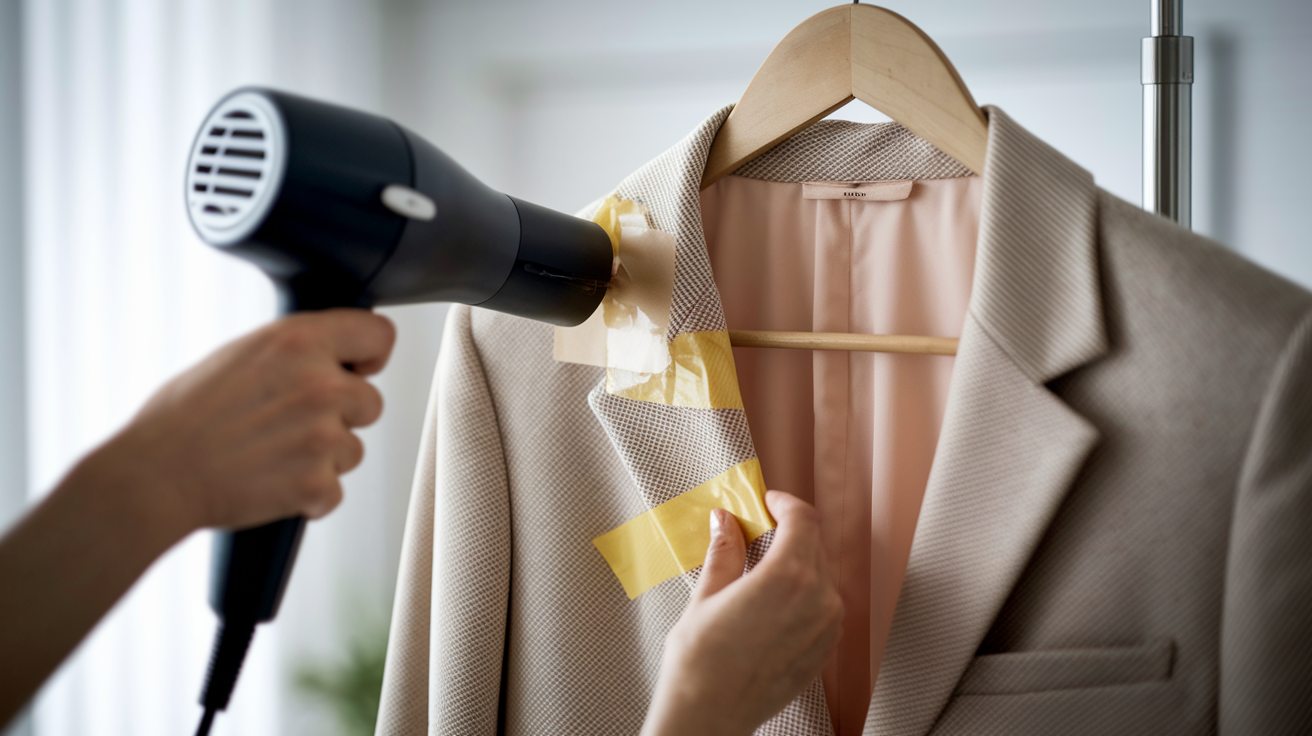
Before you return a garment, check every spot where you applied tape, glue, or clips. Peel adhesive slowly, pulling parallel to the fabric rather than straight up. If the tape resists, warm it with a hairdryer on low heat for 10 to 15 seconds, then peel while it’s warm. The heat softens the adhesive and reduces the chance of pulling threads or leaving residue.
For fabric glue that’s fully cured, soak the area in warm water for 10 minutes to soften the bond. Gently work the layers apart with your fingers. If residue remains, dab it with a cotton ball dipped in rubbing alcohol, then blot with a clean cloth. Test the alcohol on an inside seam first to make sure it doesn’t discolor the fabric.
Iron‑on hem tape removes cleanly if you reheat it. Place a cotton cloth over the hem, press with a hot iron for 10 seconds, lift the iron, and peel the tape while the adhesive is still warm. Wipe away any remaining residue with a cloth dampened in warm water. For delicate fabrics, lower the iron temperature and add a second protective cloth layer to avoid scorching.
| Fix Type | Removal Method | Residue Risk |
|---|---|---|
| Double‑sided fabric tape | Peel slowly by hand or warm with hairdryer first | Low on cotton/denim, moderate on synthetics |
| Iron‑on hem tape | Reheat through cloth, peel while warm, wipe residue | Low if removed while warm, moderate if cold‑peeled |
| Washable fabric glue | Soak in warm water 10 min, gently pull apart, dab alcohol if needed | Moderate; may need alcohol or repeat soaking |
| Clips and safety pins | Remove by hand, check for small holes or dimples | None; fabric springs back on most weaves |
Build a Renter‑Focused No‑Sew Alterations Kit
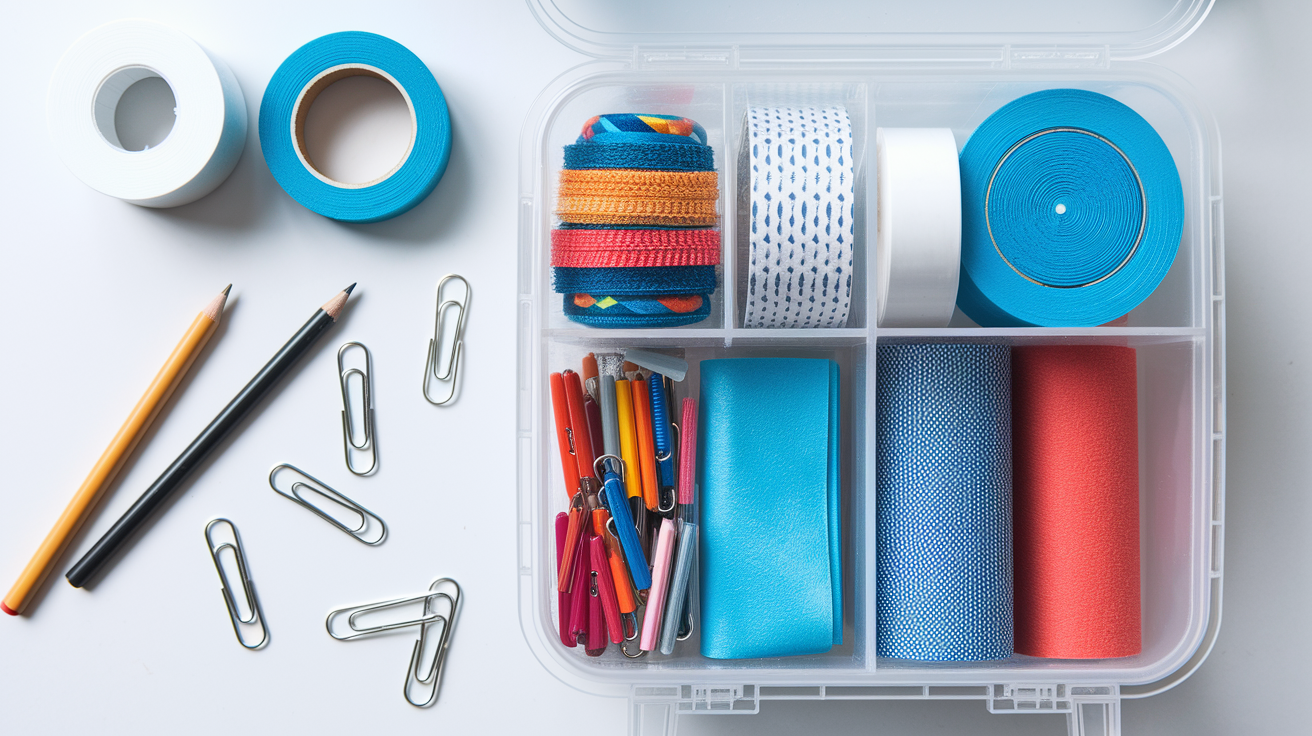
A well‑stocked kit costs under $50 and fits in a shoebox. Start with the basics: one roll of double‑sided fabric tape, one pack of iron‑on hem tape, a small bottle of washable fabric glue, a box of assorted safety pins, and a handful of small binder clips. Add one zipper repair kit with clip‑on sliders and a graphite pencil. Include two elastic waistband extenders and a travel‑size bottle of wrinkle‑release spray.
Keep a small square of cotton fabric in the kit for testing adhesives and protecting garments during ironing. Tuck in a pair of sharp fabric scissors for trimming tape and a measuring tape for checking hem lengths before you fold. Store everything in a clear plastic case so you can see what you have without dumping it out.
What Every Renter Should Keep in Their No‑Sew Kit
Double‑sided fabric tape (clear and neutral‑colored rolls).
Iron‑on hem tape suitable for cotton, denim, and blends.
Washable fabric glue with a fine‑tip applicator.
Small binder clips (½‑inch and ¾‑inch sizes).
Assorted safety pins in three sizes (small for delicate fabrics, medium for general use, large for heavy coats).
Two to four elastic waistband extenders in neutral colors.
Zipper repair kit with graphite pencil, clip‑on sliders, and mini pliers.
Wrinkle‑release spray in a 2‑ounce travel bottle.
Restock the kit every six months or whenever you use up a roll of tape. Test new products on fabric scraps before you use them on a garment you care about. If you’re adjusting a rental, borrowed item, or anything you plan to return, always test removal on an inside seam first to confirm the adhesive peels clean.
Final Words
You learned quick, reversible fixes for common fit problems: instant hem tape, iron-on strips, clips and safety pins, waist tricks, and temporary button and zipper solutions. Each method included fabric tips and a few step-by-step moments so you can try it now.
We also covered stronger heat-bonding options, how to protect delicates, and safe removal so nothing gets ruined before move-out.
With these renter-friendly tricks and a small toolkit, no-sew clothing alterations for renters become easy and stress-free.
FAQ
Q: What is the 3-3-3 rule for clothing?
A: The 3-3-3 rule for clothing is a simple packing and outfit-making guide: pick three tops, three bottoms, and three shoes or accessories to mix for easy, travel-friendly looks.
Q: How to hem a rental dress without sewing? / How to alter clothes without stitching?
A: To hem a rental dress or alter clothes without stitching, use double-sided hem tape, iron-on hem tape, fabric glue, safety pins, binder clips, or quick clips; always test on hidden fabric and hide fixes in seams.
Q: Is no sew hemming permanent?
A: No-sew hemming is usually temporary: tape and glue hold for a few wears or washes and may leave residue, while iron-on or heat-bond options give stronger bonds that can often be softened for removal.